Papier-Mâché Hanging Bird Project
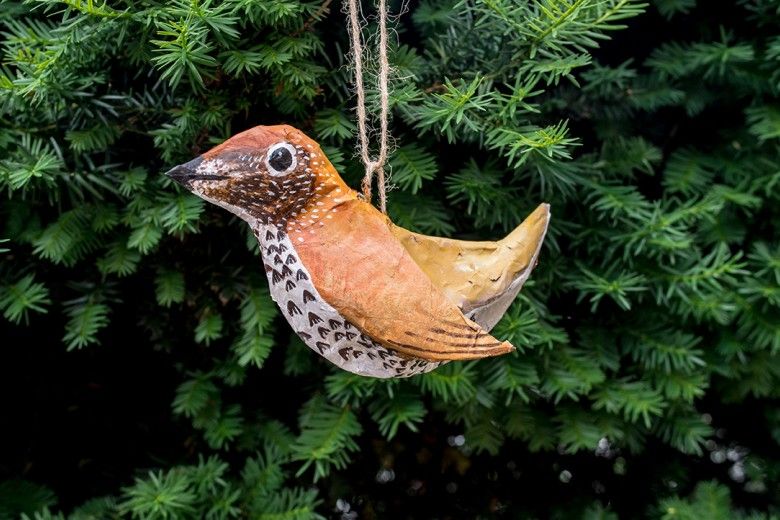
Create a feathered friend for your home inspired by your observations of the birds in your backyard and Pennsylvania’s Important Bird Areas. This hands-on, papier-mâché hanging bird project is designed to be crafty along with educational as you explore the birds of your region.
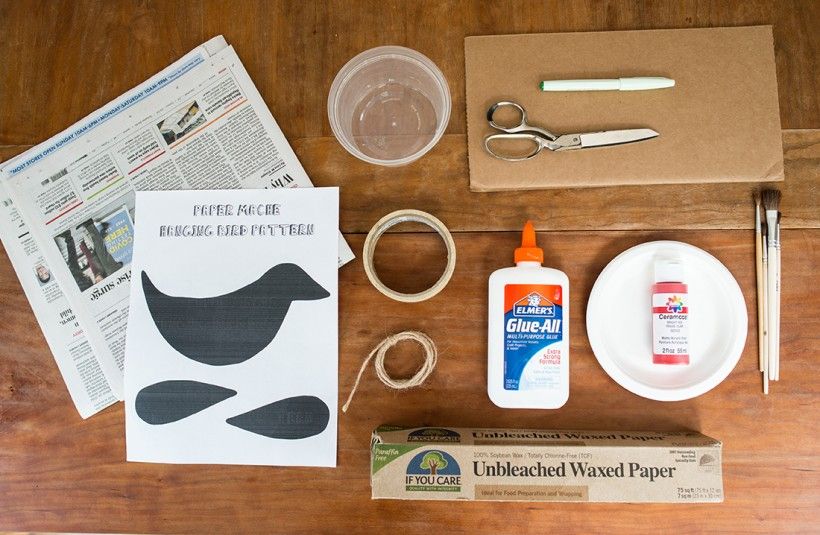
Gather your supplies
You will need:
- Printed bird pattern — click here to download
- Recycled cardboard
- Newspaper
- Masking tape
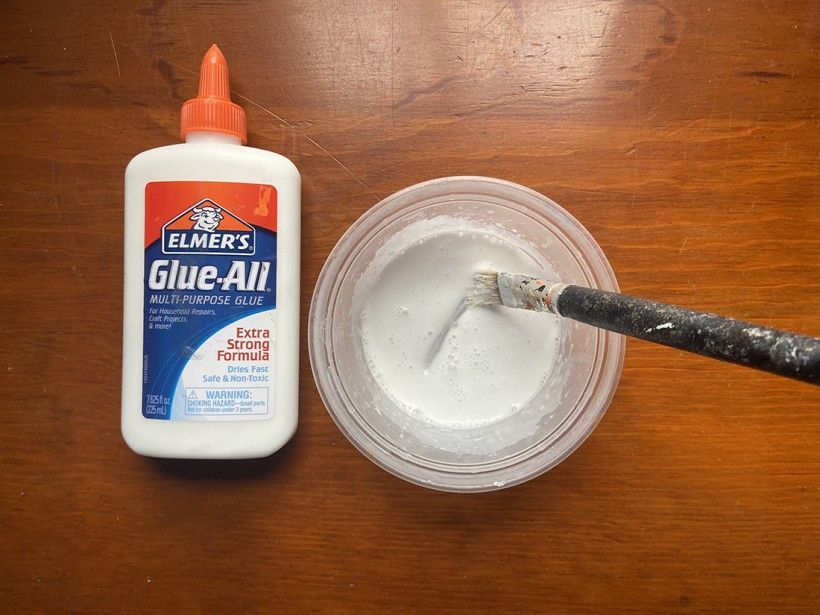
- Elmer’s Glue-All
- Twine or string
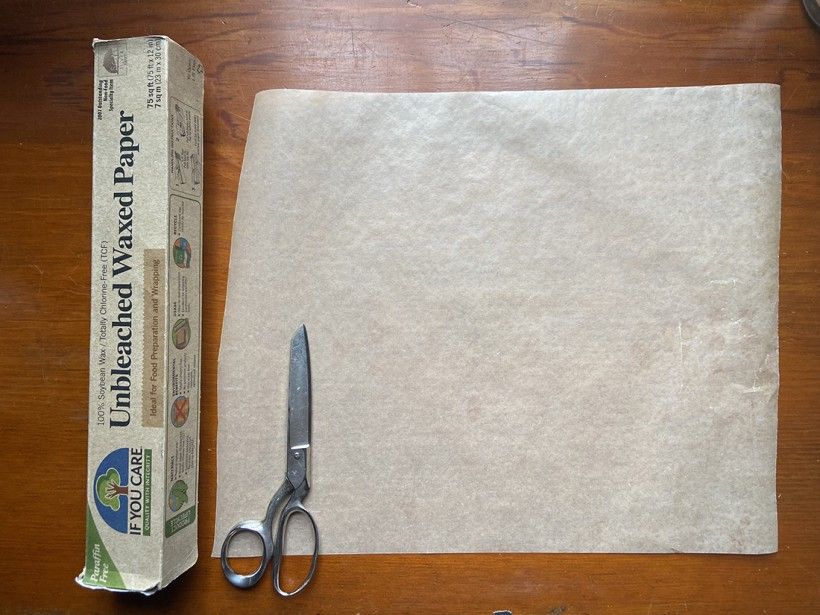
- Wax paper (for working surface)
- Mixing cup for glue
- Craft paint (colors of your choice plus white and black)
- Craft paint brushes (various sizes)
- Palette or paper plate for mixing colors
- Water
- Water cup (for cleaning brushes)

Step 1:
Print (or trace from a computer screen) a copy of this bird pattern and cut out the three bird pieces (body and two wings).
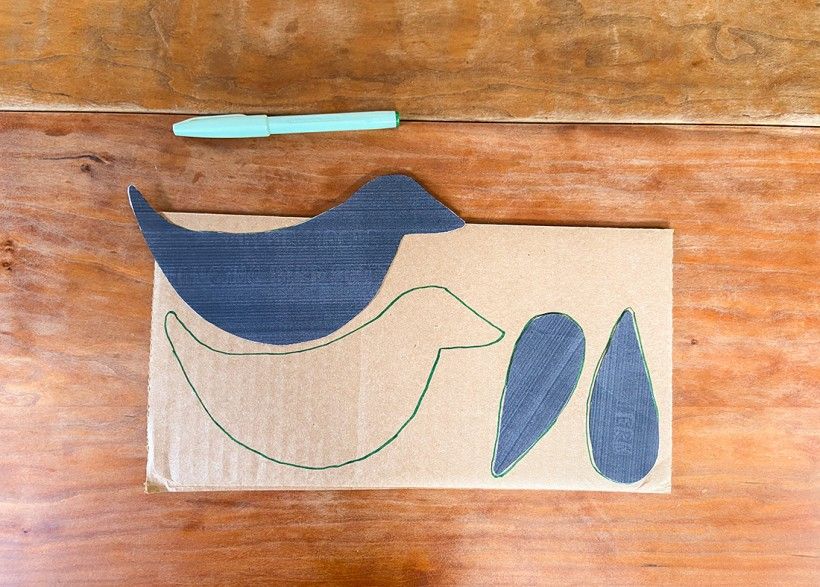
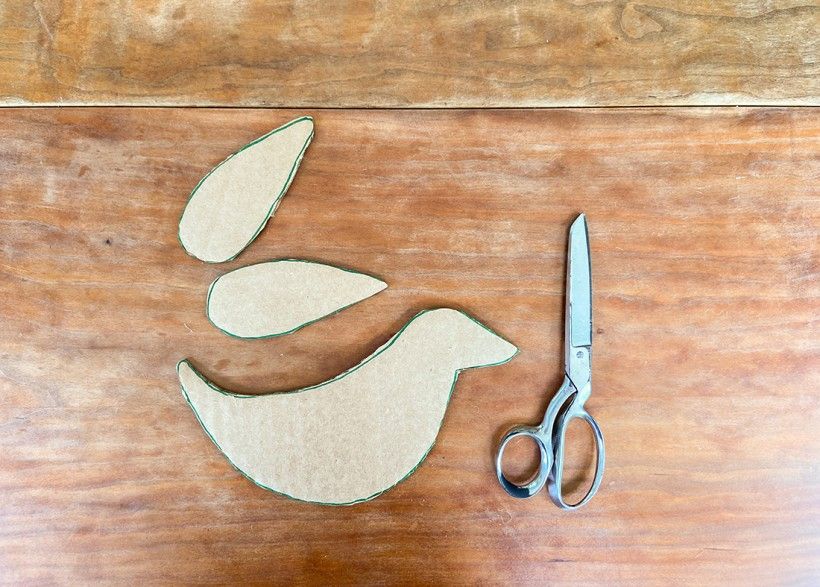
Next, trace each of the three pattern pieces onto a piece of corrugated cardboard. Then cut these shapes out of the cardboard.
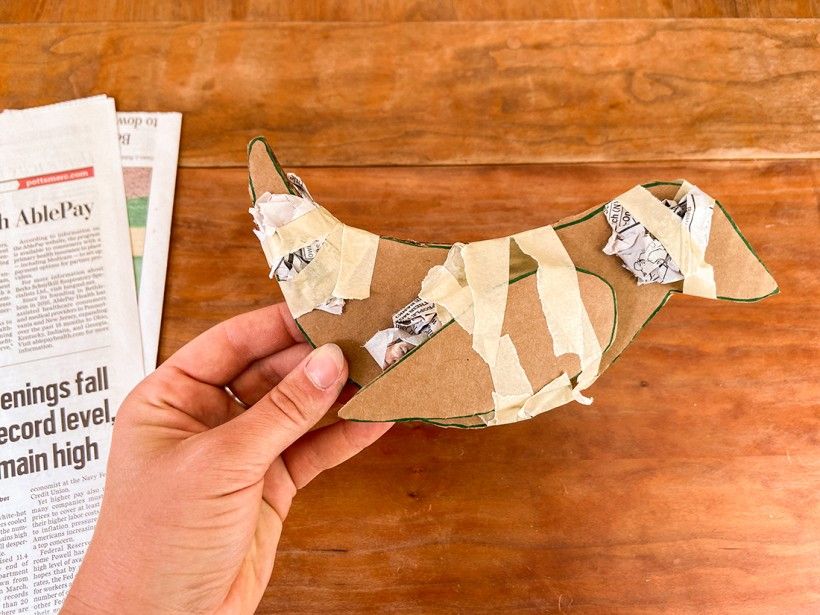
Step 2:
Crumple pieces of newspaper into small balls and ovals to add onto the cardboard cutout and begin to build up areas for more dimension. Add wads of paper underneath each of the bird’s wings, along both the sides of the tail, around the head and along the beak. Use strips of masking tape to hold these pieces together as you build the body of the bird.
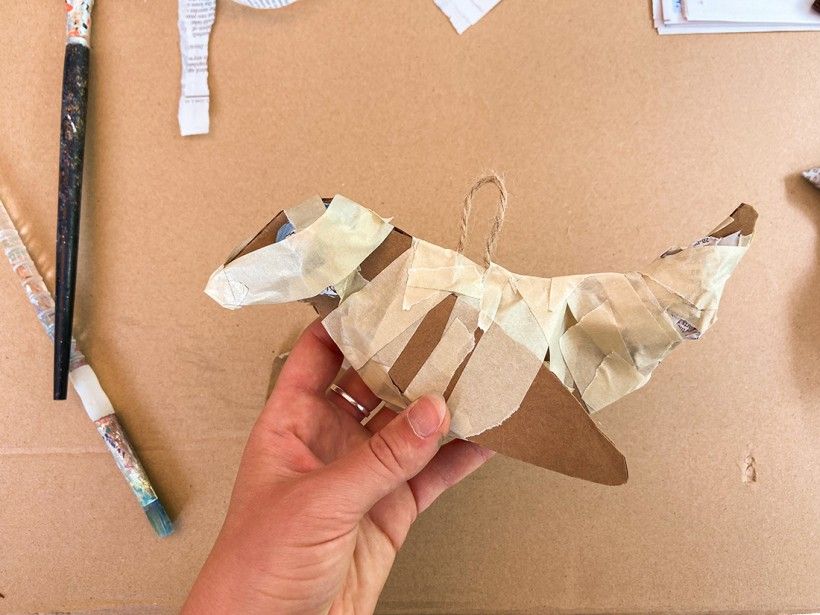
Step 3:
With a piece of twine that is about two inches in length, secure both cut ends with masking tape to the top-middle area of the cutout form of the bird, between the head and the tail. This will become the hanger for your bird.
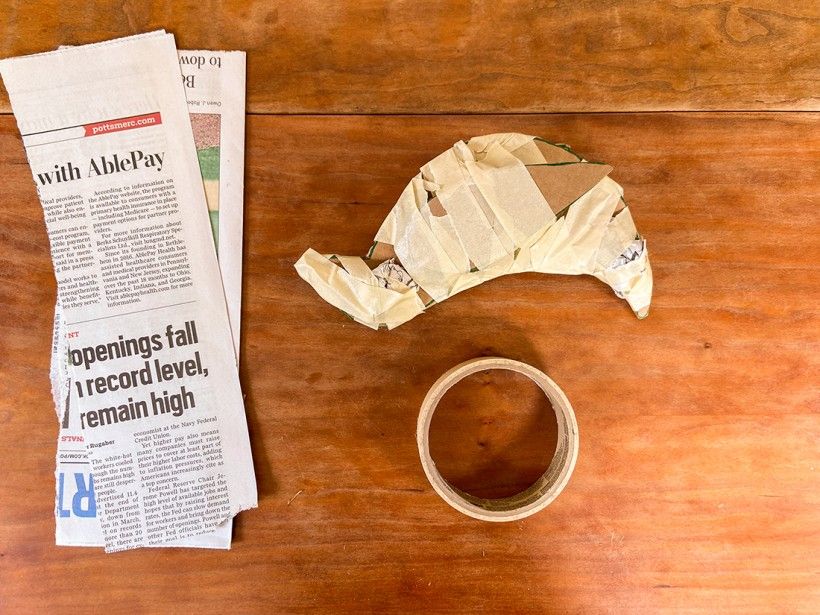
Step 4:
Once the bird’s shape is to your liking, continue to wrap the bird with masking tape until it is mostly covered and smooth.
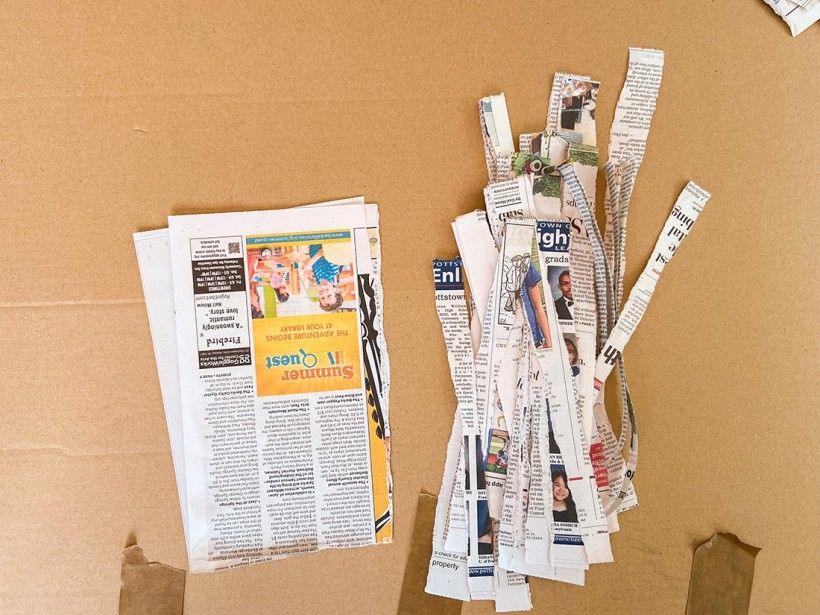
Step 5:
With a full sheet of newspaper, begin to make long strips by tearing downward. These strips can be up to an inch in width and torn into shorter lengths as you work.
Step 6:
With a disposable mixing cup, add approximately a tablespoon of Elmer’s Glue-All paste and mix with small amounts of water until the paste is a soupy consistency that is easy to spread with a paint brush. If it becomes too thin, add more glue until you’ve reached a desired consistency.
Step 7:
Cut a piece of wax paper large enough for your working space; this will be used as a surface where you can apply glue to your strips of newspaper and will not stick to your craft materials.
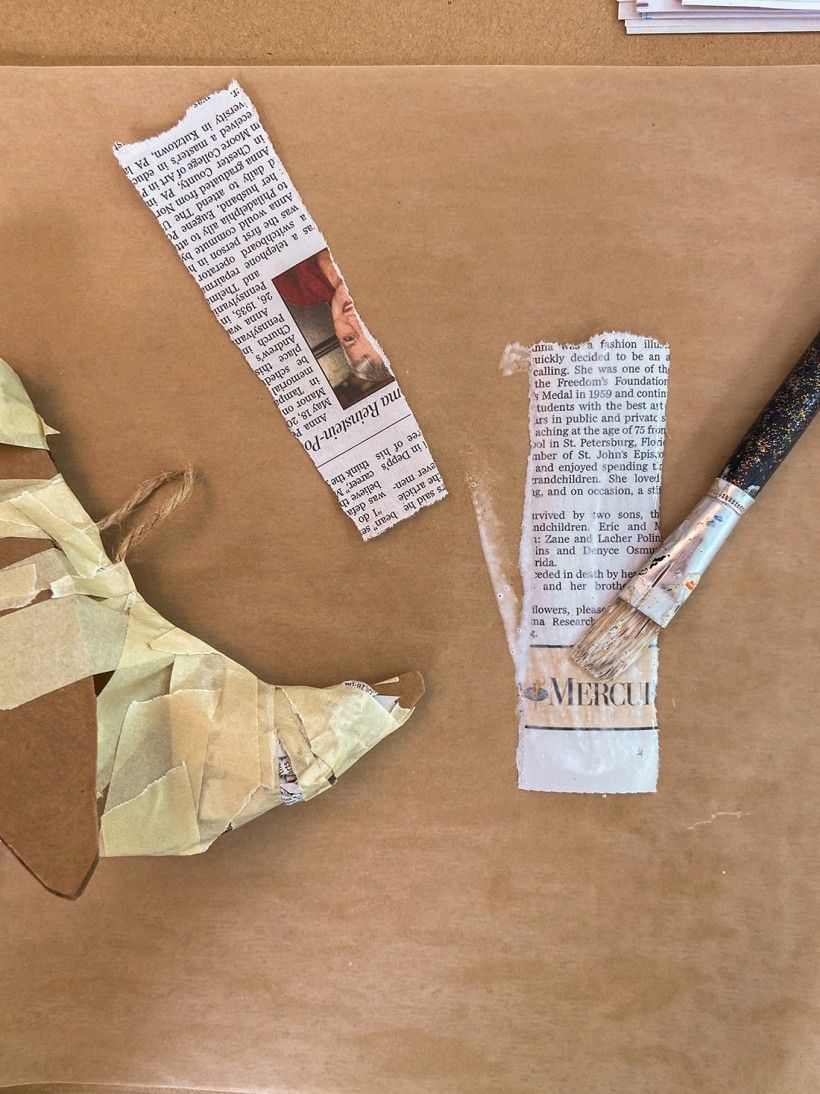
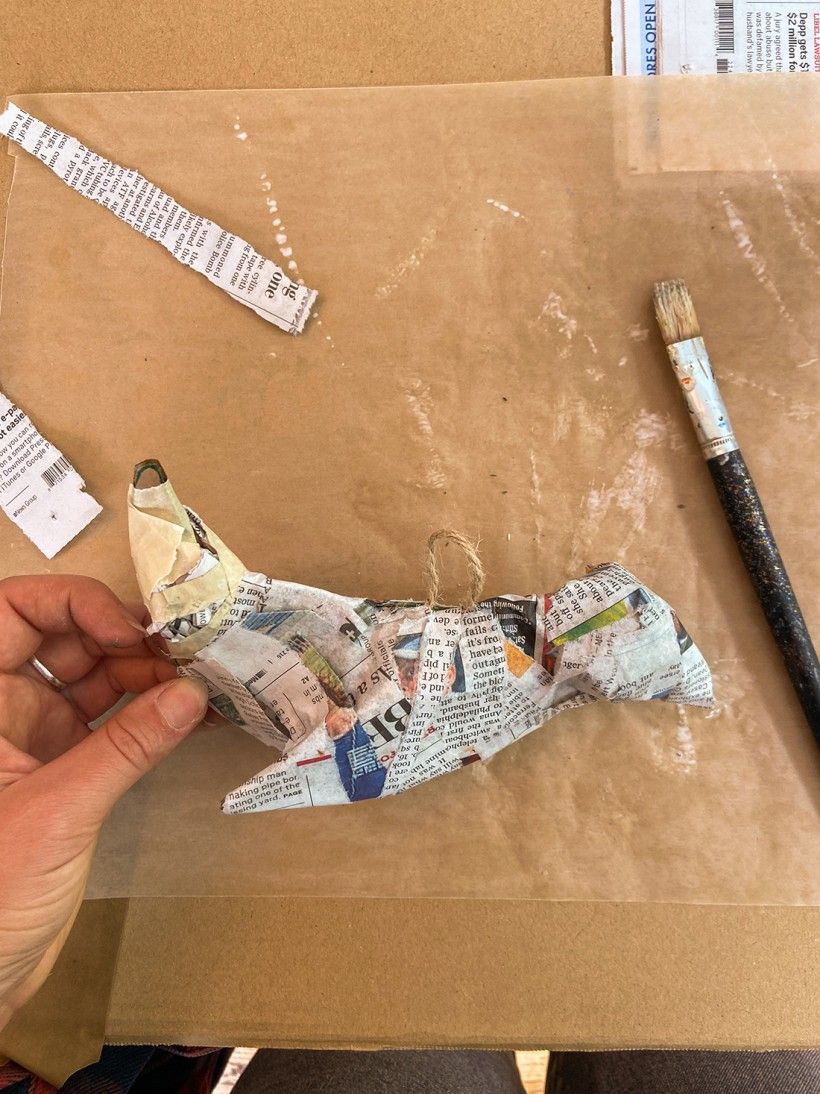
Step 8:
With a craft brush, begin to coat strips of torn paper with the glue-water mixture and place these strips over the form of the bird.
Continue this process until the entire form is covered in strips of paper. Use your craft brush to apply more of the paste mixture to the outside of the form, this will help keep the pieces together. Allow for some drying time between layers before adding more paper and glue.
Step 9:
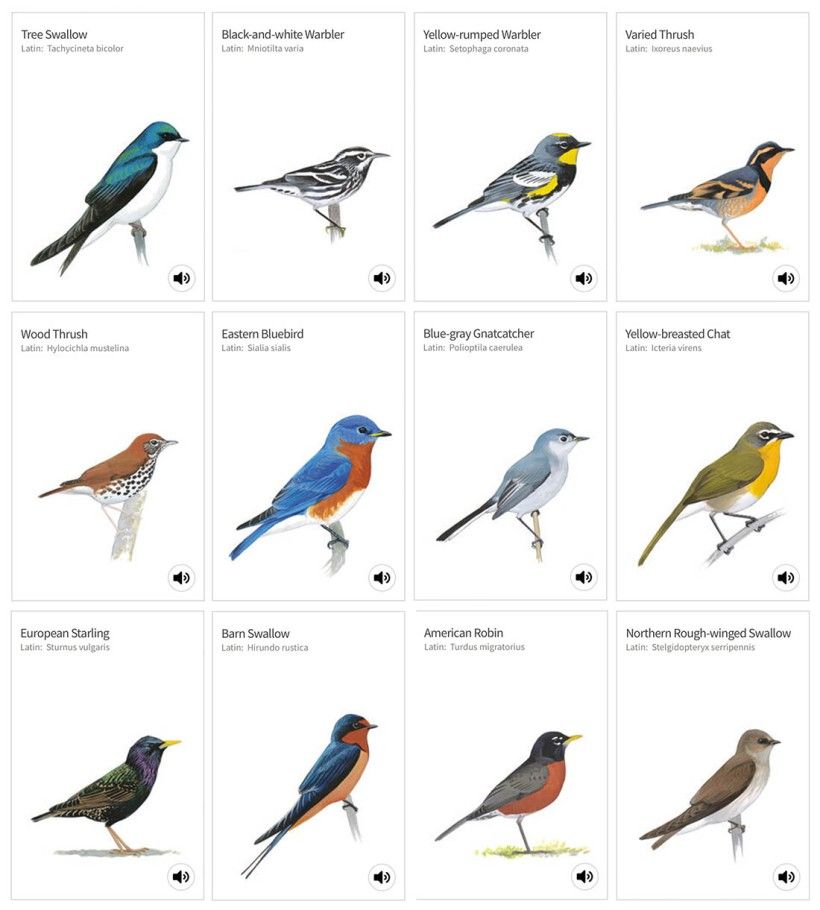
While waiting for your project to dry, learn about the Brandywine Conservancy’s efforts in protecting Important Bird Areas. If able, take some time to observe the birds that you see outside and take note of what colors and shapes you see.
Then browse the Guild to Native American Birds and find some birds with colors that inspire you during this making process. Take some time to study the colors and patterns of the bird you wish to model your project from.
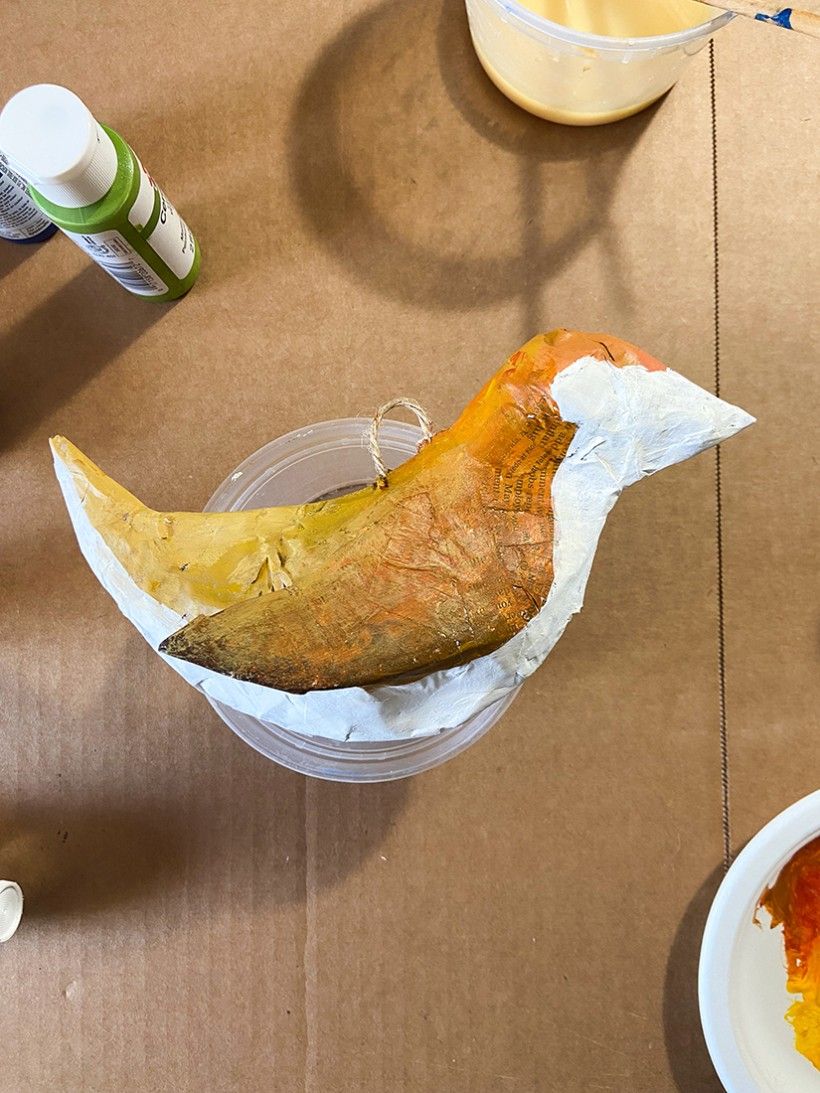
Step 10:
Once the papier-mâché is dry, use your craft paint to premix the base colors for your bird and begin to evenly paint onto your project.
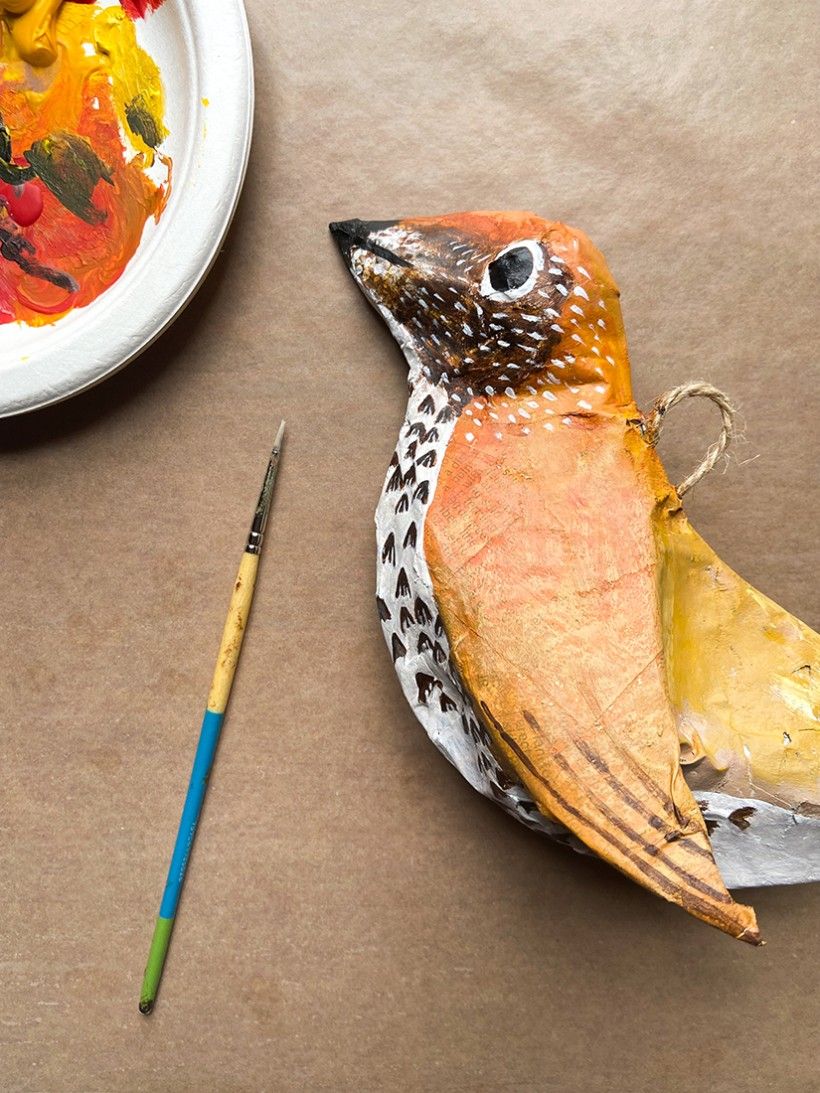
Once the base layers are dry, begin to add distinguishing visual marks and details (stripes, spots, tails, feathers, eyes, beak, etc..) of your chosen bird.
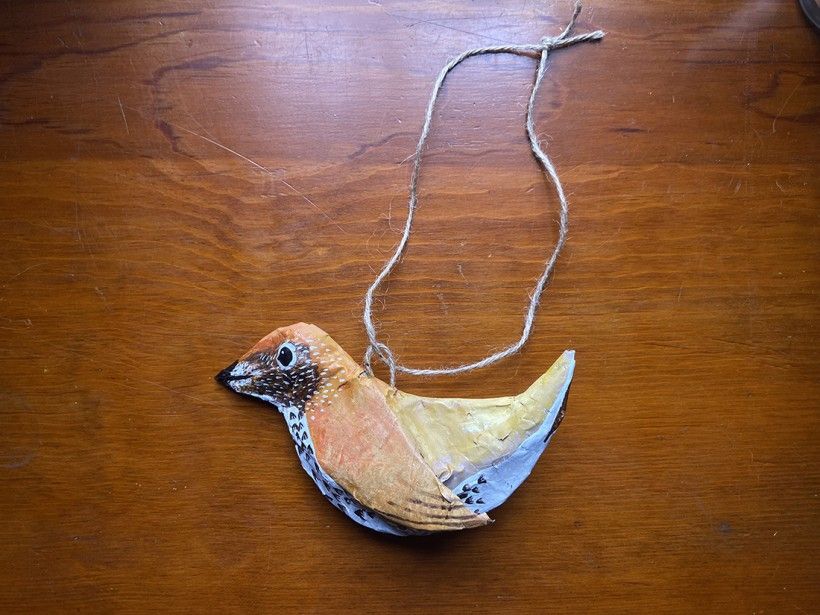
Step 11:
Once you have completed painting your bird, thread a longer strand of twine into the original loop that is secured to the model. Now you can enjoy the finished product as an addition to a window, wall, ceiling or even an indoor plant!