By: Oli Boyer, Education Intern, & Laura Westmoreland, Associate Educator for Adult & Community Programs
Sashiko is an ancient form of folk embroidery that originated in Japan. While originally used for repairing or reinforcing clothing, it transformed into an art form over time due to its simple beauty and durability. Sashiko, meaning “little stabs” in Japanese, follows the running stitch design, usually using white thread on indigo fabric. The patterns are often inspired by natural forms such as clouds, waves and flowers, or interlocking geometric patterns like stars, triangles and squares.
Image
Gather your supplies:
White embroidery thread
Indigo/blue cotton or linen fabric
Embroidery hoop
Embroidery needle
Scissors
Water soluble pencil/pen or fabric chalk
Ruler
Step 1:
Image
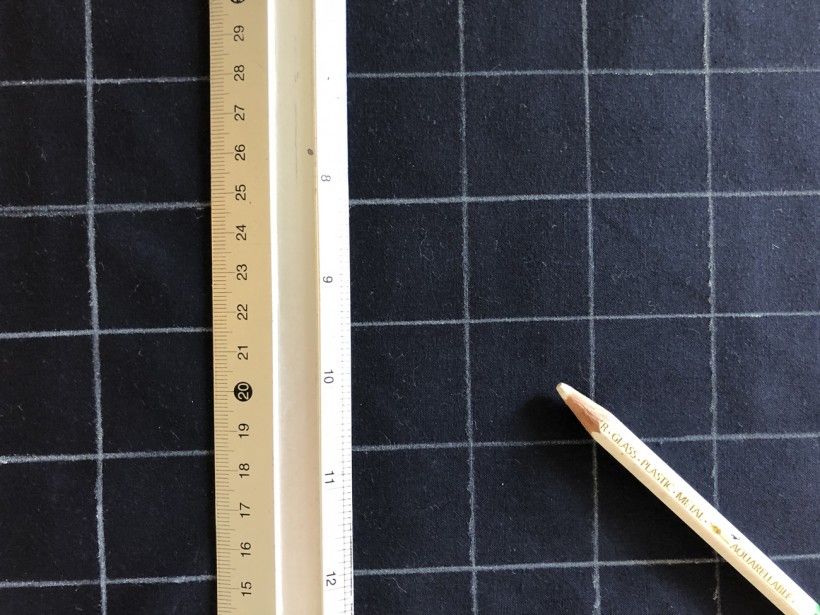
Traditional sashiko designs, while varied, are based on an underlying grid pattern. Using your ruler and a water-soluble white pencil, draw a grid on your fabric, spacing lines apart a half inch to one inch.
Step 2:
Image
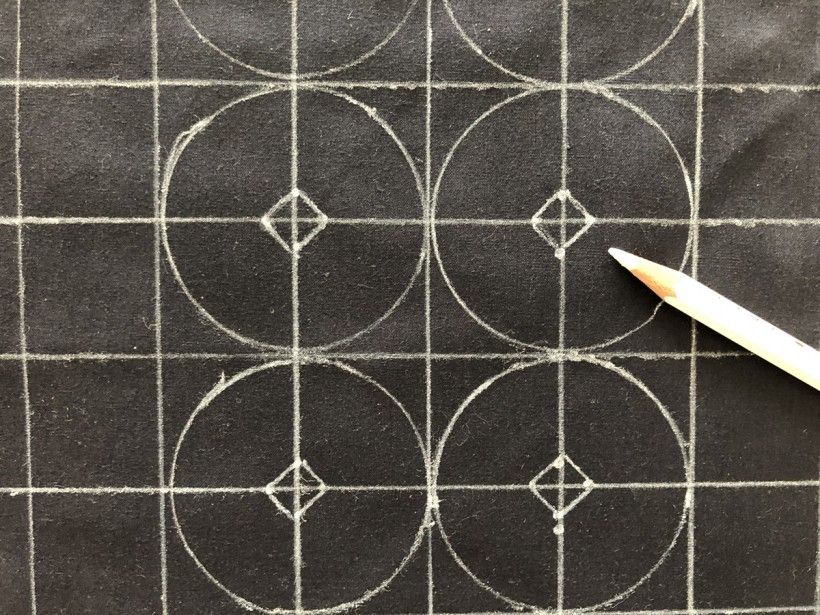
Draw a repeating pattern using your grid as a guide. You may use your ruler to draw lines or other objects, such as cups to trace circle or curved lines. For inspiration you can search online for sashiko designs. This pattern is inspired by the millstones that can be found throughout the campus of the Brandywine River Museum of Art.
Step 3:
Image
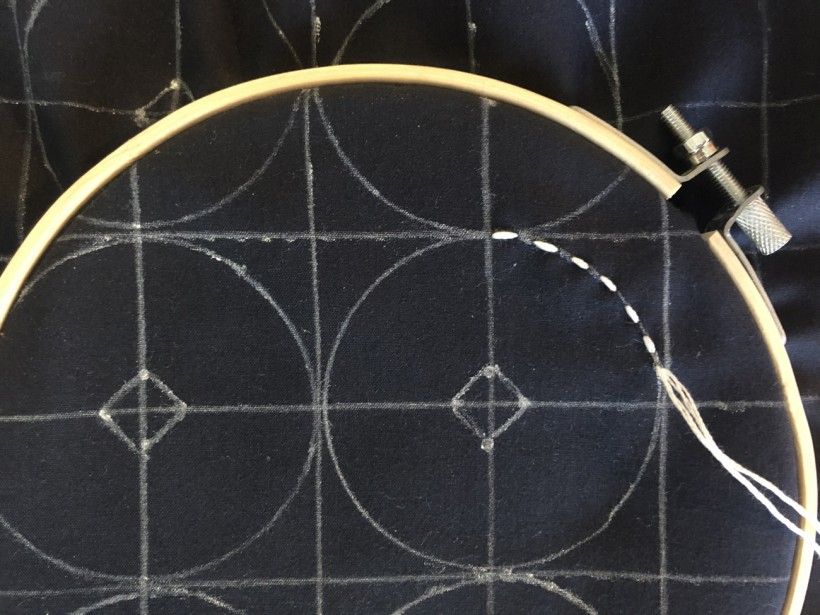
Choose a section to begin stitching and center it in your embroidery hoop, tightening it just enough to hold your fabric taut. Thread your needle with a 24-36” length of embroidery thread, without tying a knot at the end. Begin by bringing your needle up through the back of the fabric through one of your design’s lines. Pull the string through, leaving 4-5 inches of thread on the back side. You will later tuck this thread into other stiches to hold in place. Following your drawn design, begin stitching your pattern, creating stiches and spaces that are 1/16-1/8” inch wide. You may work your needle back and forth from front to back or you can pinch the fabric to do more than one stitch at a time. Try to make your stiches uniform and leave spaces between stiches when they intersect (do not cross any stitches for a traditional sashiko look).
Step 4:
Image
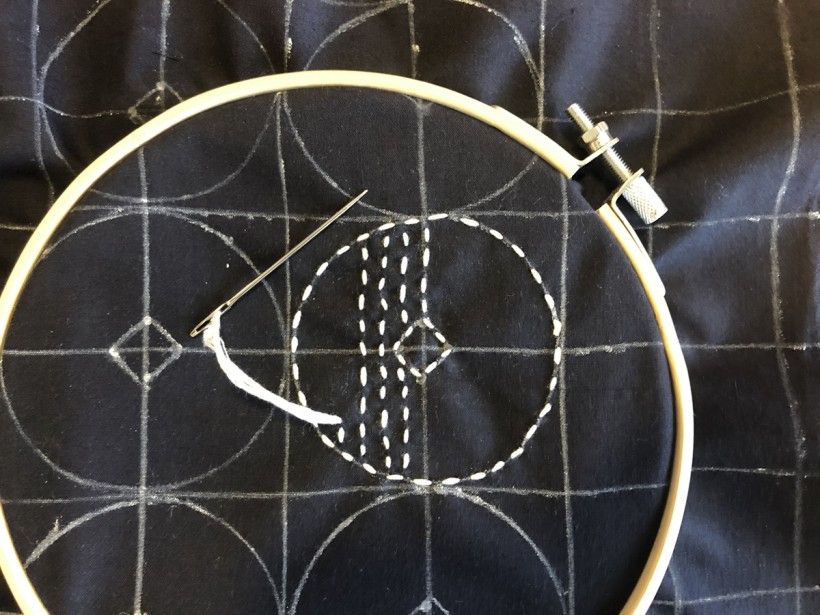
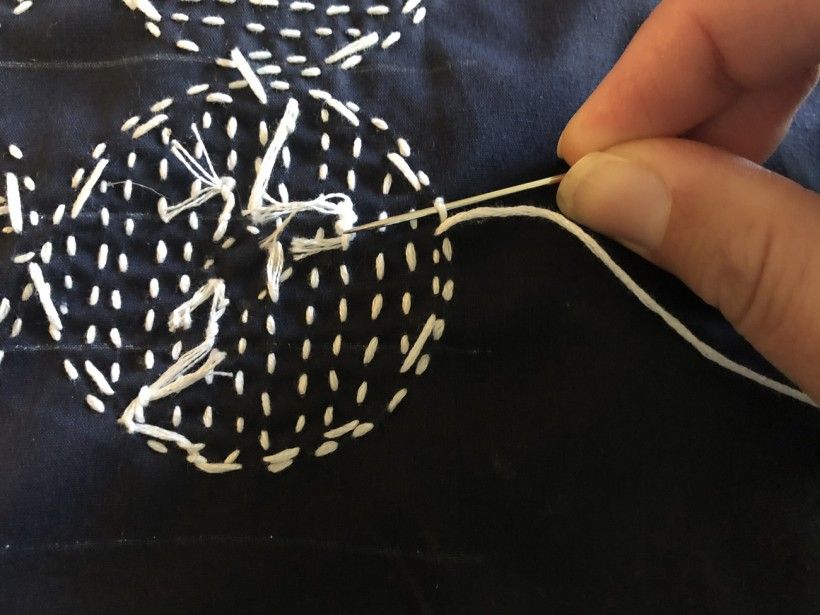
Continue to stitch your pattern, replacing your thread as needed. When you only have a few inches of thread left, and while your needle is on the back side of your fabric, slide your needle and thread under the closest stitch and pull it through. Slide it under the same stitch one more time, and as you are pulling it through insert your needle into the loop you have formed. Gently pull the thread tight, allowing a knot to form. Tuck some of the remaining thread under other stitches and cut off excess thread. Then follow the previous instructions to start again with a new piece of thread.
Step 5:
Image
When your design is complete, flip over your fabric and rethread your needle on any loose ends still hanging. Follow the same instructions to tie these off: slide your needle and thread under the closest stitch and pull it through. Slide it under the same stitch one more time, and—as you are pulling it through—insert your needle into the loop you have formed. Gently pull the thread tight, allowing a knot to form.
Step 6:
Image
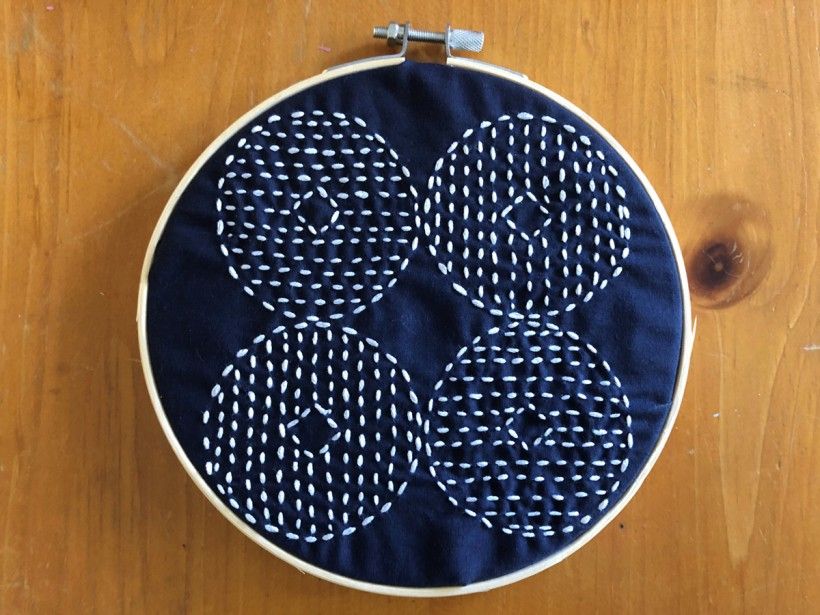
Finally, you can remove your white gridlines and drawn pattern by wiping them with a clean, damp cloth or sponge. If this does not fully remove them, you may gently hand-wash your fabric and allow to dry. Your final piece can be displayed in your embroidery hoop or stretched and framed. It can also be sewn into a quilt or other cloth item.
Image
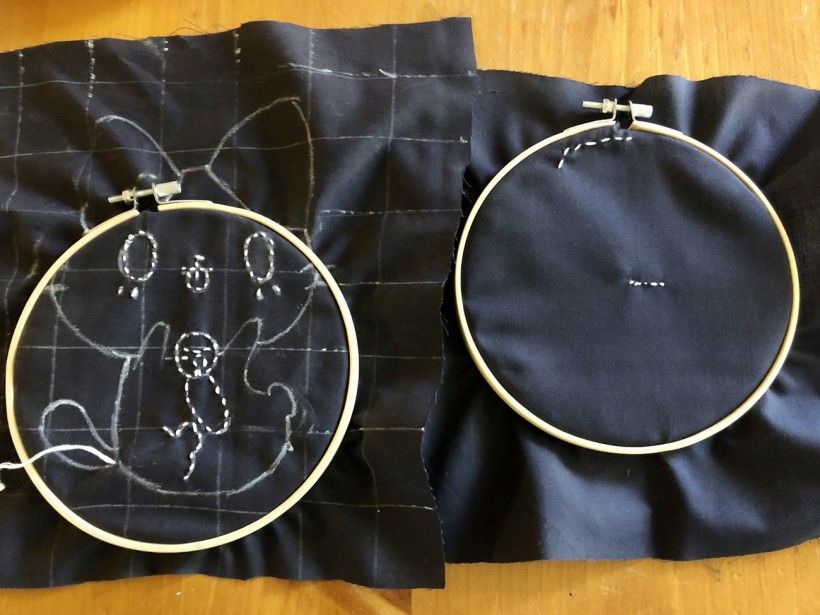
The simplicity of this project also makes it great for children who are ready to learn to sew. With adult supervision, they may create a simple design or draw a picture to trace with their stitches (like the one pictured above). Another option is to “draw” with stitches, following no pattern.