Winter Wonderland Snowflake Mobiles
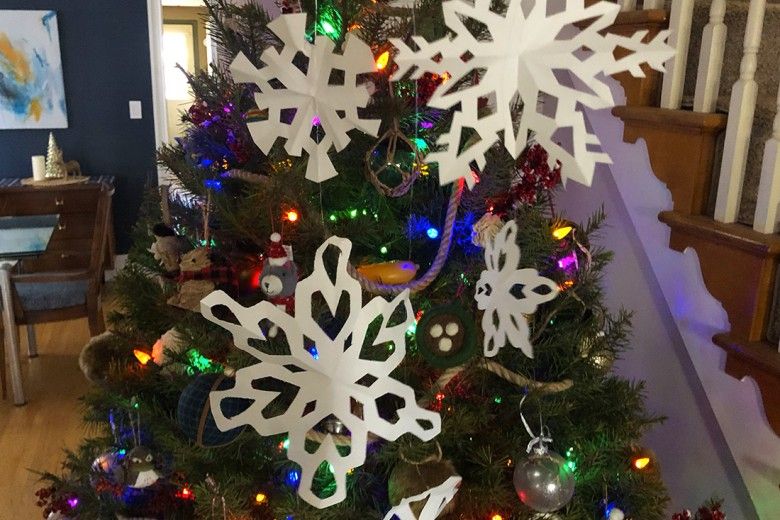
Snowflakes come in all different shapes and sizes, and it has been said that no two snowflakes are the same—however they all do share one thing. All snowflakes have six sides because they are made of water molecules which are in the shape of a hexagon! As the water molecule passes through the chilly sky, it freezes and grows, with six arms that stretch out and crystalize as it makes its journey to the ground. In this activity, learn how to make your own snowflake decorations! Grab some paper, scissors and string and join us in making a classic six-sided paper snowflake mobile.
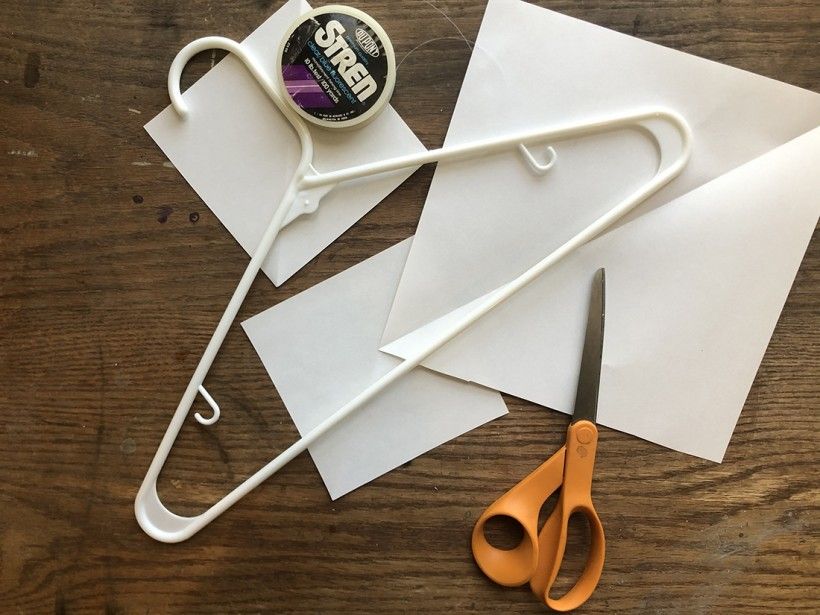
Gather Your Supplies
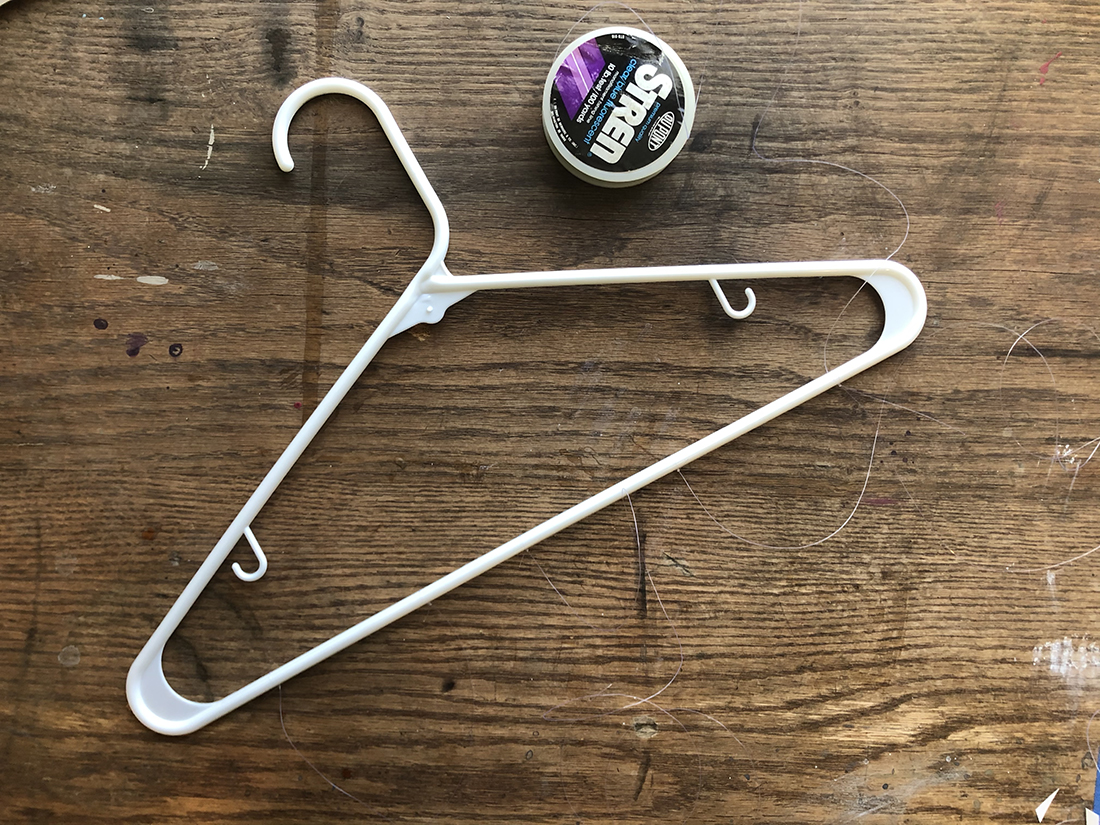
You will need:
- Square paper of any size (you can keep it classic with white paper or use whatever you like or have).
- Scissors
- String of any kind (this example uses fishing line because it is transparent and makes it look like the snowflakes are floating in midair)
- Clothes hanger
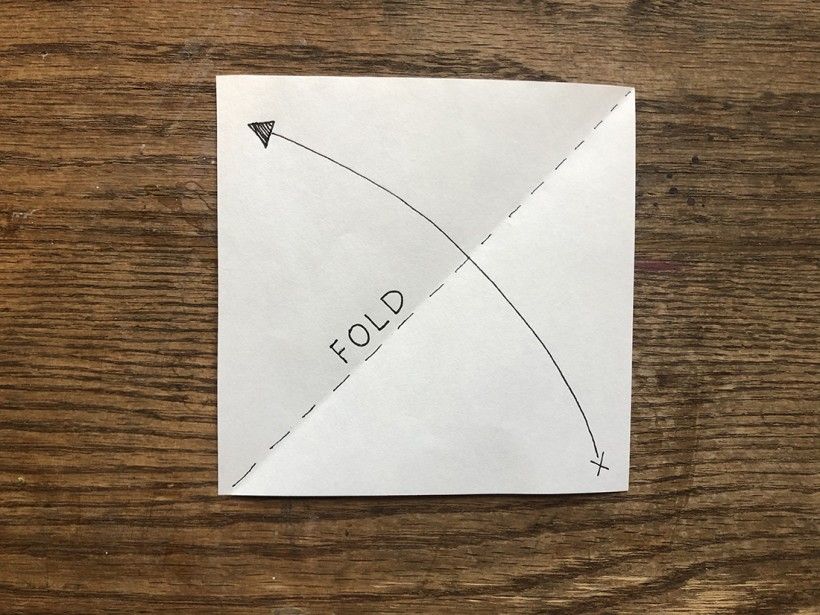
Step 1:
Fold your square piece of paper in half to make it into a triangle.
Pro tip: Make sure you press hard when you make the creases.
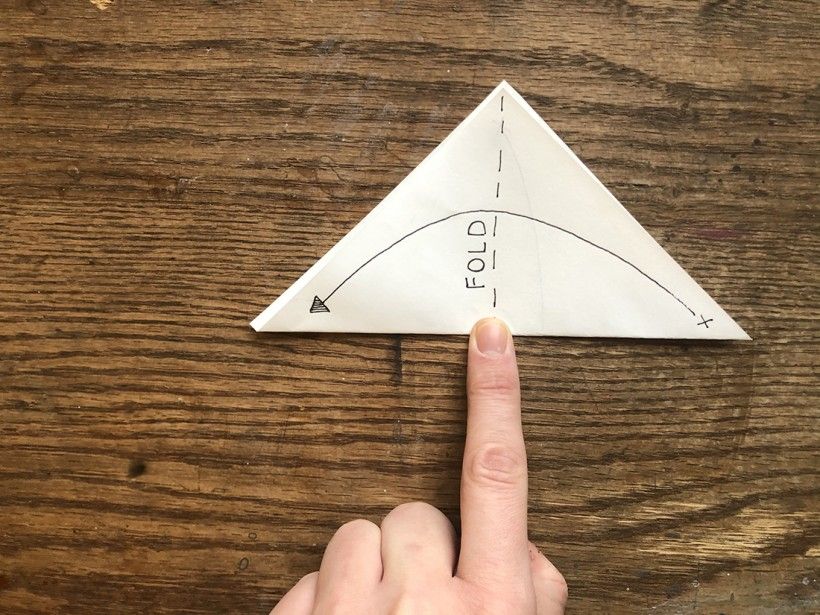
Step 2:
Fold it in half again. This will give us four sides; we are on our way to six!
Pro tip: Make sure you keep your finger on the center of your snowflake when you make your folds (notice where my finger is in the picture).
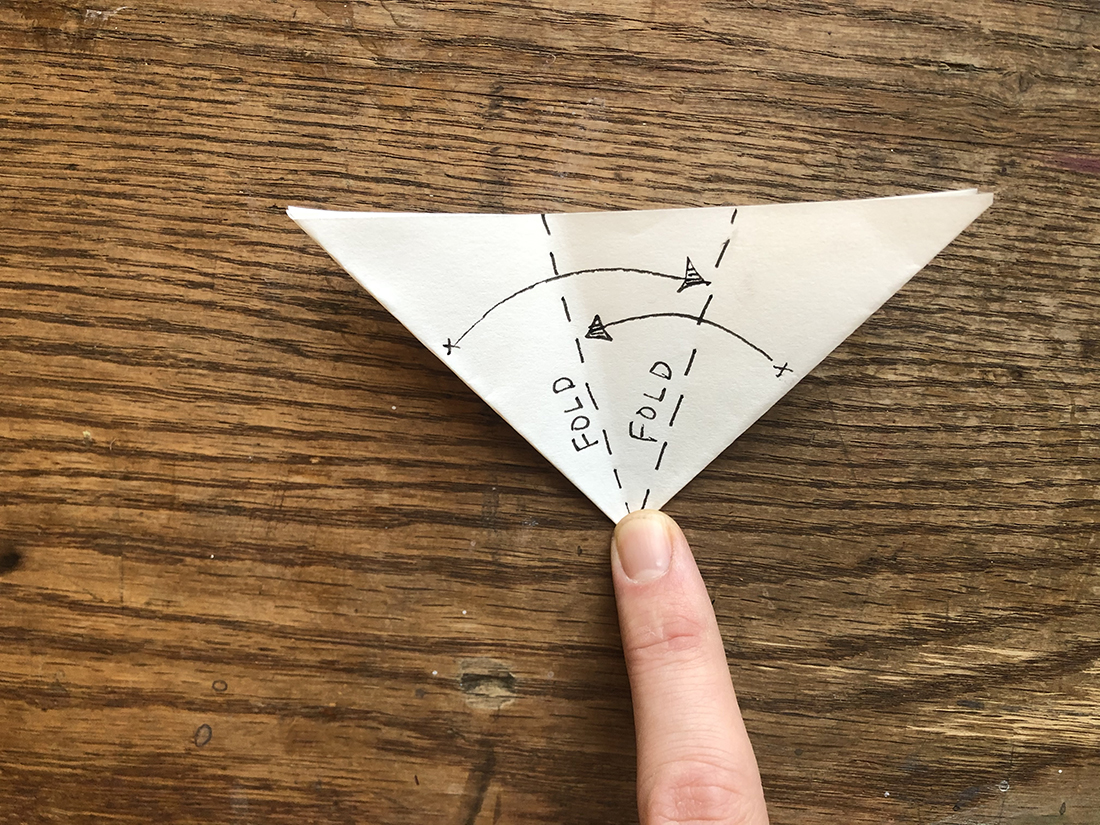
Step 3:
Fold your snowflake into thirds. This is tricky so be patient; if you don’t get it on the first time then try again. When you are done, it should look like a slice of pizza!
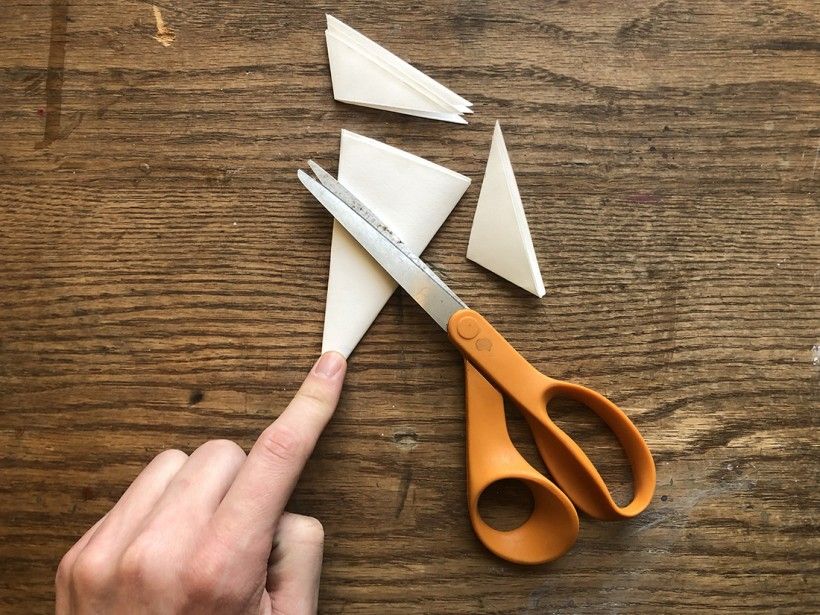
Step 4:
Cut the two triangles off the top to make a straight edge.
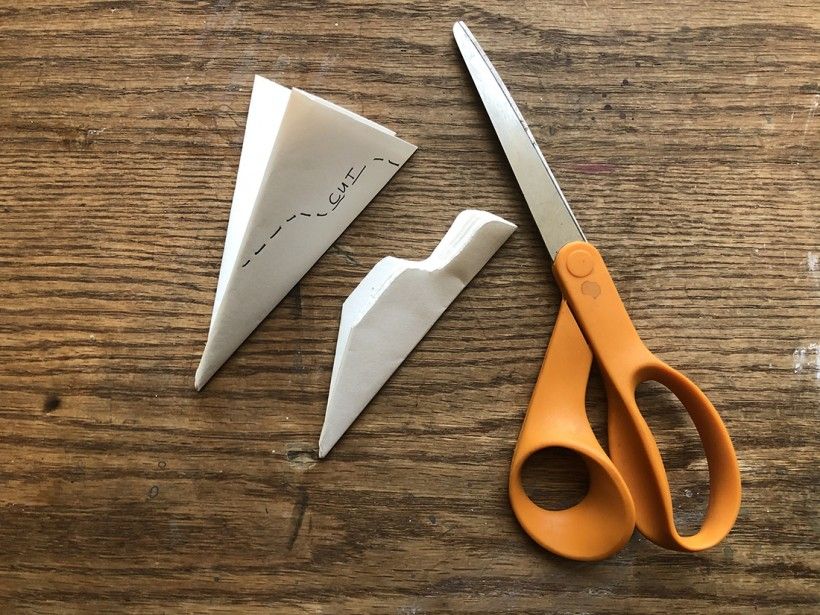
Step 5:
Start at the top corner and cut a fancy diagonal line.
Pro tip: Try drawing your line first.
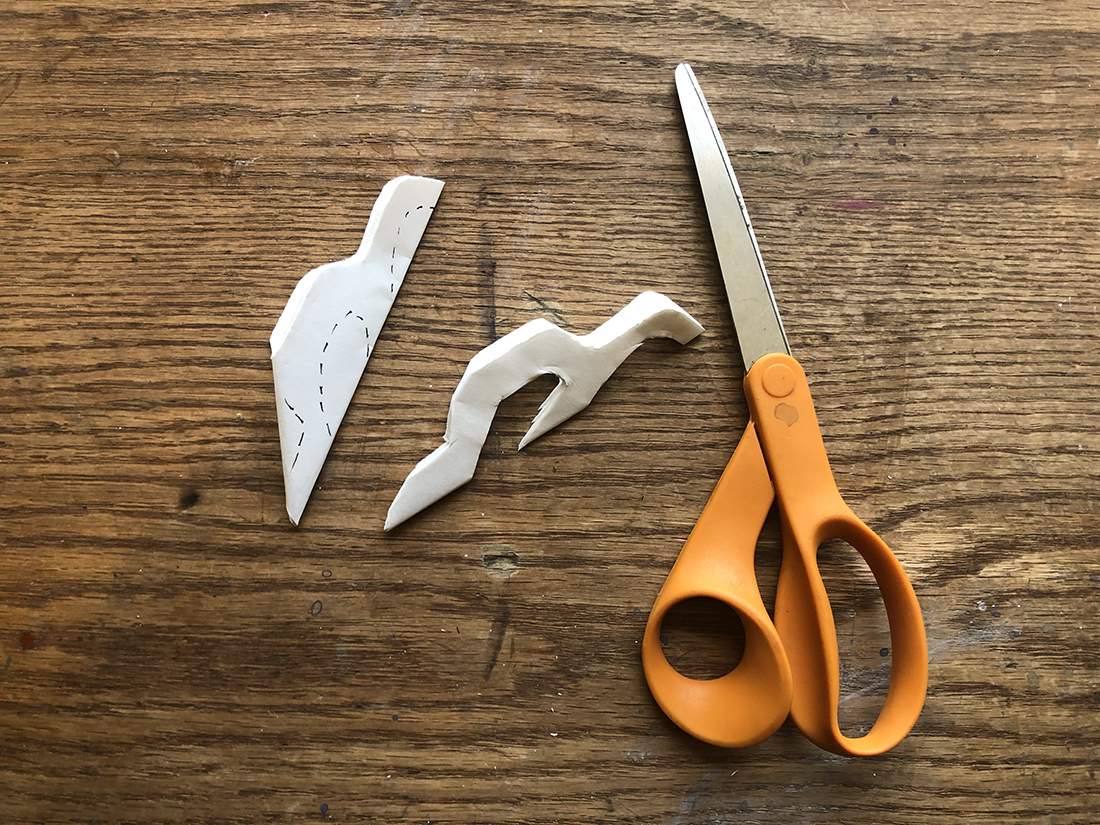
Step 6:
Cut a variety of shapes out of the sides of the paper slice.
Pro tip: Cutting lots of shapes will make your snowflake look intricate and delicate.
Step 7:
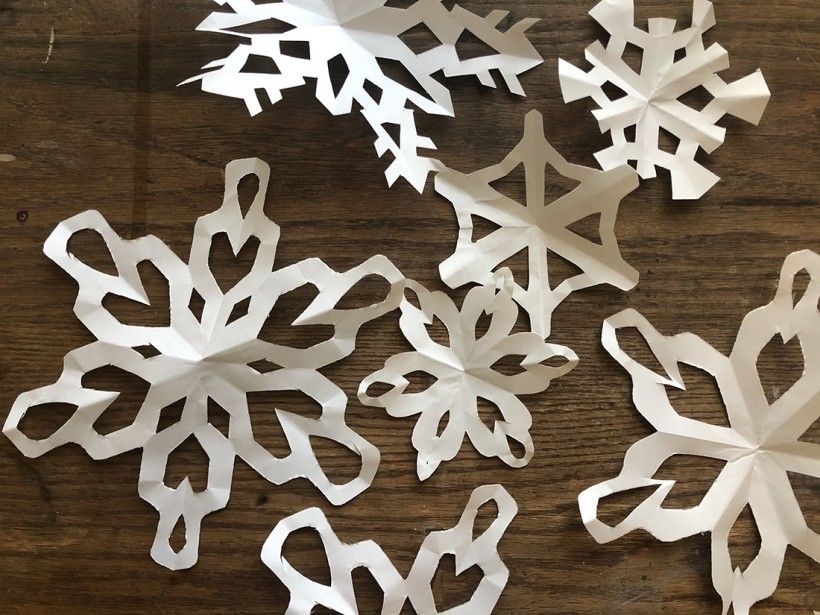
Repeat steps 1-6 until you are happy with the number of snowflakes that you have and then open all of them up. The more snowflakes, the bigger the storm!
Step 8:
Count your snowflakes and tie the same number of strings to your hanger.
Pro tip: Make sure your string is an assortment of lengths.
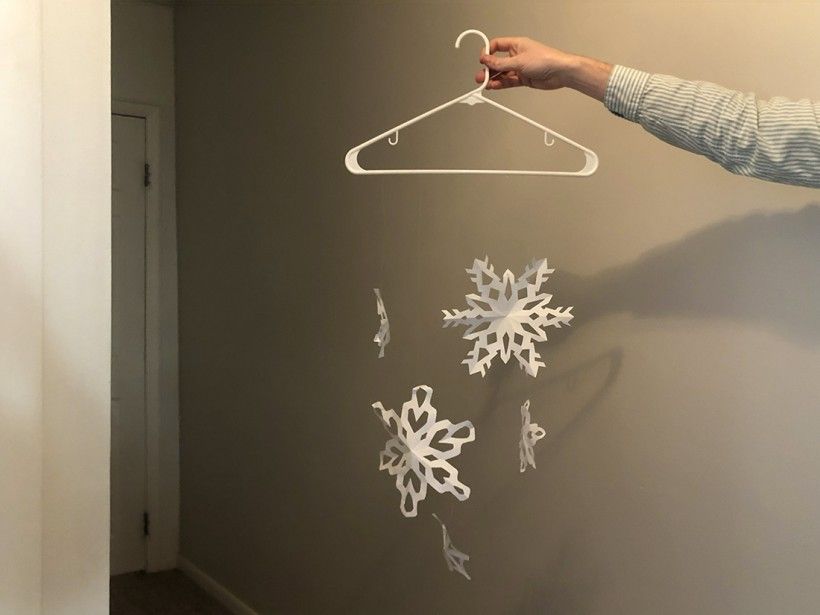
Step 9:
Tie your snowflakes to the ends of the string. And then hang your winter wonderland mobile wherever you would like to add to your collection of winter décor.
Pro tip: If you have hot glue gun or any strong adhesive, you can use that to attach the snowflakes to the ends of your string.