Sculptural Seed Bombs
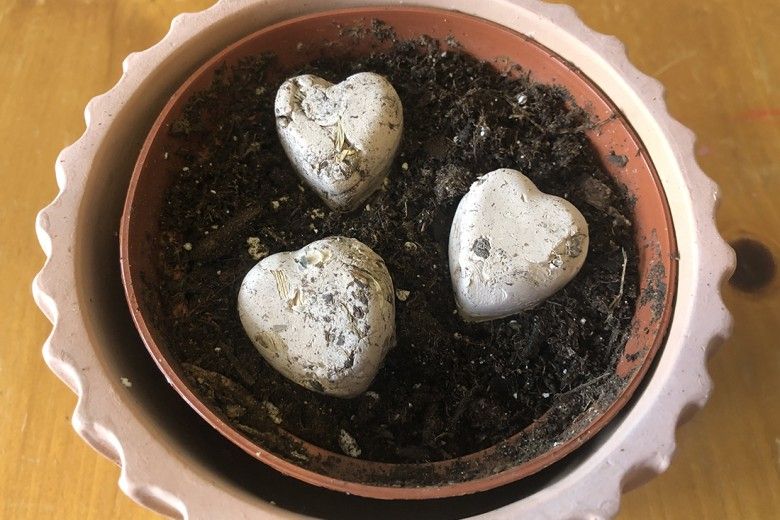
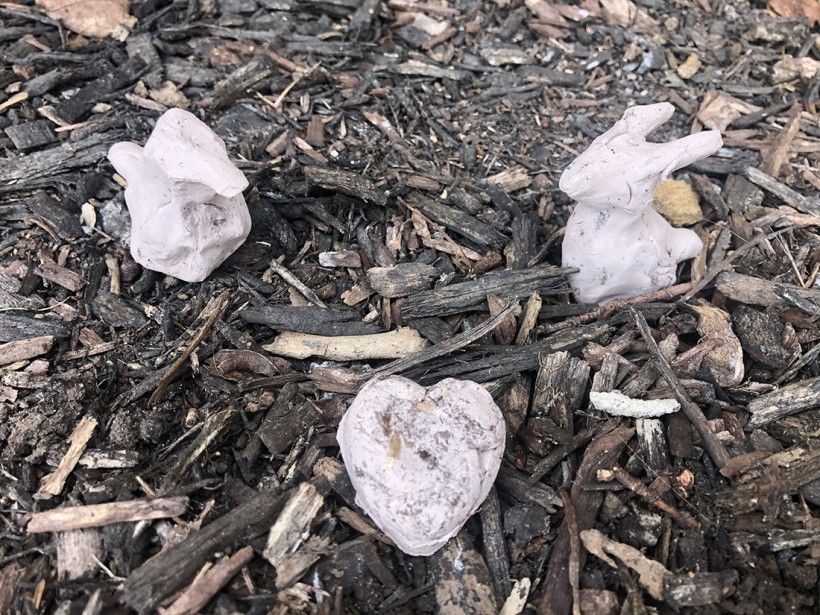
Spring blooms are one of our favorite parts of the season each year. One way to prepare for spontaneous spring planting is to create seed bombs that you can place outside. They can be made in almost any form, ranging from spheres that are easy to toss into garden spaces or even small sculptures to temporarily decorate your garden bed or planters.
Seeds bombs are more than just fun! They protect seeds from erosion, foraging critters, and harsh environmental conditions, giving the plants a good start to life.
Tips and Tricks for Making Seed Bombs
When choosing seeds, consider the environment of where you’ll drop your seed bomb. Be sure to select plants that require similar growing conditions, including light and soil moisture. We recommend using plants of similar height, too, so none are lost later in the season, or single species.
If you’re using annuals, plant after the last frost on a patch of earth where the weeds, grass and unwanted plants have been removed to give your seedlings the best germination rates; however, prep isn’t absolutely necessary as the soil and clay in your bomb will help your seedlings establish. Japanese farmer and author, Masanobu Fukuoka, who encouraged natural farming methods such as no till, is credited for creating “seed balls” to revegetate landscapes and did not believe in “excess actions!”1
If you’re using perennials, be sure to: 1). use species native to your region; 2). toss your seed bombs during the appropriate season to ensure seeds that require stratification receive it; and 3). be patient! Perennials are known to “sleep” in their first year, “creep” in their second, and then “leap” in their third, so patience is key.
Last tip: Use seeds in moderation to avoid competition among the seedlings and the need to thin them and remember to water your plants and keep them moist until they’re established.
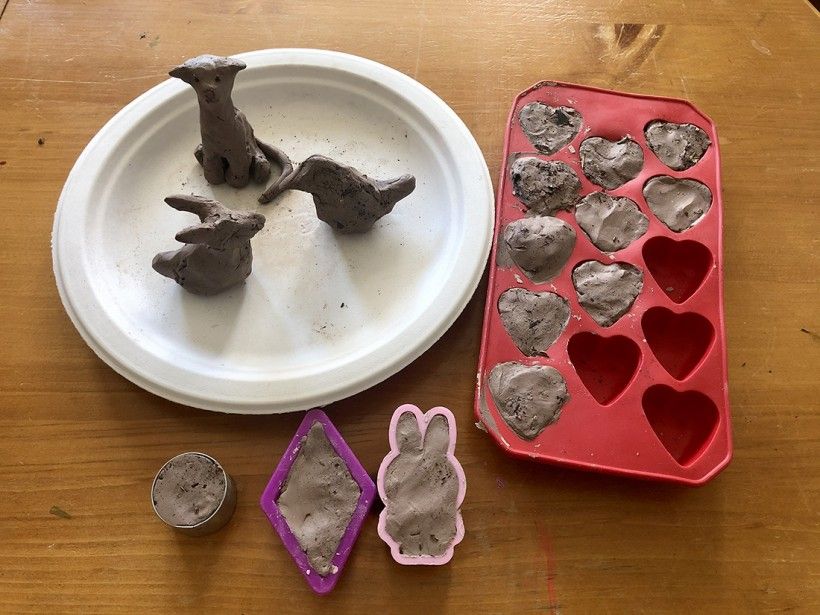
Supplies:

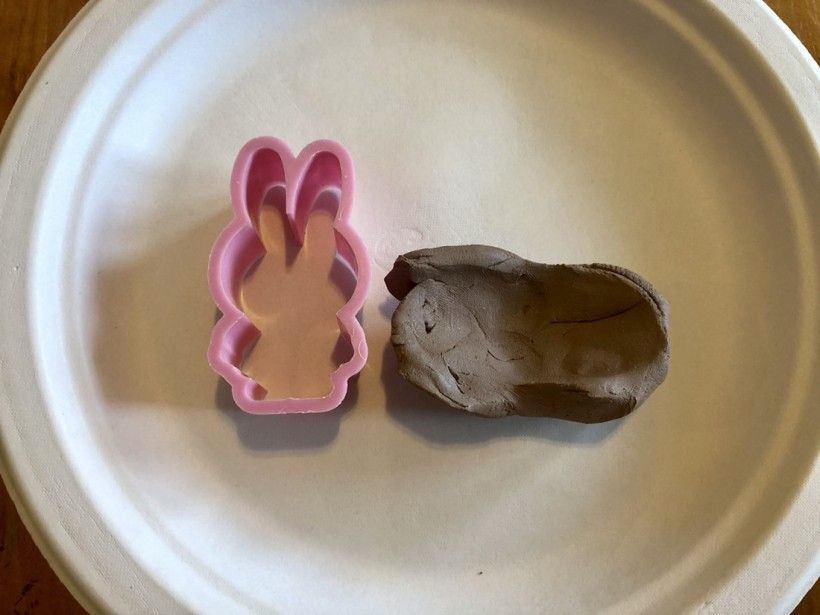
- Ceramic or air-dry clay (if using air-dry clay, be sure to look for all-natural kinds without synthetic ingredients)
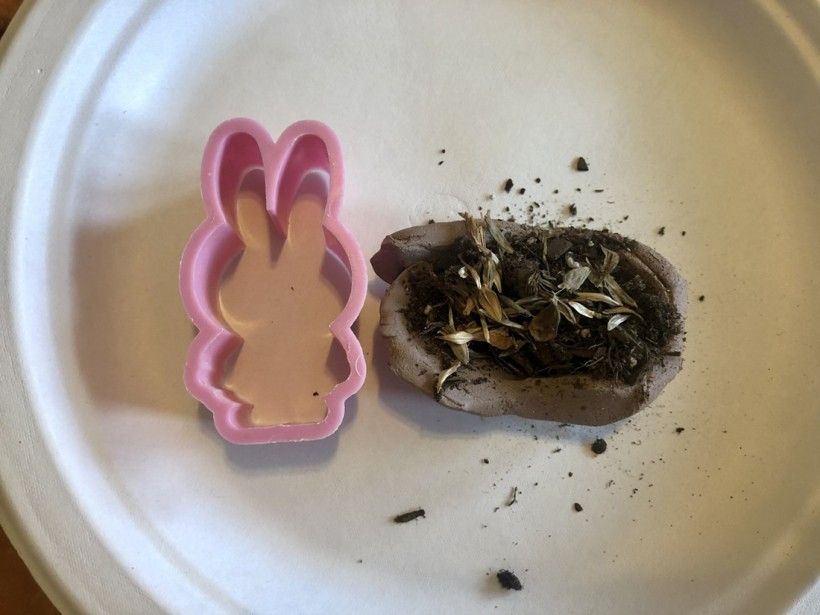
- Potting soil
- Seeds: see above tips for considerations in choosing seeds; a recommended combination is zinnias, spider flowers (Cleome) and verbena bonariensis
- Optional: A variety of small cookie cutters or molds, clay shaping tools
Step 1:
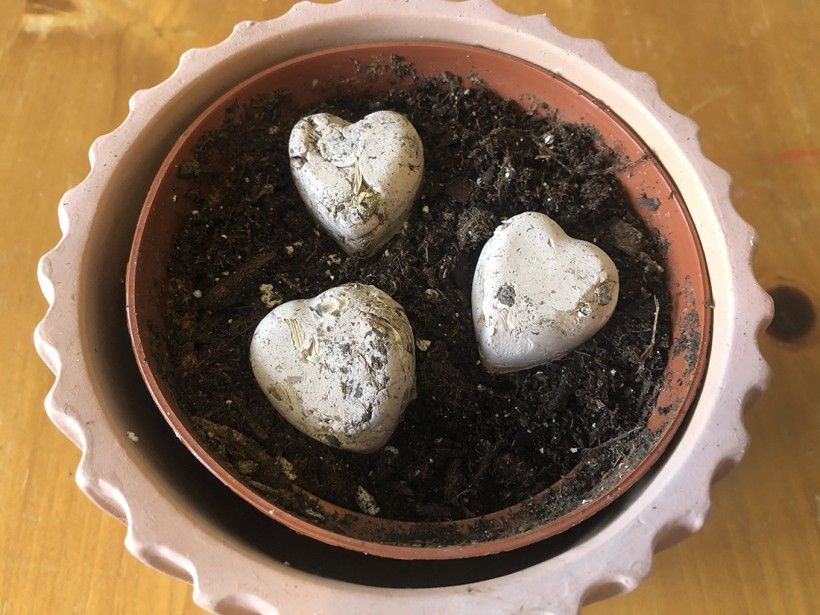
Pro tip: for seeds to sprout effectively, seed bombs should be small and no more than a couple of inches thick in any direction.
Step 2:
Step 3:
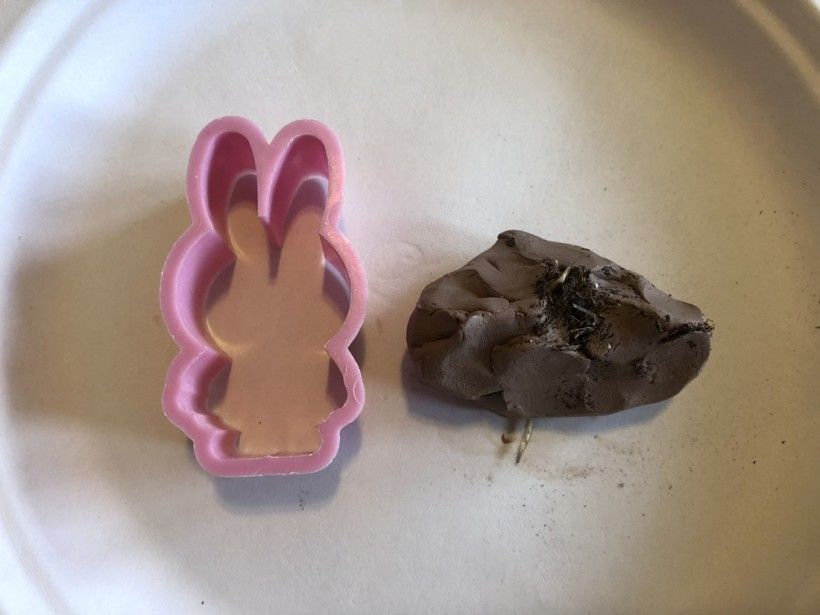
Step 4:
Step 5:
1 “About Masanobu Fukuoka.” Masanobu Fukuoka Natural Farm. https://f-masanobu.jp/en/