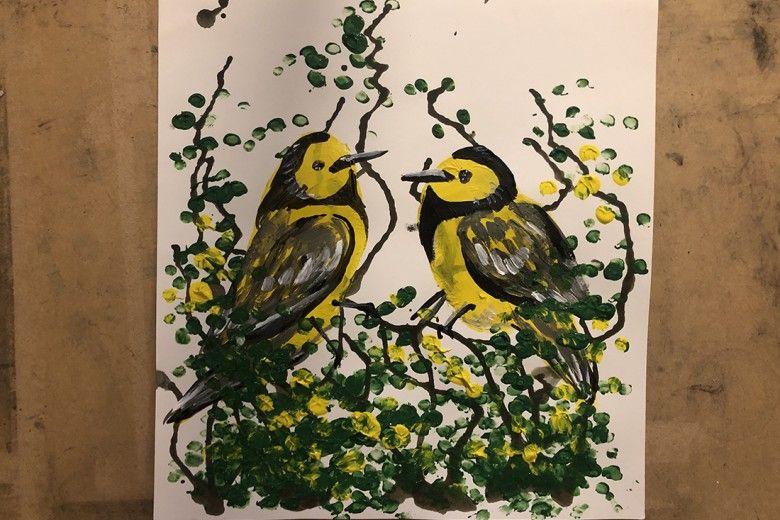
Many times artists find inspiration in nature. Luckily for us, the Brandywine is booming with animal activity this time of year. One animal that you should be on the lookout for is the Hooded Warbler. Though they are not a permanent resident of the area, they call the Northeast region home during the springtime when they are starting a family. In this activity, learn how to create your own “flock” of Hooded Warblers using a potato-printing technique.
Image
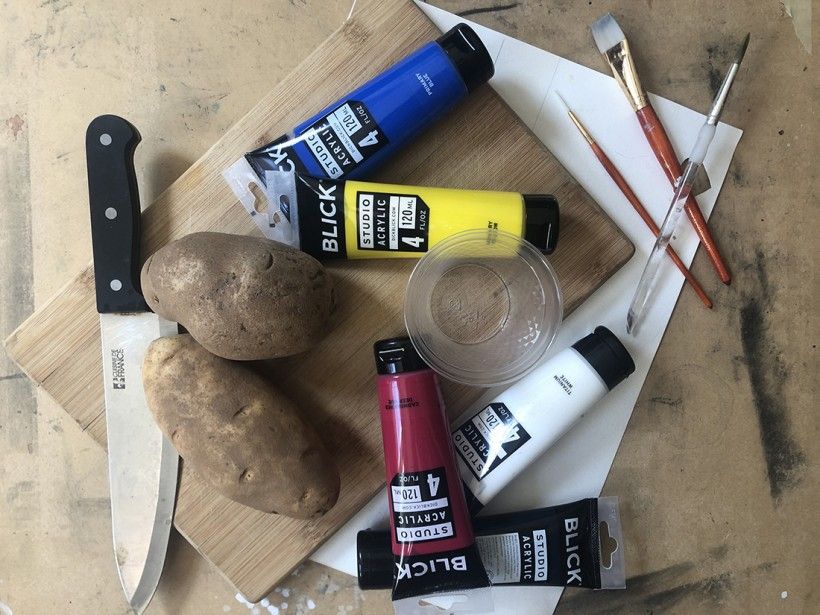
Potato printing supplies
Gather Your Supplies
You will need:
Any size piece of heavy paper
Palette (paper plates or scrap paper will do the trick)
A cup of water
Paint (I used acyclic)
Paintbrushes
Potatoes
A knife
A cutting board
Step 1:
Image
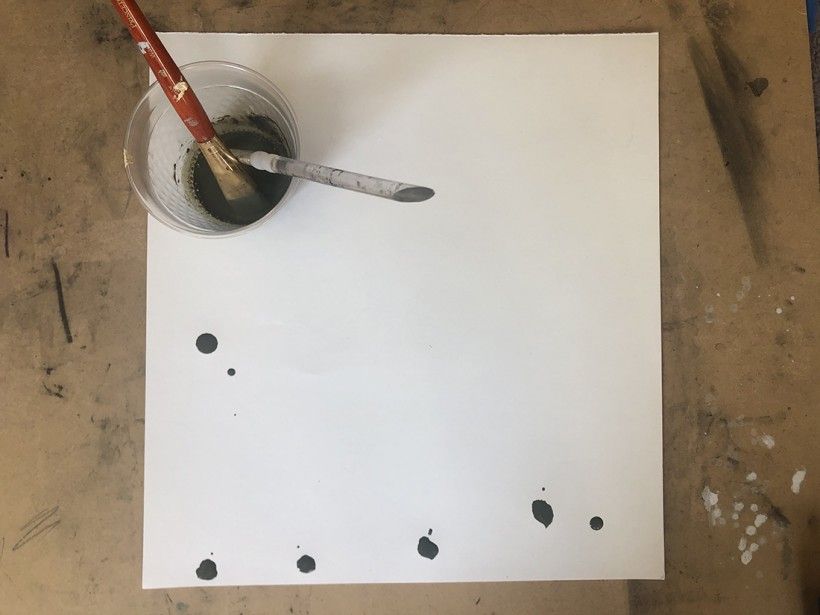
Potato printing step 1
Hooded Warblers find safety by building their nests in shrubs and dense young saplings. Begin your painting by mixing brown paint with water (the key is to make it drippy). Add several globs of watery, brown paint at the bottom of your paper.
Step 2:
Image
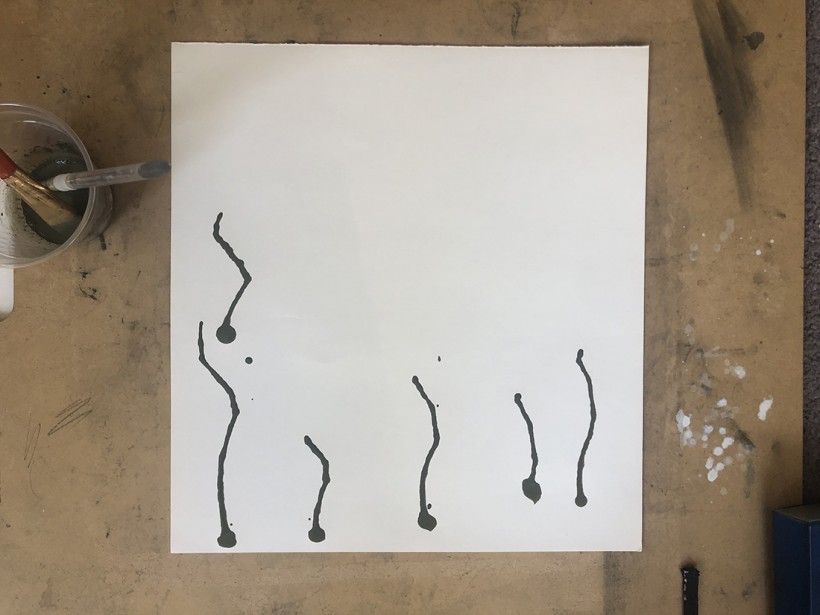
Potato printing step 2
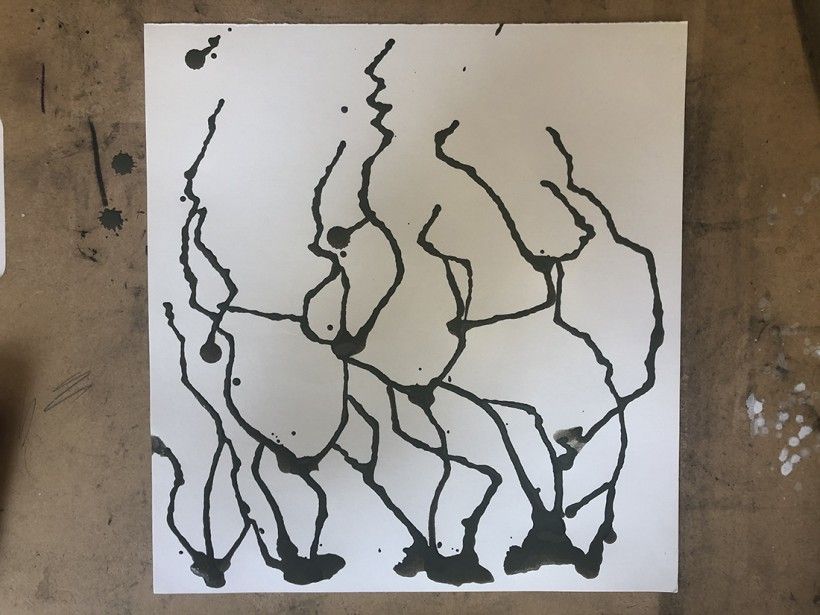
Act quickly! Once you added several globs of drippy brown paint at the bottom of your paper, tip your paper up and let the blobs drip.
Pro tip: These will soon be the branches of the bush that your birds live in. To make it look like real branches, jiggle, shake and turn your paper as you tilt it upright.
Step 3:
Image
Potato printing step 3
Repeat the last step to make many different branches. Remember, Hooded Warblers live in bushes, so that means many little branches.
Pro tip: Make more branches at the bottom of your paper to make the bush look natural.
Step 4:
Image
Potato printing step 4
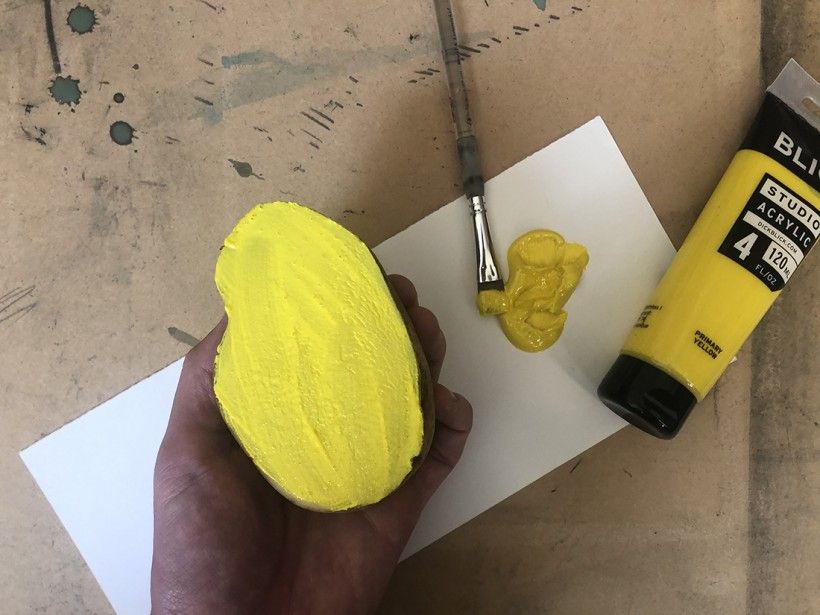
While the brown branches dry, ask an adult to help you cut your potatoes in half. Take note of the different shapes of the potatoes and how they might look as a bird body.
Step 5:
Image
Potato printing step 5
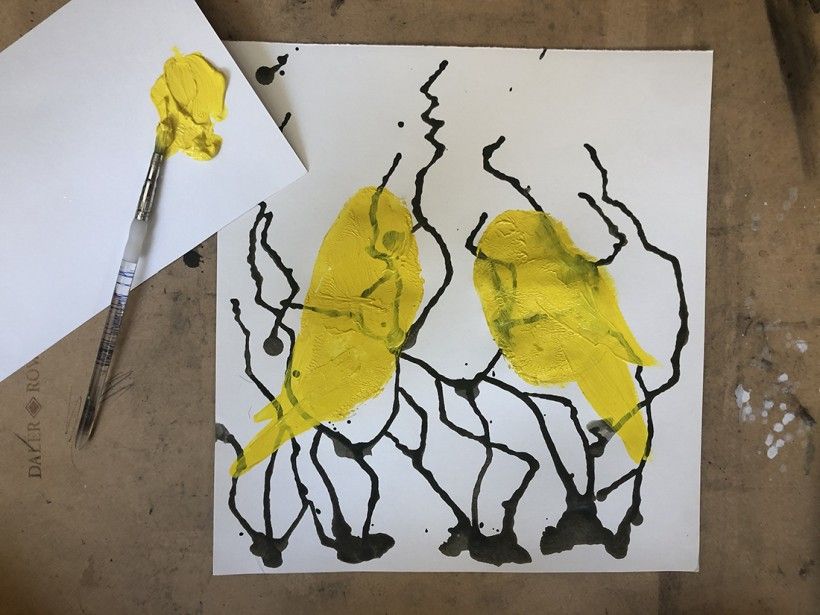
Paint the flat side of your potatoes yellow and stamp them into your picture. Be sure to press straight down and apply enough pressure to make a mark on your paper.
Step 6:
Image
Potato printing step 6
Add the tails onto your bird shapes by painting the letter "V" at the bottom of the shape and filling it in.
Pro tip: This is a good time to touch up any other parts of your bird where the branches are showing through the yellow.
Step 7:
Image
Potato printing step 7
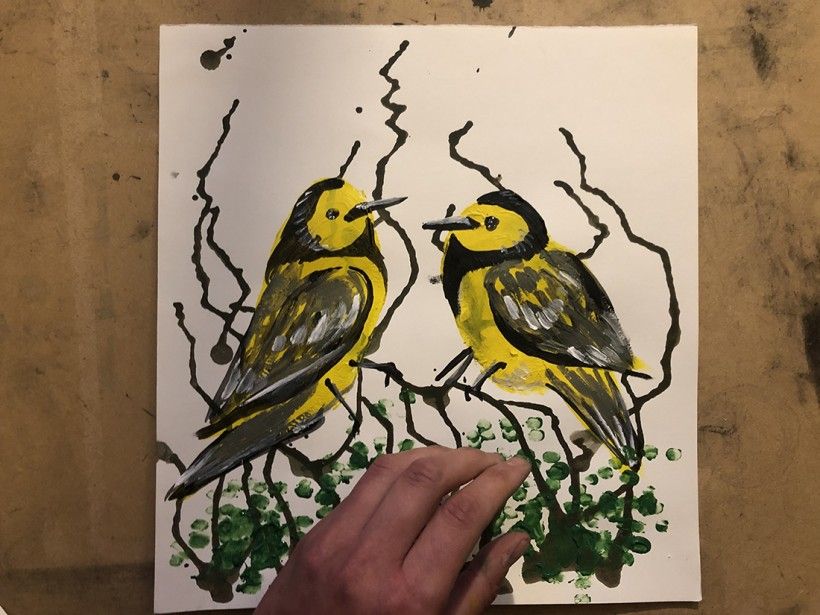
Add the details to your bird. Start by painting a curve of black that goes around the back of the head, in the shape of the letter "C". Opposite the black "C" that you just painted, add a long thin triangle for the beak and a little black dot for the eye. Using black and grey, add short brush strokes for the feathers on the body, but make sure you leave the head and the belly nice and bright yellow. The last part of adding details is to add a few white lines throughout the body to really make them stand out!
Pro tip: A thin brush is helpful to make all those feathers and don’t be afraid to let the gray and black paint mix a little bit as you paint!
Step 8:
Image
Potato printing step 8
Add on the leaves of the dense and safe bush by dipping your fingertips in green paint and stamping throughout the branches. Don’t be afraid to overlap your leaves on top of your Hooded Warblers.
Pro tip: Start with green and then add some yellow. Start at the bottom and make lots of leaves and make less as you go toward the top of the paper.
Future Fun: Springtime is an exciting time for watching the birds and a basic potato stamp body can be used for any kind of bird you like! What other birds do you see in your backyard? Take notice of what color their feathers are and where they like to make their nest.