By: Laura Westmoreland, Associate Educator for Adult & Community Programs
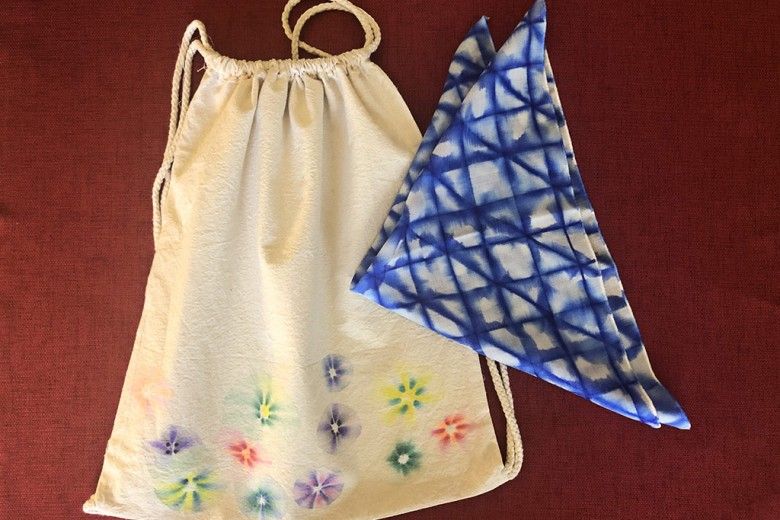
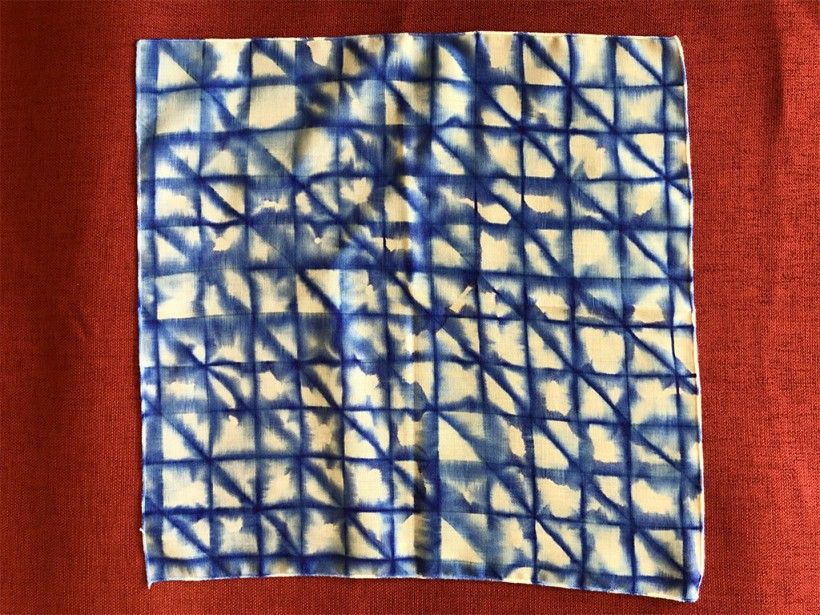
Fun meets fashion! Be inspired by the bright colors of spring and brighten up bandanas, napkins, t-shirts and more with colorful effects using permanent markers and rubbing alcohol. All ages can create designs, but adult supervision required—these vibrant designs won’t wash out!
Image
supplies
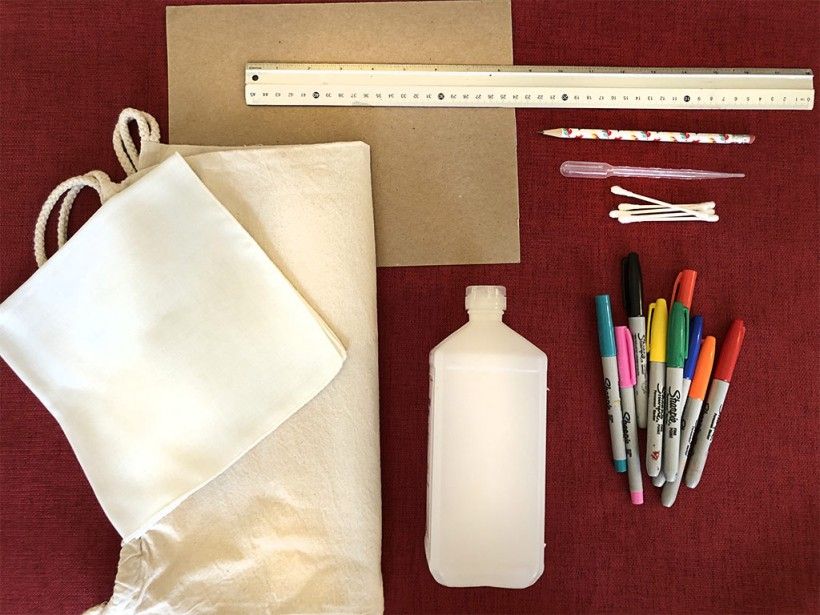
Gather Your Supplies:
Light-colored fabric such as cloth napkins, canvas bags, t-shirts, bandanas, etc.
Alcohol-based, permanent markers (such as Sharpie brand)
Rubbing alcohol
Cotton swabs and/or pipette dropper
Protective surface to work on such as cardboard or plastic
Optional: pencil and ruler for planning design
Image
sketch
Step 1:
If desired, sketch out a design lightly in pencil on your fabric. A ruler can be used to evenly space elements and draw straight lines.
Image
sketch with marker
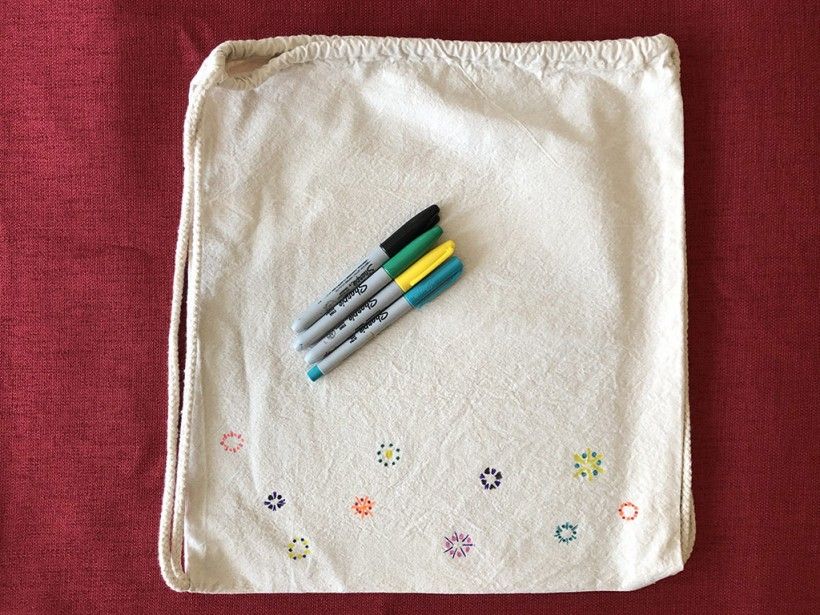
Step 2:
Use your permanent markers to draw your design.
Image
marker sketch
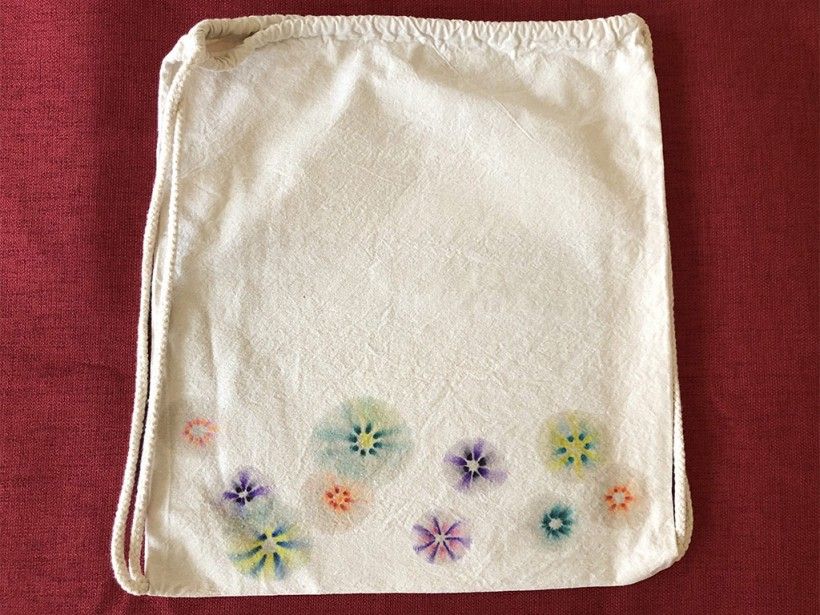
Tip: Try drawing circles and multi-colored circles to create a color burst effect!
Image
applying alcohol
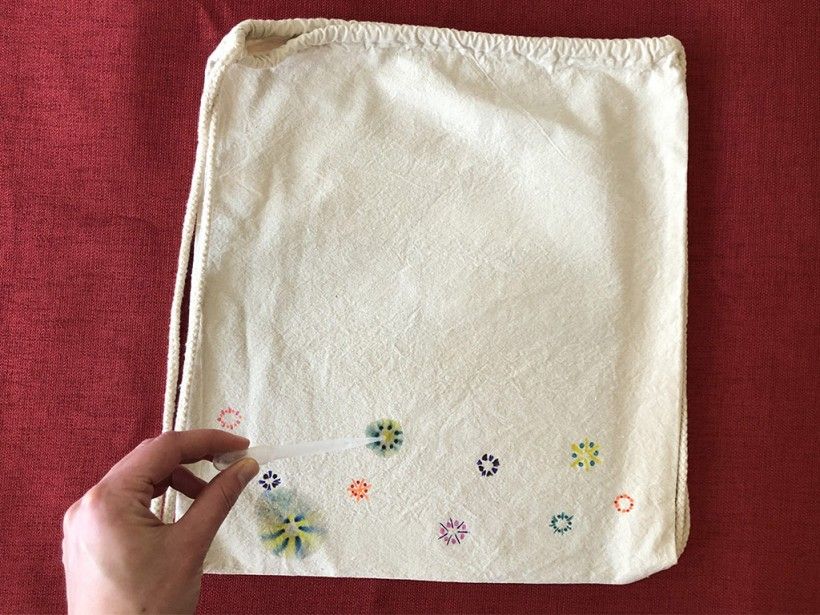
Step 3:
In a well-ventilated area, use a cotton swab or a pipette dropper to apply rubbing alcohol over your design. The more rubbing alcohol you use, the more your colors will spread with watercolor-inspired effects.
Image
applying alcohol
Tip: Dropping rubbing alcohol in the center of your circle designs will cause the colors to move outward in a beautiful burst.
Image
finishing project
Step 4:
Continue to cover as much of your design with rubbing alcohol as you like.
Image
finishing project
Step 5:
When you are satisfied with your design, allow your fabric to fully dry. After that, your fabric is safe to wash if needed.