By: Liesl Mahoney, Associate Educator for School & Family Programs
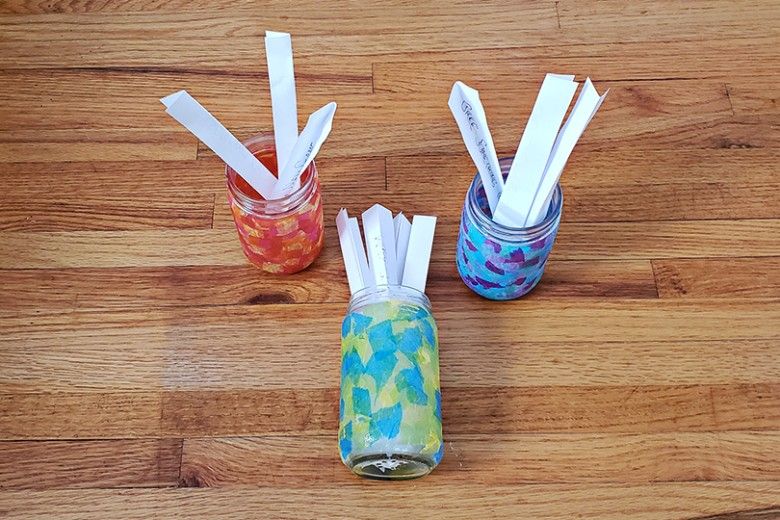
With so many things—including schools—being closed, the phrase “I’m bored” is becoming a common one in many households. But this fun Activity Jar project can help drive those feelings away! Not only is making the jar fun, but when it is complete you can fill it with both indoor and outdoor activities for your kiddos to do. Whenever you hear the phrase “I’m bored,” have the child pick an activity out of the jar.
Image
list of supplies
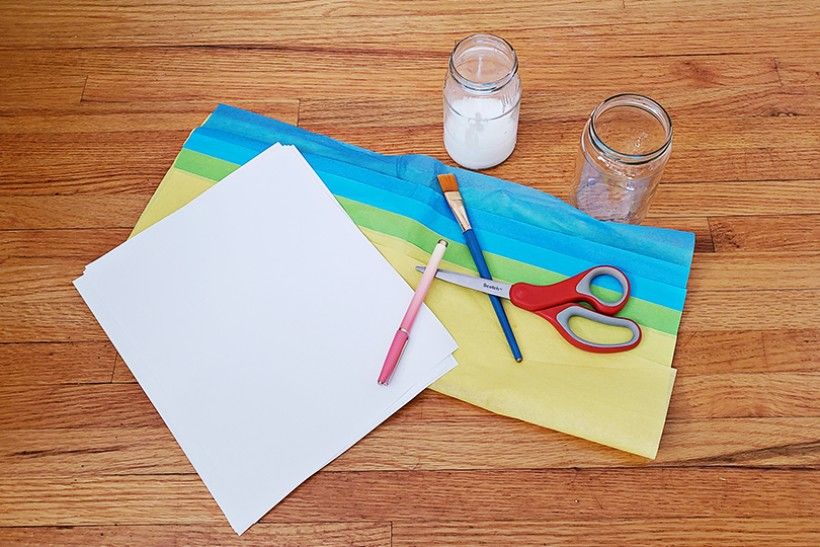
Gather Your Supplies:
A clean empty jar (think of that old salsa or pickles jar from your refrigerator)
Mod Podge or a glue solution made with half white glue and half warm water
Paint brush
Tissue paper
Plain paper to write on
Pen
Scissors
Image
cut up paper
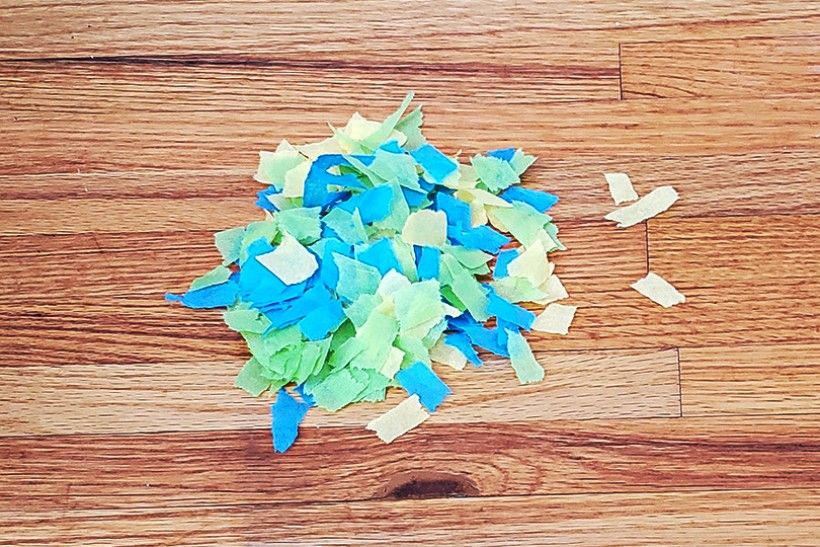
Step 1:
Rip or cut up tissue paper into smaller pieces—be as creative and intricate as you like.
Image
putting glue on the jar
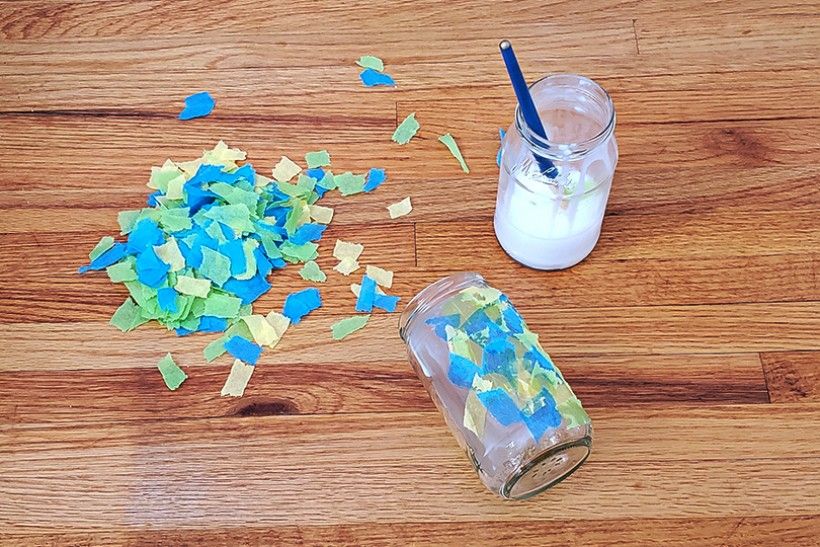
Step 2:
Using the paintbrush, paint a third of the outside of the jar with the glue solution. Start sticking on the tissue paper all over the glued areas. Try overlapping the paper for color mixing. Repeat until the entire jar is covered in tissue paper.
Then, apply a coat of glue solution over the whole jar. This will help hold down all the pieces of tissue paper. The glue will dry clear.
Image
cut strips of paper
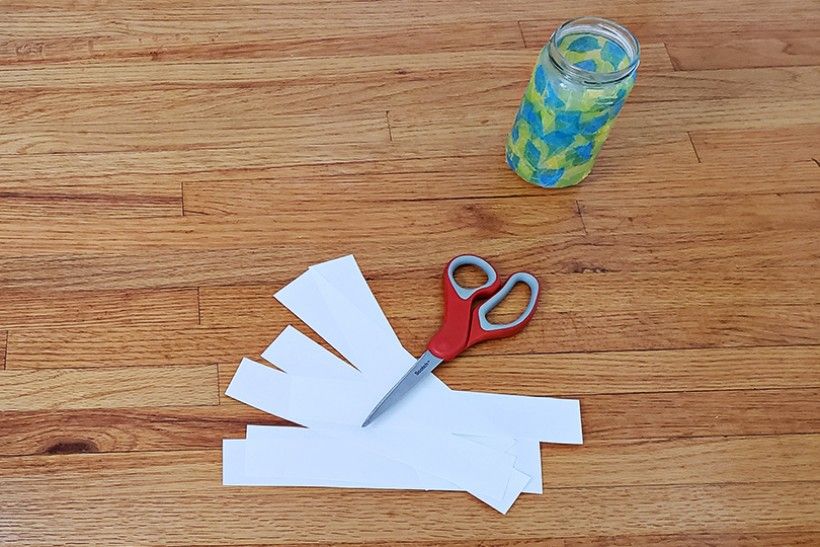
Step 3:
Set the jar aside to dry and move on to the paper and scissors. Cut the plain paper into strips that are long enough to stick out of the jar when they are placed inside and wide enough to be folded in half lengthwise.
Image
writing down activities
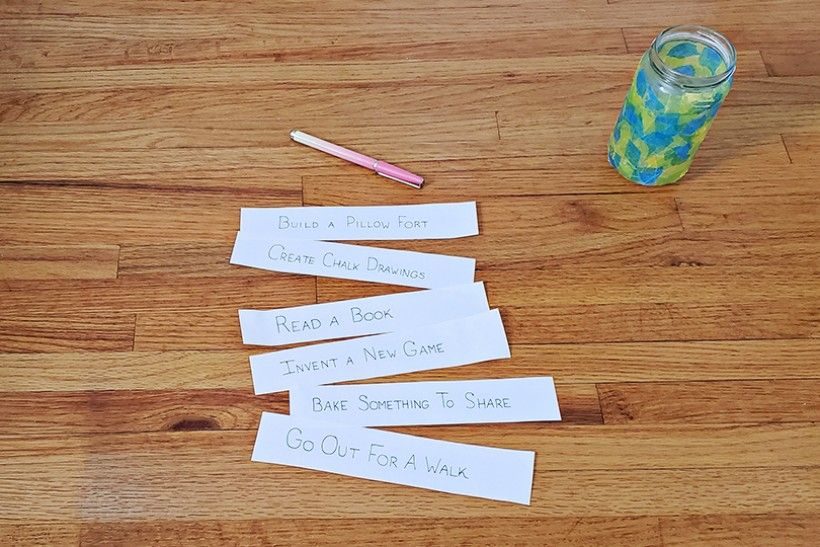
Step 4:
As a family, discuss your ideas and write down a variety of activities. Some examples are: bake something to share, build a pillow fort, hunt for four leaf clovers, invent a new game to play, etc.
Image
completed jar project
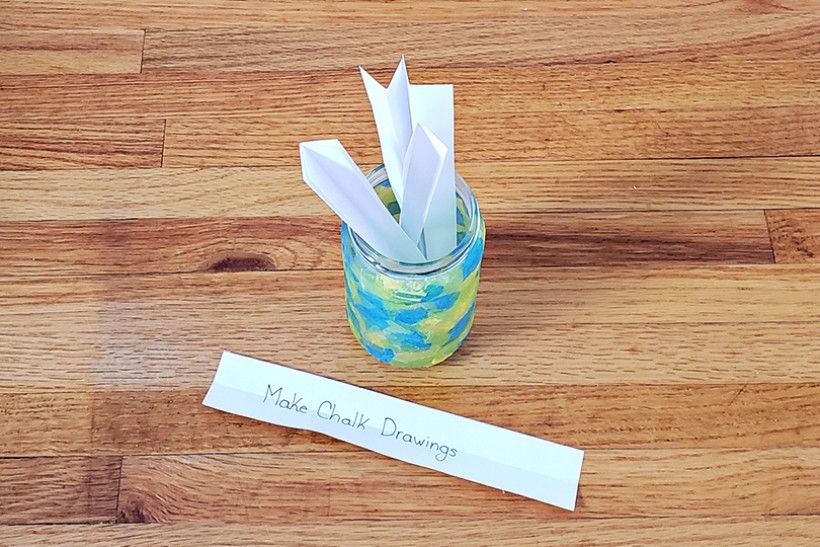
Step 5:
Fold the activity sheets and place inside the jar once it is dry. Place the Activity Jar somewhere your kids can access when they are feeling bored.