By: Laura Westmoreland, Associate Educator for Adult & Community Programs
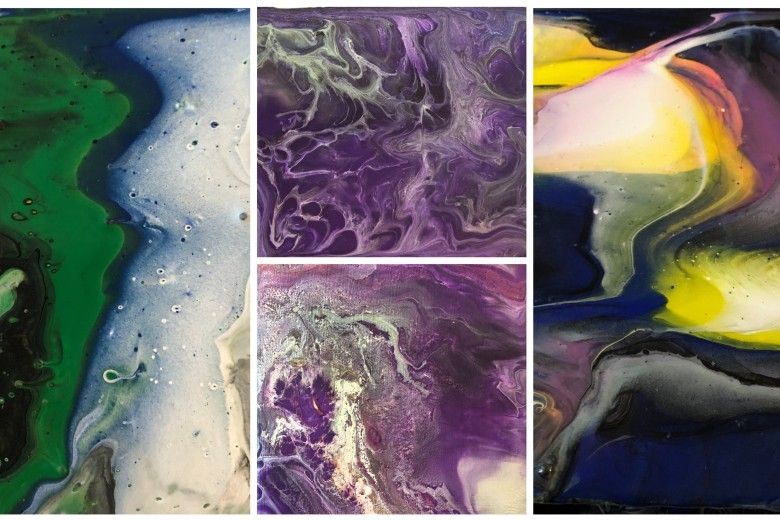
Paint pouring is an easy and high-impact technique for artists of any age or skill level. There are many professional-quality materials available for paint pouring, but this family-friendly introduction to the technique uses inexpensive and washable materials that you may have on-hand. See what one-of-a-kind designs you can make!
Image
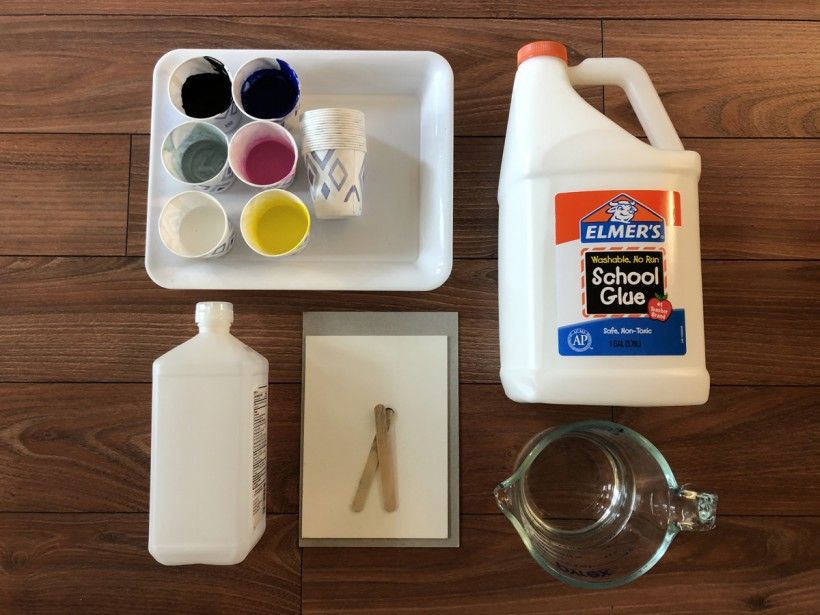
Paint pouring supplies
Gather your supplies:
Workspace: a tray or plastic-covered table (it WILL get paint on it)
Paints: A few colors (at least three) of tempera or poster paint; acrylic craft paints may also be used, but will not be washable. Volume will depend on the size of your painting surface, but 1 oz. per color is a good place to start for a small surface.
Small disposable cups, one per color, plus one for each painting you plan to make
Water for thinning paint
School glue, white or clear
Mixing sticks or spoons
Firm surfaces to paint on such as canvas panels, wood boards, or chipboard
Optional: Rubbing alcohol (not necessary, but will help create more interesting paint designs)
Image
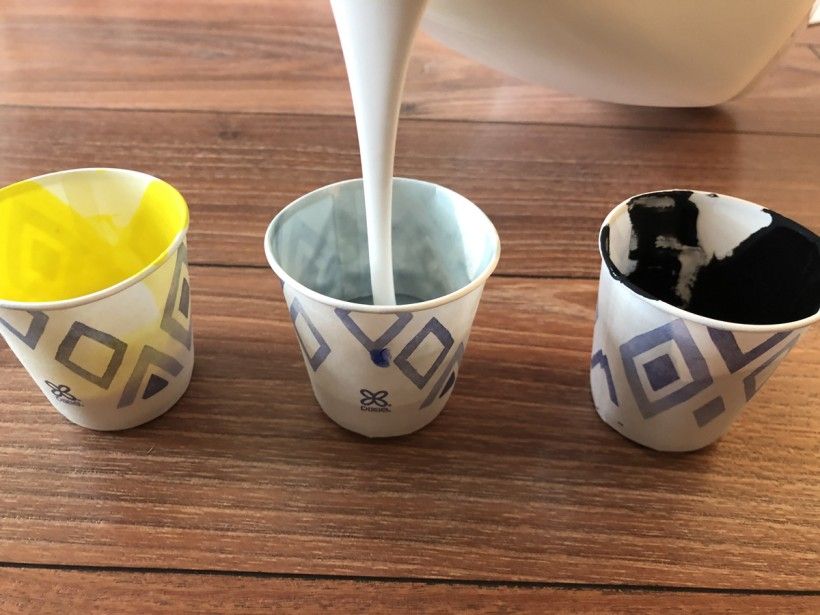
Filling up paint pouring cups
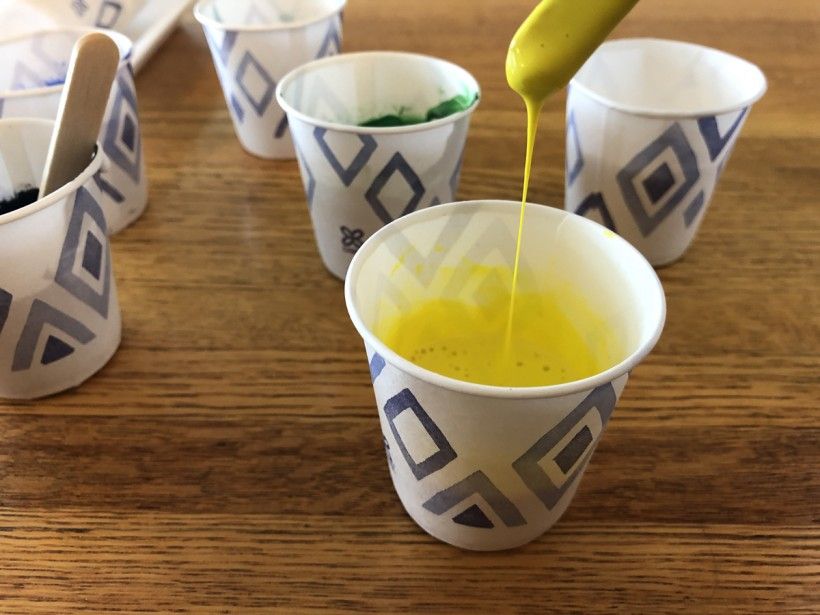
Step 1:
Pour about an ounce of each color paint in separate disposable cups (more if you are planning to cover a larger surface or make multiple paintings), then add an equal amount of glue to each cup (make a 50/50 ratio of paint to glue in each cup). Mix together.
Image
Mixing paint pouring cups
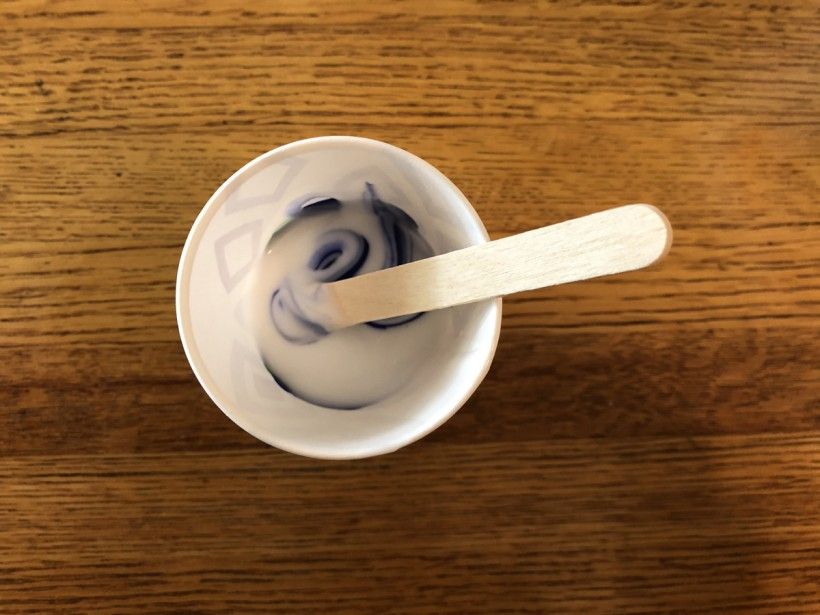
Image
Diluting paint
Step 2:
Mix in enough water to each cup to make the paint a consistency that will pour easily. It should drip off of your mixing stick. If you are choosing to use rubbing alcohol, add a few drops to each cup during this step.
Image
Prepping the paint pouring canvas
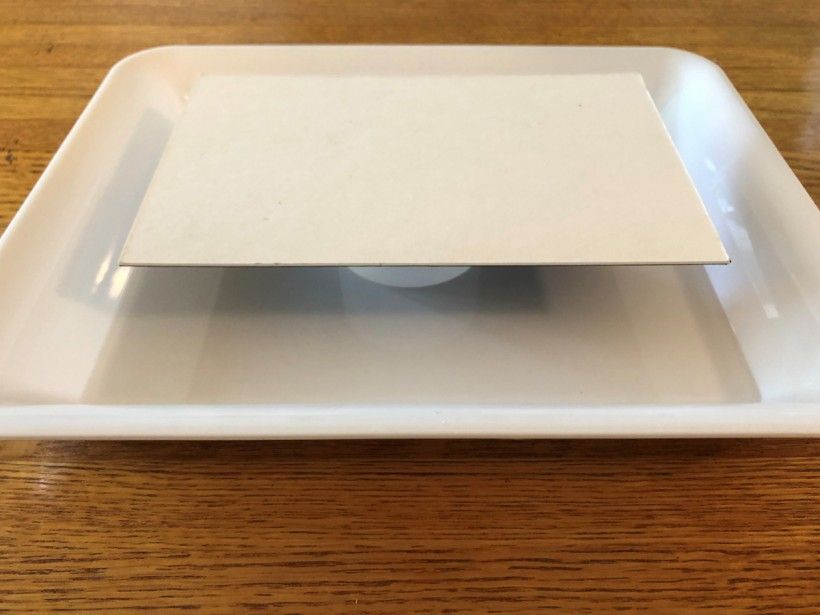
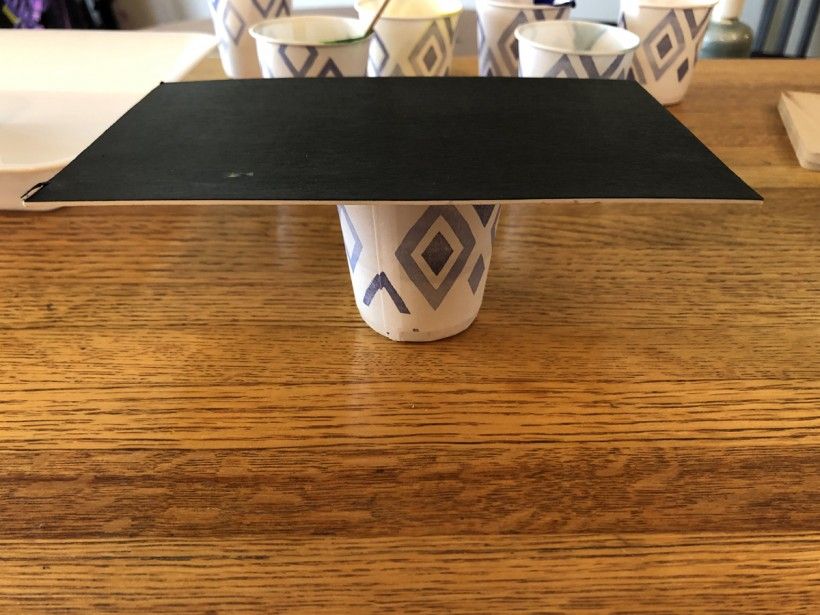
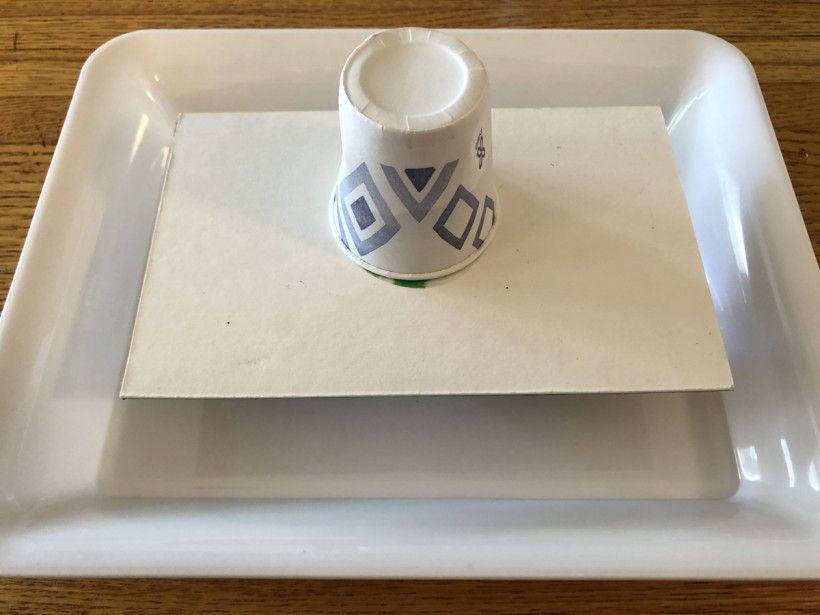
Step 3:
Make sure your board and working area are clear and ready. It is a good idea to prop your board up on a cup so that paint will be able to drip off the edges.
Image
Fill paint pouring cup
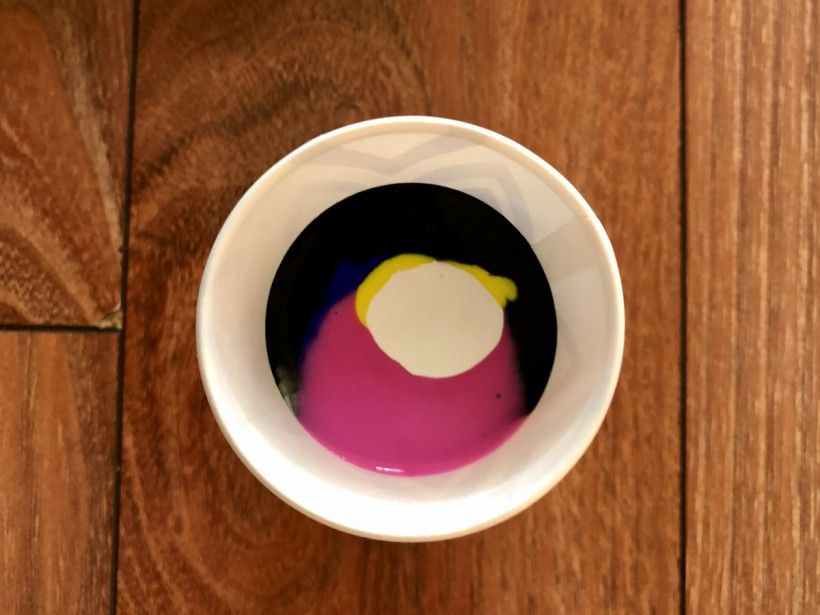
Step 4:
Using a clean disposable cup, pour a small amount of each diluted color into it one at a time, making a ring of circles in the cup. You should add enough paint that it will generously cover your board.
Image
Paint pouring
Image
Paint pouring
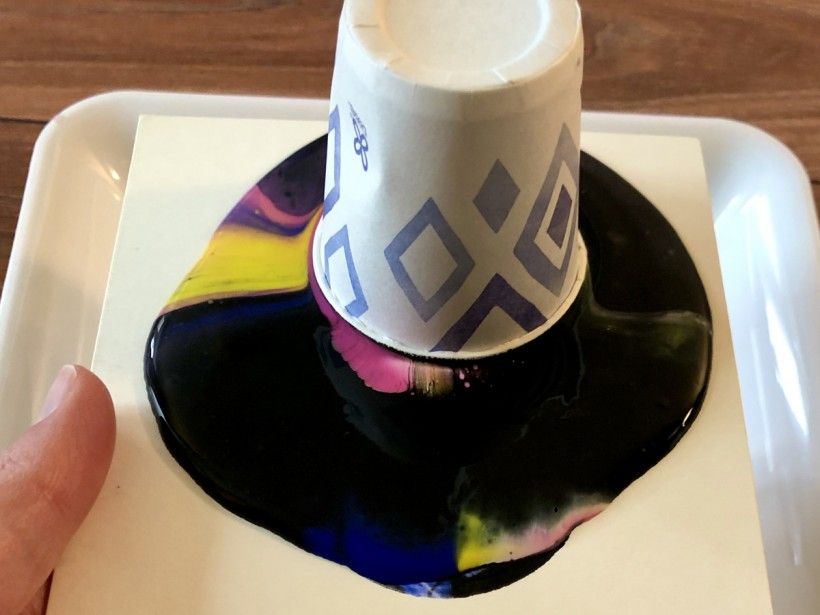
Step 5:
Place your board on top of the filled cup, with the side you intend to cover facing down. Using both hands, hold the paint-filled cup in place while you flip the board over, not allowing paint to spill out.
Image
Paint pouring
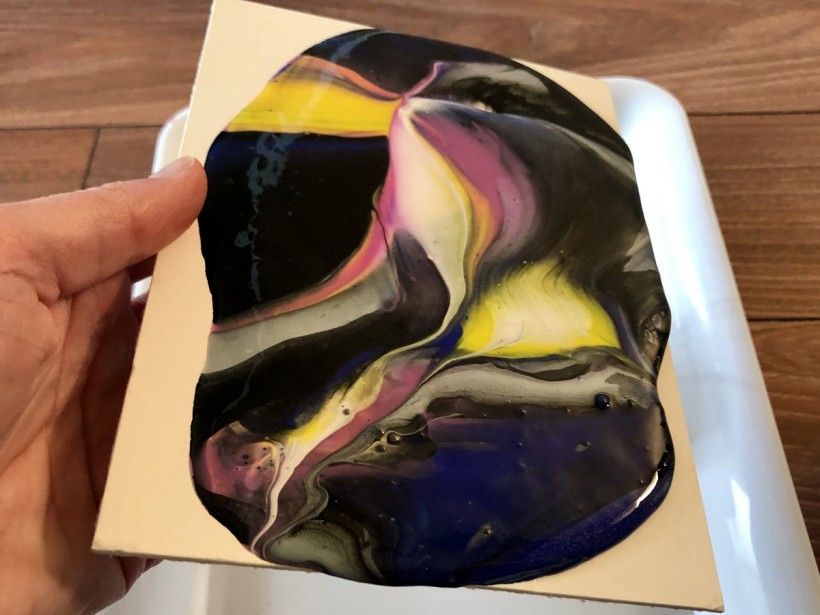
Step 6:
Without lifting your cup completely off the board, begin to gently move it around so that your paint covers most of the surface. Lift your cup off, and gently tilt your board in all directions so that paint runs off all edges.
Image
Paint pouring
Image
Paint pouring drying
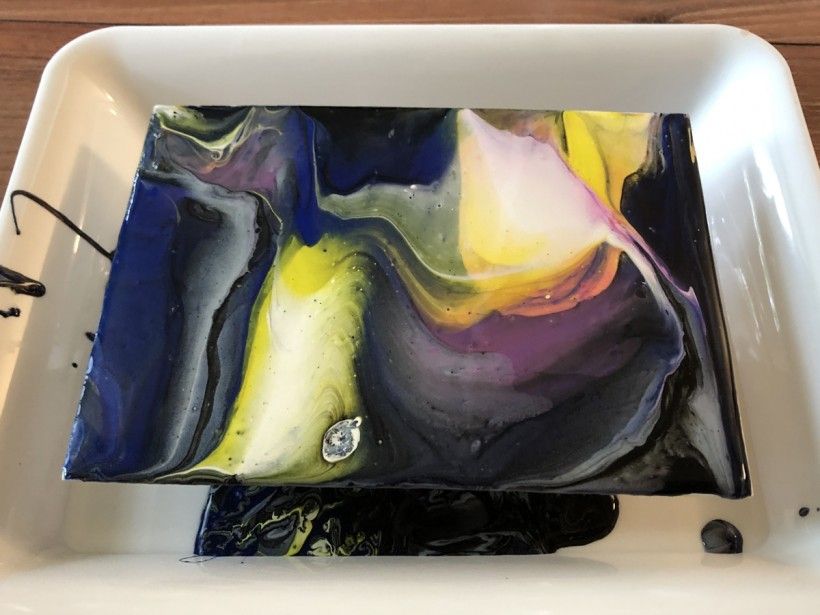
Step 7:
When your surface is fully covered, prop it up on a cup and allow it to dry on your tray. The surface will dry with a matte texture. If desired, you may paint a glossy clear-coat over it after it is fully dry.