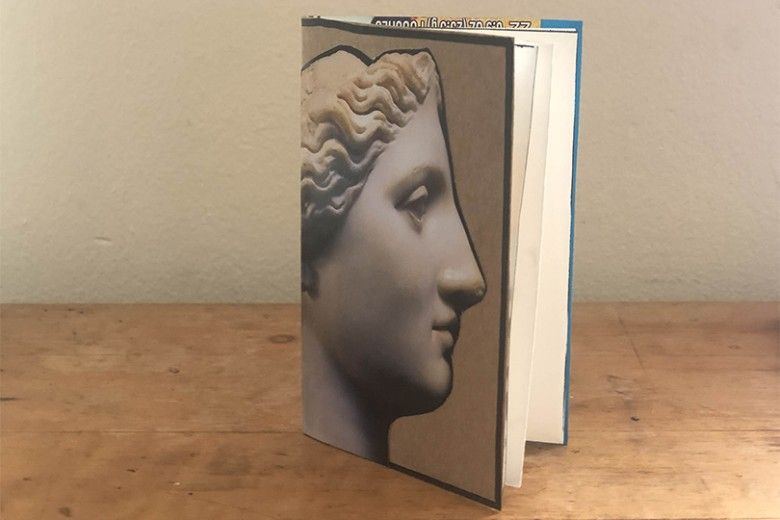
Keeping a journal is a great way to record ideas, thoughts or even drawings and stories. The best way to make sure you don’t lose an idea or miss an opportunity to draw something that you see is to have your journal on you all the time! This journal is small enough to fit in your back pocket, making it easy to bring it with you everywhere so you can record whatever inspires you.
Image
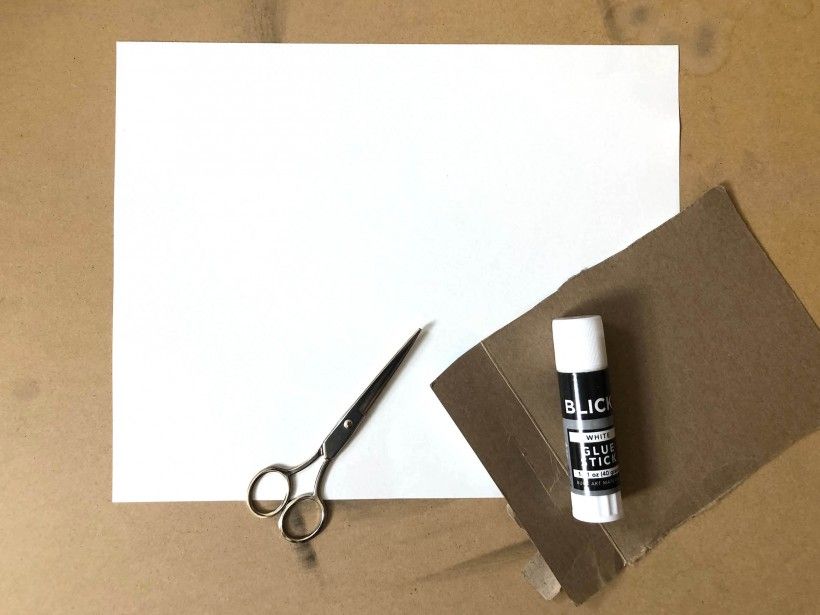
Gather your supplies:
Piece of paper (the quality and size of paper determines how sturdy and how big your journal will be)
Scissors
Cardstock or thin cardboard (if you wish to add a cover)
Glue
Image
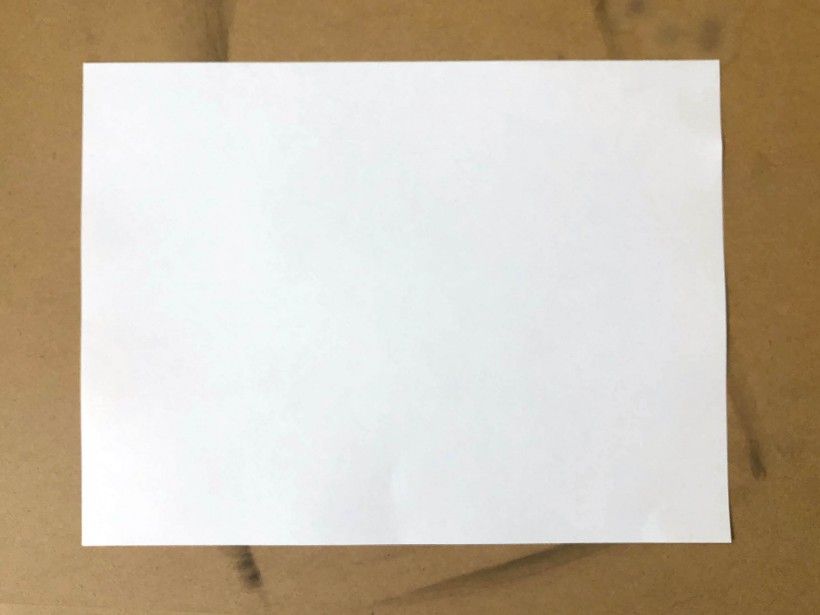
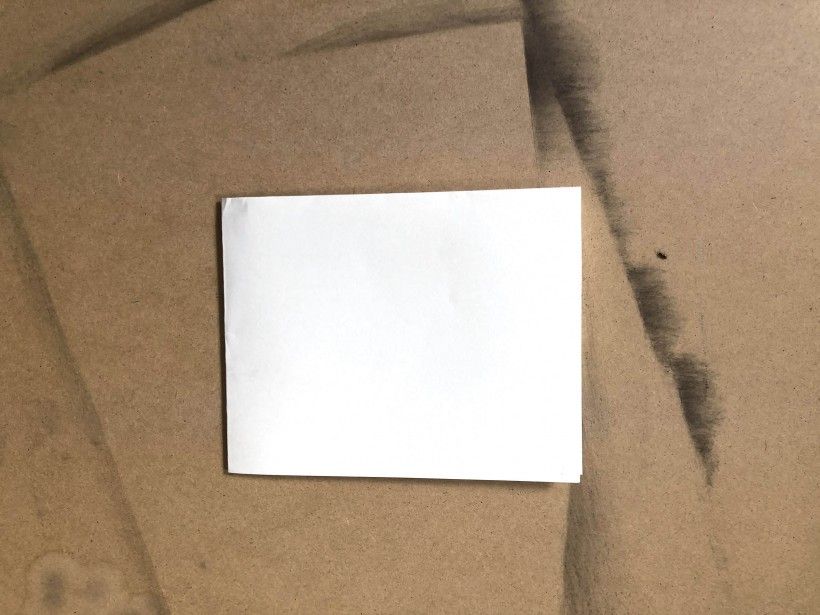
Step 1:
To create your pocket journal, start by laying your paper on a flat surface landscape style.
Image
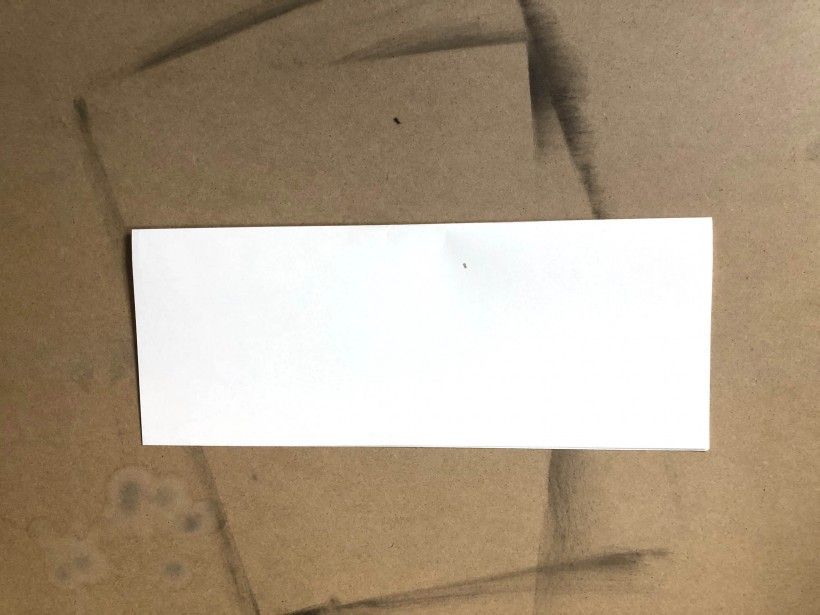
Step 2:
Fold the bottom of your paper to the top and make a crease. It should resemble a hot dog bun.
Image
Step 3:
Fold the right side over to the left and make a crease.
Image
Step 4:
Fold the right side over to the left again and make another crease.
Image
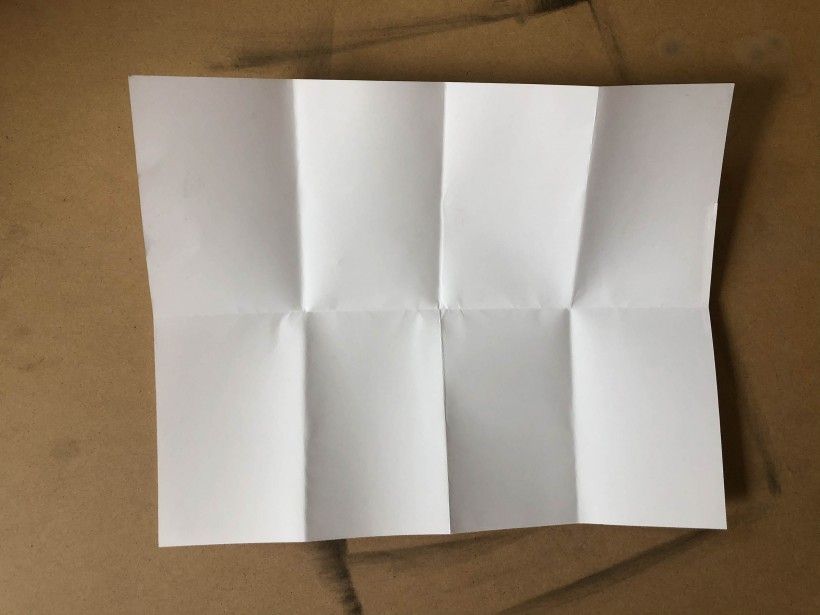
Step 5:
Open your piece of paper (you should have eight rectangular compartments).
Image
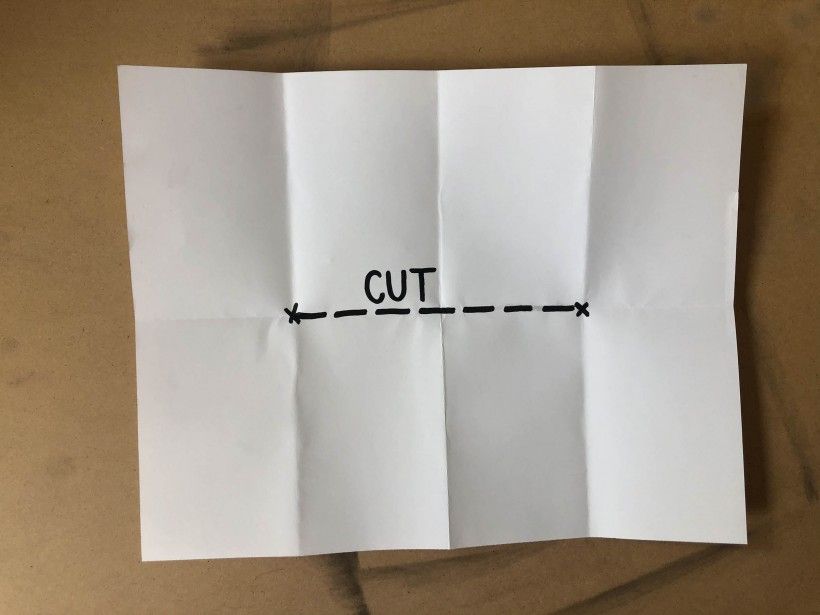
Step 6:
Pierce the paper with the tip of your scissors and cut the center crease as seen in the picture (it’s important to only cut the crease that is marked in the picture with dotted lines).
Image
Step 7:
Fold your paper in half like a hot dog bun again and push the ends together so the crease that you cut opens up. Your paper should now look like an "X".
Image
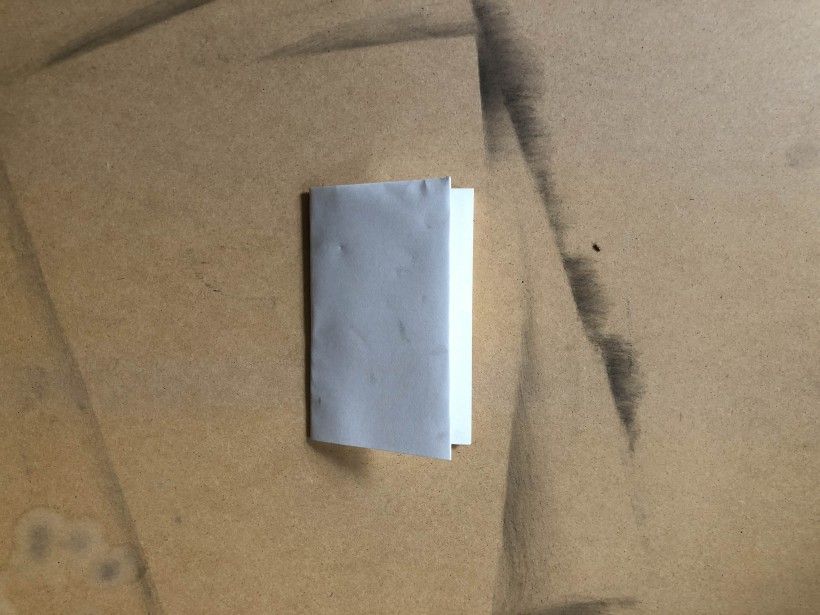
Step 8:
Close the flaps of your paper so that it resembles a mini journal. Feeling like you need more pages in your journal? Repeat steps 1-8 and glue them together!
Image
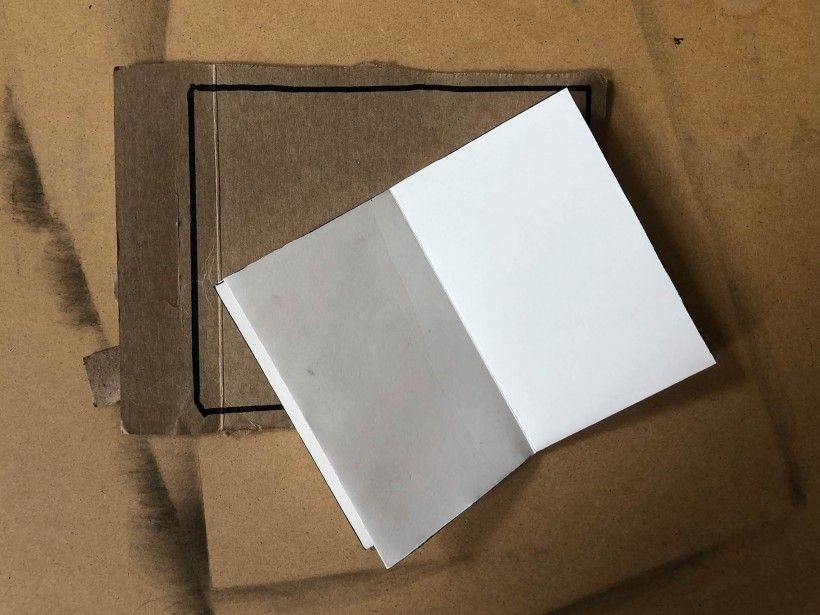
Step 9:
If you’d like to add a cover, grab a piece of cardstock or thin cardboard (an index card would work great, I used an old fruit chew box), open your journal and trace the edge onto the cardstock for size.
Image
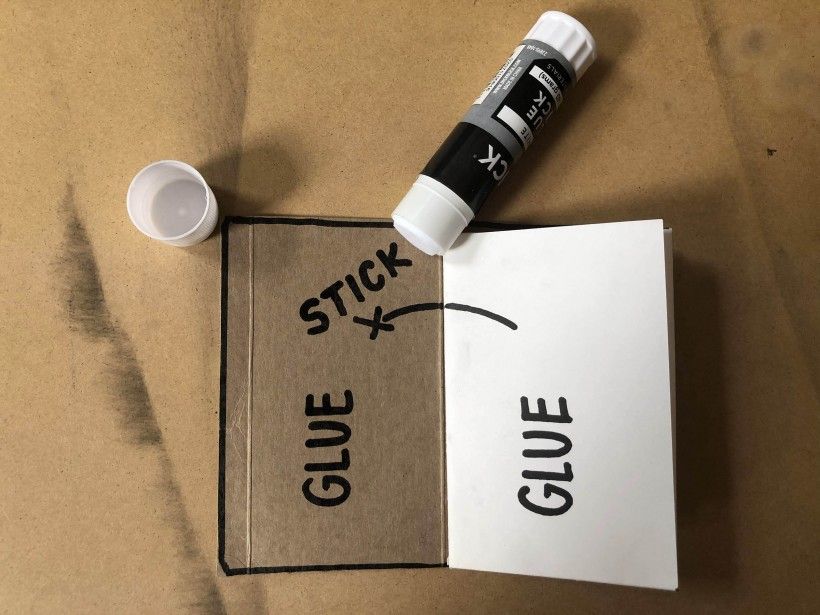
Step 10:
After you trace the size of your book onto your cardstock, cut it out and glue it to the front and back pages of your journal. It helps to fold the cardboard in half to match the spine of your journal.
Image
Step 11:
Grab any materials you want (colored pencils, markers, scrap paper, etc) and design the cover of your pocket journal. I decided to use a picture from my daily art calendar.
Having trouble getting started? Here are some things you might consider using your journal for:
Write a short story about your day (this could be through pictures, words or both).
Find something interesting and draw it.
Leave it under your pillow and write down your dreams when you wake up in the morning.