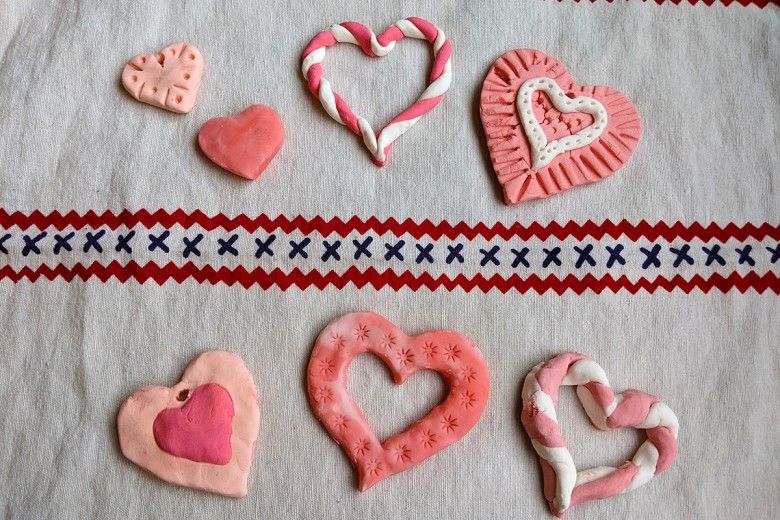
This simple recipe makes a soft clay that you can use in many ways to create one-of-a-kind gifts and decorations for Valentine’s Day.
Image
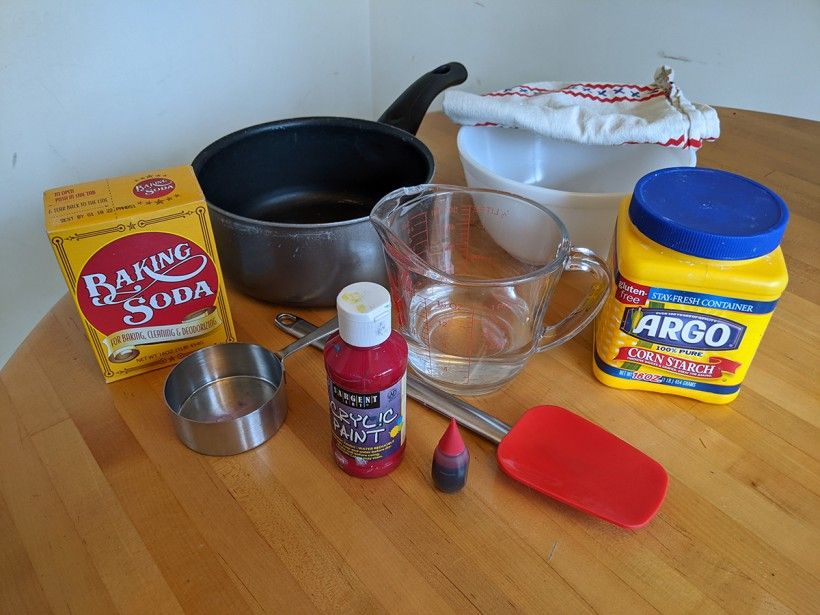
Clay heart supplies
Gather Your Supplies:
You will need:
1 cup baking soda
½ cup cornstarch
¾ cup water
measuring cups
a nonstick saucepan
a rubber spatula
a bowl
a cloth to cover the bowl
craft paint (acrylic or tempera) or food coloring
Image
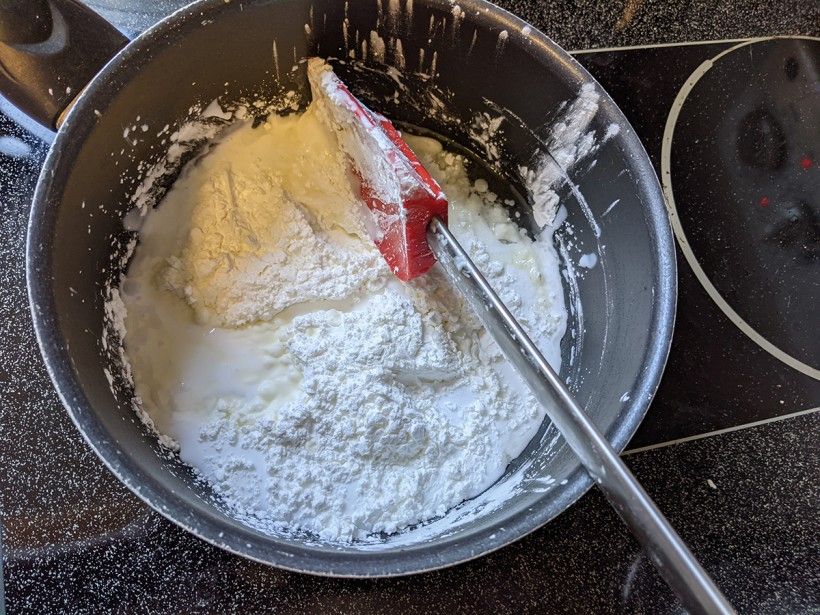
Clay hearts: step 1Step 1:
Combine the baking soda, cornstarch and water in your pan. Heat this mixture over medium heat, stirring constantly and scraping the sides and bottom of the pan often as it thickens. After about 10 minutes the mixture will start to pull away from the sides of the pan as you stir it.
Image
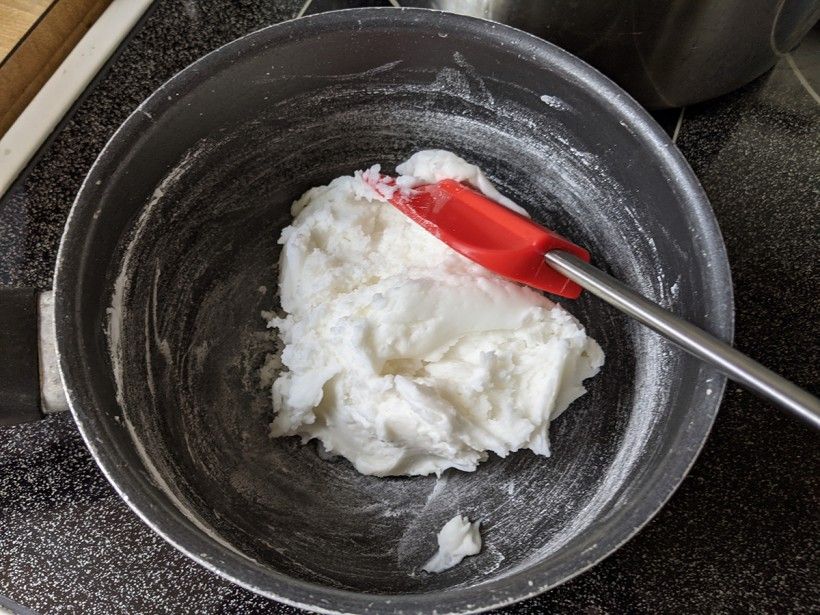
Clay hearts: step 2Step 2:
Remove from heat when the mixture comes together into a ball and looks like mashed potatoes.
Image
Clay hearts: step 3Step 3:
Transfer the mixture to a bowl. Cover it with a cloth and let your clay cool to room temperature.
Image
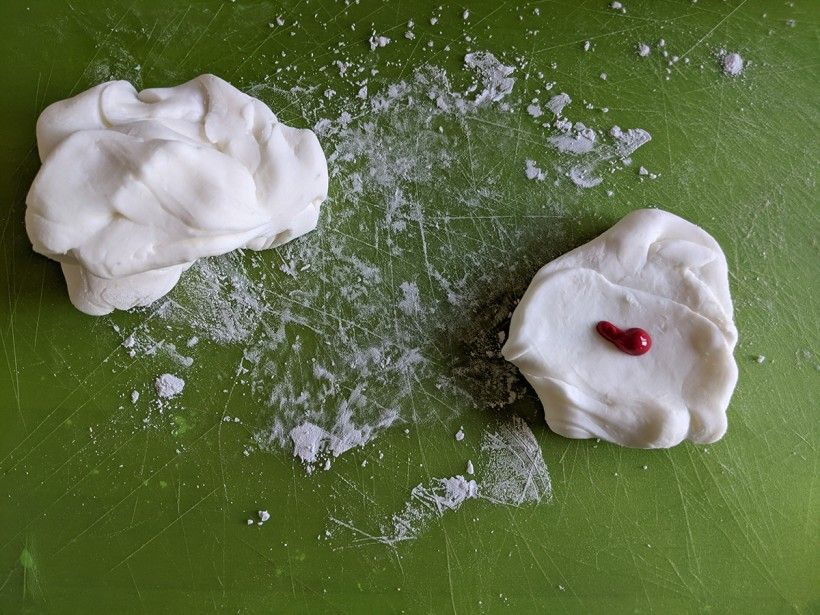
Clay hearts: step 4Step 4:
When your clay has cooled, knead it a little. This will be a very soft, pliable clay. Take a portion of the clay and use food coloring or craft paint to color it. Flatten this part of your clay and put just a drop or two of coloring in the middle.
Image
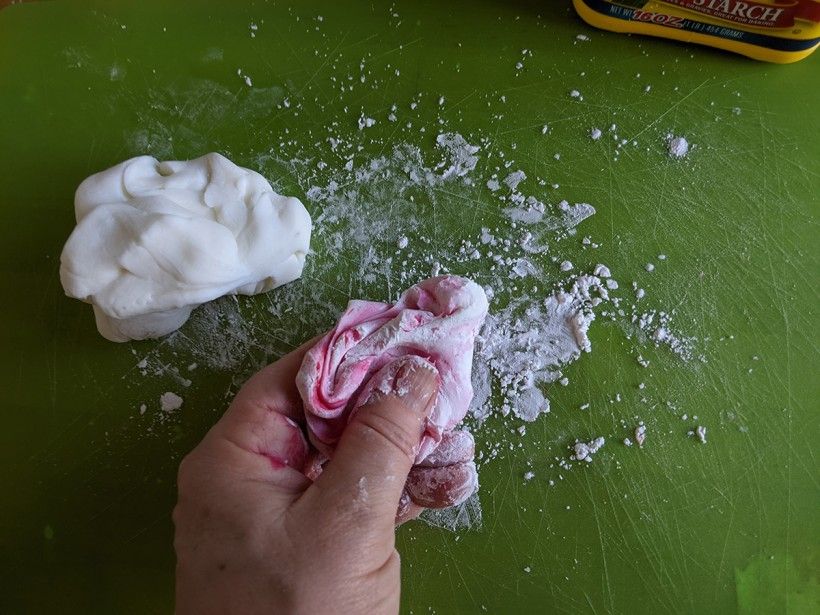
Clay hearts: step 5Step 5:
Fold the clay inward, wrapping the color into the middle and knead the clay until the color is mixed in. You can adjust your color by adding more white clay to lighten it or a drop more coloring to brighten it. The color will look slightly lighter when the clay has dried.
Pro tip: This process can be a bit messy, so do this on a washable surface. You can also wear gloves or mix in a plastic bag if this is a concern.
Image
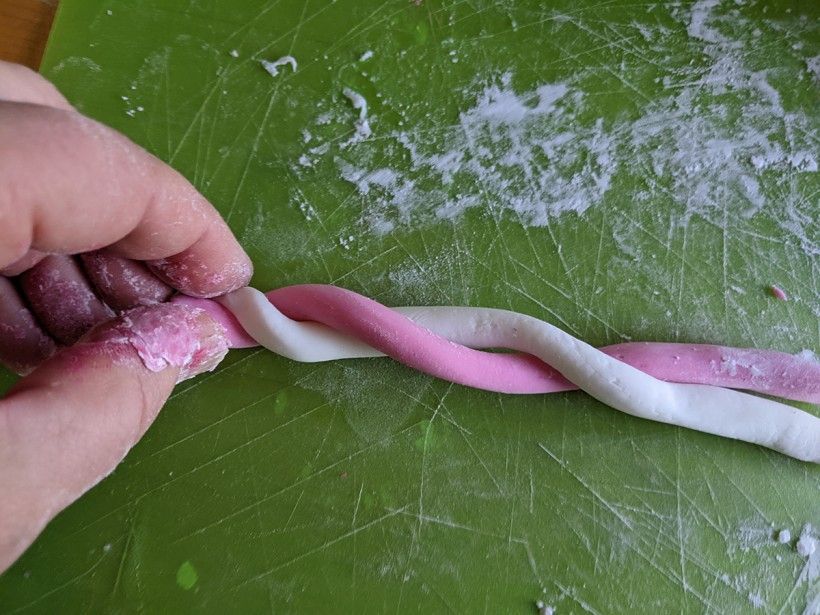
Clay hearts: step 6Step 6:
When your colors are ready you can shape your hearts. You will want to make sure your heart is an even thickness, about ¼ inch or thinner. This clay tends to crack as it dries if it is too thick.
To make a twist, roll a thin snake using white clay and another using pink clay. Trim them so they are the same length and lay them next to each other. Hold the snakes on one end while you twist them together with your other hand.
Image
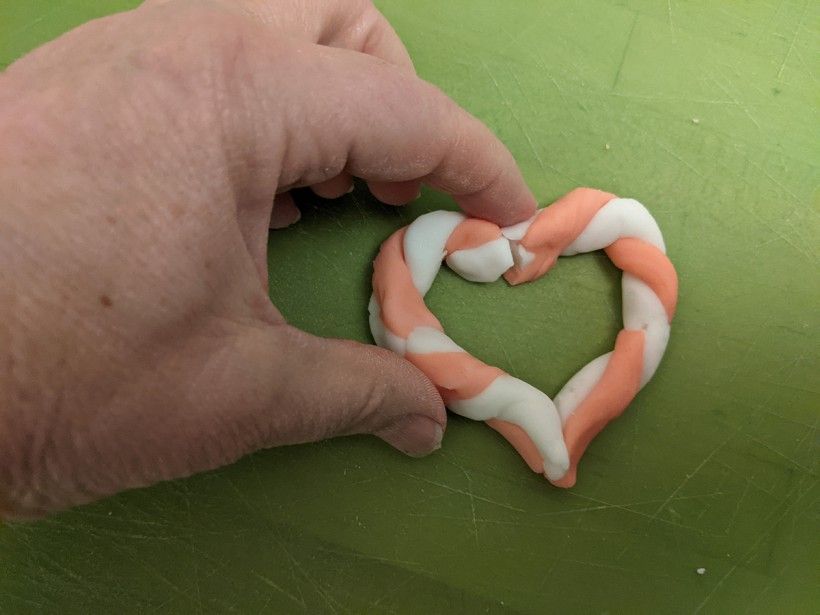
Clay hearts: step 7Step 7:
Shape the heart by pinching the ends together to make a point. Push the rounded end of this shape down to make the top of the heart and pinch it in the middle. If the ends aren't sticking together rub a bit of water where you want them to stick.
Image
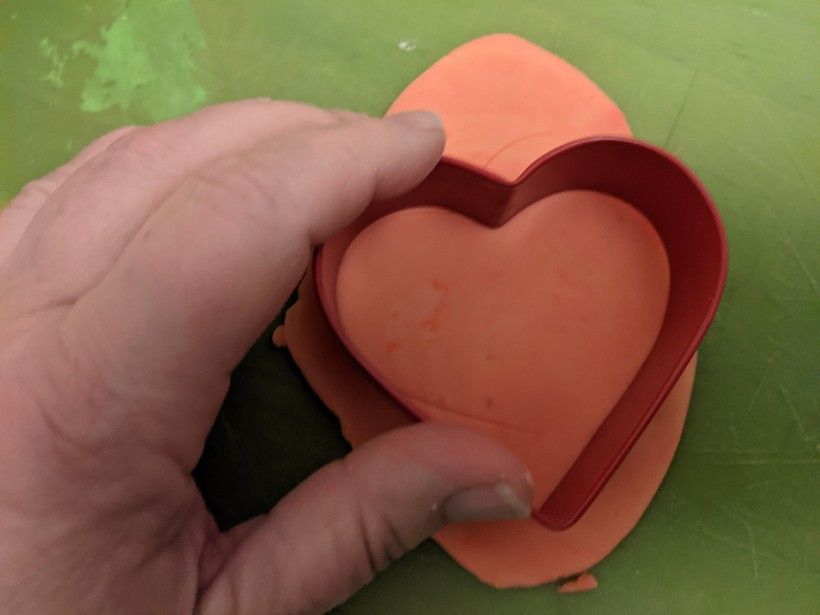
Clay hearts: step 8Step 8:
You can also roll your dough with a rolling pin and cut a shape using cookie cutters or flatten and shape it by hand.
Pro tip: If the dough is a little sticky, dust your surface and the rolling pin with cornstarch.
Image
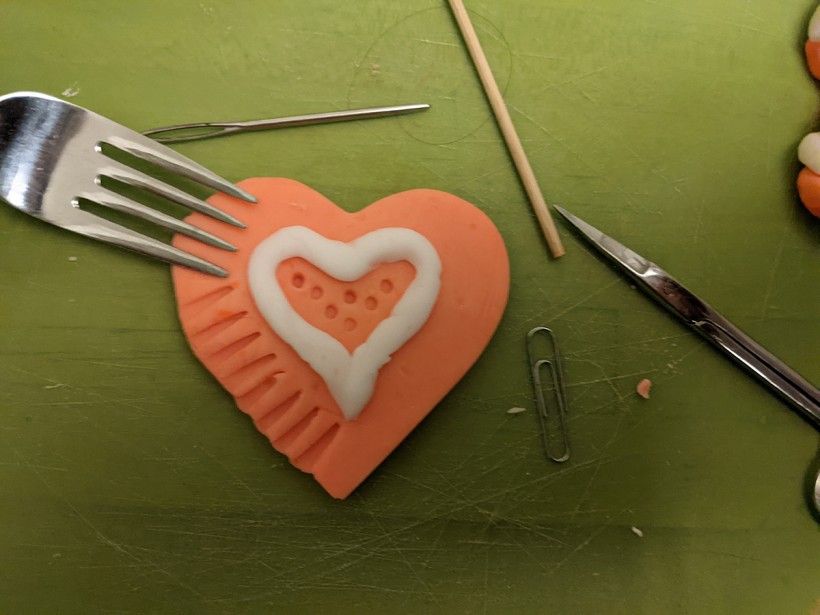
Clay hearts: step 9Step 9:
Add texture by gently pressing objects into the shaped clay. If you want to make a hanging decoration, use the end of a paint brush to make a small hole.
Once you are finished with your designs, set your hearts aside to dry. This clay needs to dry slowly or it can crack. Let it air dry for a couple days. At this point it will be pretty strong, but if you want it stronger you can bake it in the oven at 200 degrees for 30 minutes. You can also paint the clay after it has dried.
Store any unused clay in an airtight container in the refrigerator.