By: Laura Westmoreland, Associate Educator for Adult & Community Programs
Signs of spring and new life are popping up all around us. Capture a snapshot of the beautiful designs found in nature through these watercolor prints. We chose to highlight the beauty of native plants that are beginning to emerge in the Brandywine Valley, but you can explore your own backyard to discover what is appearing this spring.
Image
supplies
Gather your supplies:
Heavy paper (watercolor paper recommended, but you can try this on other heavy papers such as cardstock or construction paper)
Watercolor paints, any brand/quality
Medium to large size paintbrush
Cup of water
Plant clippings (plants that lie flat will work best)
Image
painting on paper
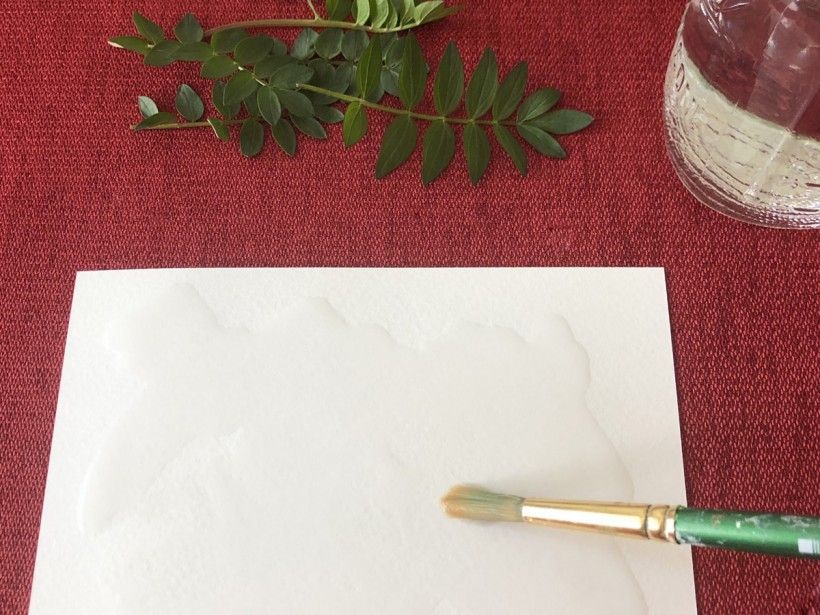
Step 1:
To create your colorful background, fully wet your brush and cover your paper with water. You can try filling your paper to the edges with water, or you can fill only a section of the paper. Color will only go where water has been applied.
Image
watercolors blending
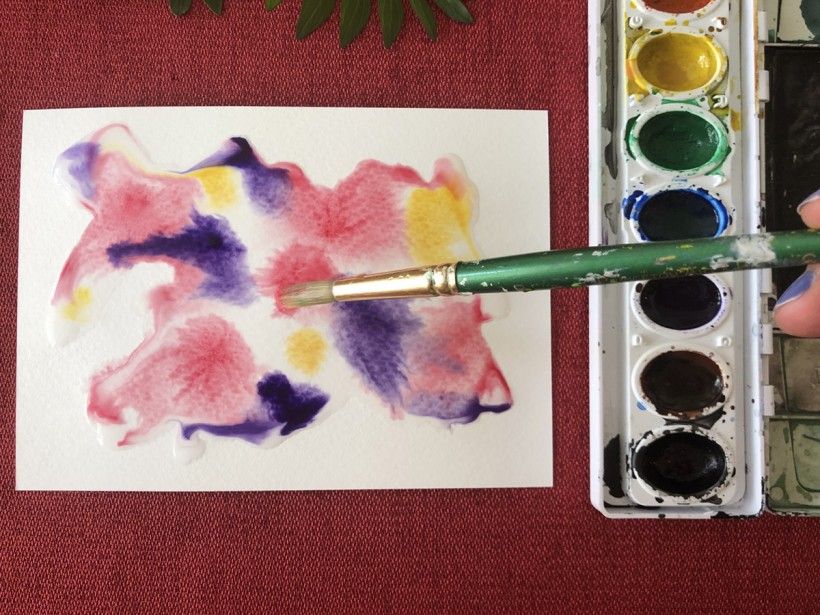
Step 2:
Using your wet brush, begin to pick up watercolor paint from your paint palette and dot water-filled areas on your paper. Apply two to four colors randomly across the paper, filling in most of the white space. Using more paint will create a more vivid background and using less paint will result in a lighter, pastel background.
Image
Placing plants
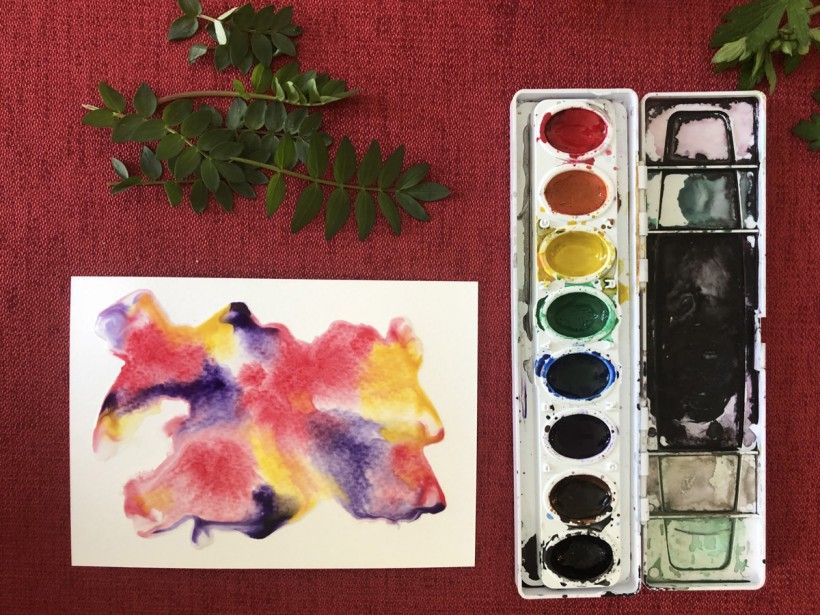
Step 3:
Give your paints a moment to spread out through the water and blend together. If any areas start to dry, use your brush to apply additional water or paint.
Image
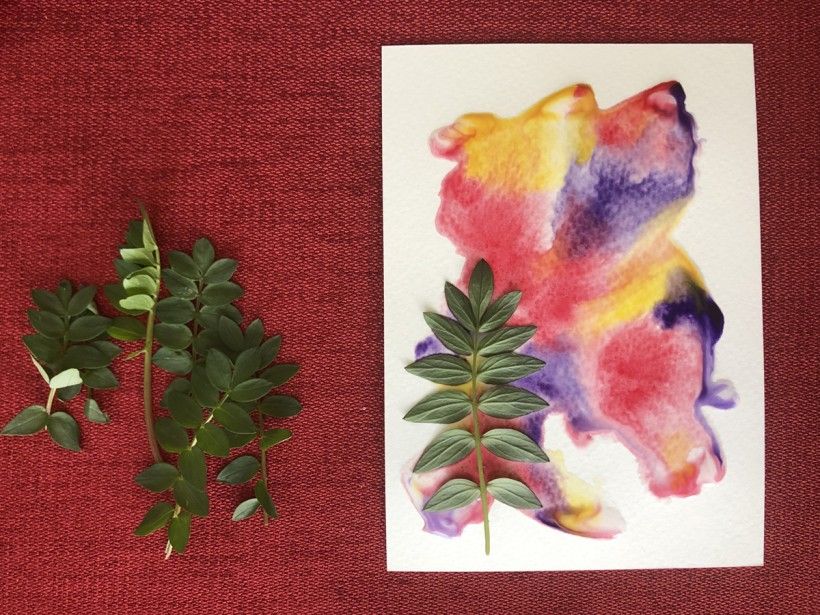
Step 4:
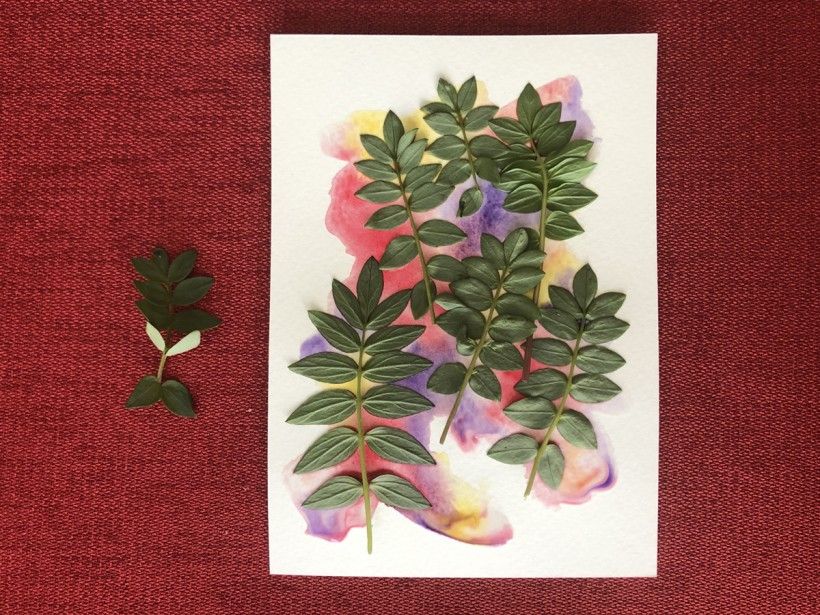
While your paper is still very wet, begin to place your plant clippings onto the paper, laying the leaves and flowers as flat as possible across the wet surface. We are beginning with early clippings of the native plant known as Jacob’s Ladder, named for its rung-like arrangement of leaves. Later this spring, small blue flowers will bloom on these plants.
Image
plants on watercolor paper
Step 5:
Continue to arrange your plant material on your paper in a design that you like. Remember to place the plants as flat as possible on the page. If some areas of the paper begin to dry or soak up the water, you can apply more paint or water directly over the plant to keep the area wet.
Image
watercolor print
Image
watercolor print
Image
watercolor print
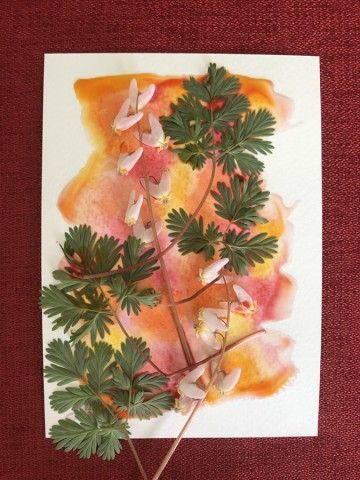
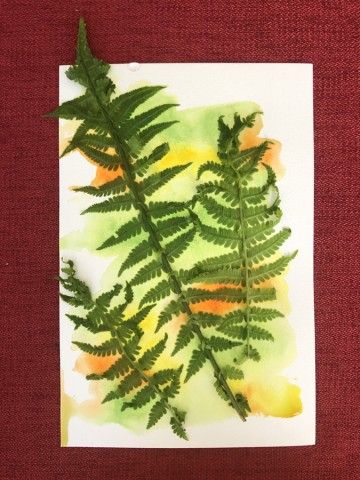
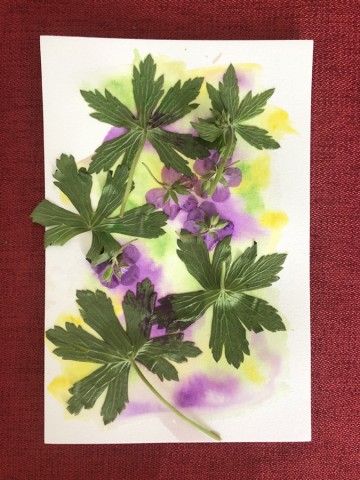
Step 6:
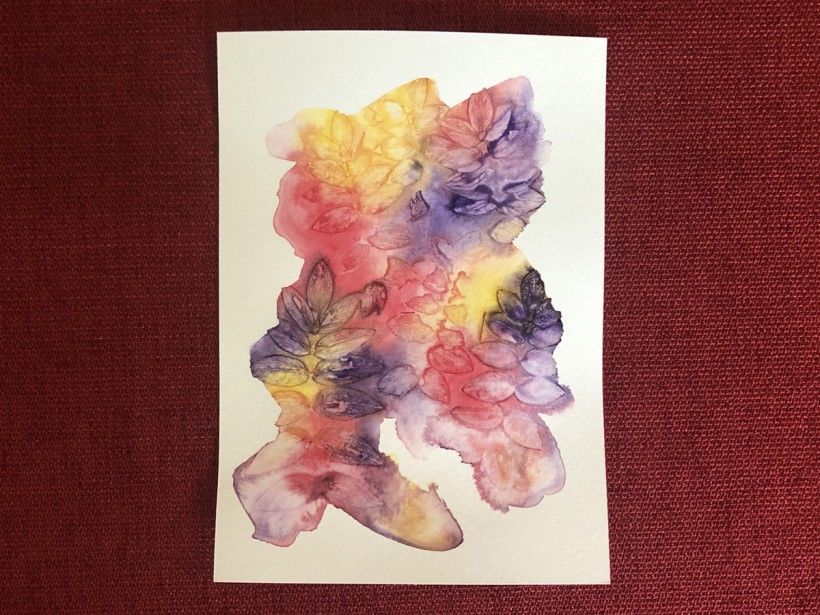
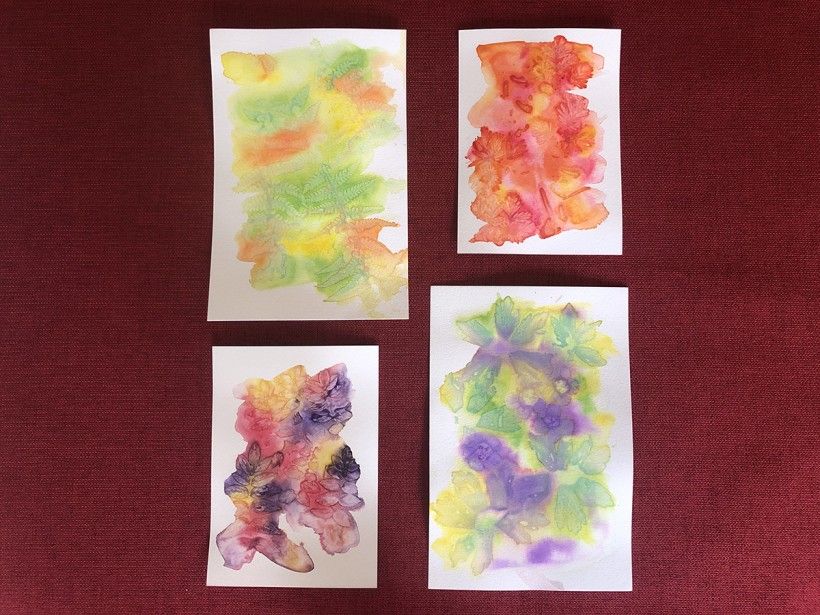
Allow your arrangements to fully dry before removing plant material—allow at least 12 hours (and no peeking!) Here are some arrangements we made using clippings from other native plants including Dutchman’s Breeches, Wild Geranium and Ostrich Fern.
Image
watercolor print
Step 7:
When your paper is fully dry, gently peel off the plant material to reveal a detailed design of the leaves or flowers. If any small bits of plant material stick to the paper, try removing it using tweezers. See what springtime beauty you have preserved!