By: Melissa Reckner, Penguin Court Program Manager
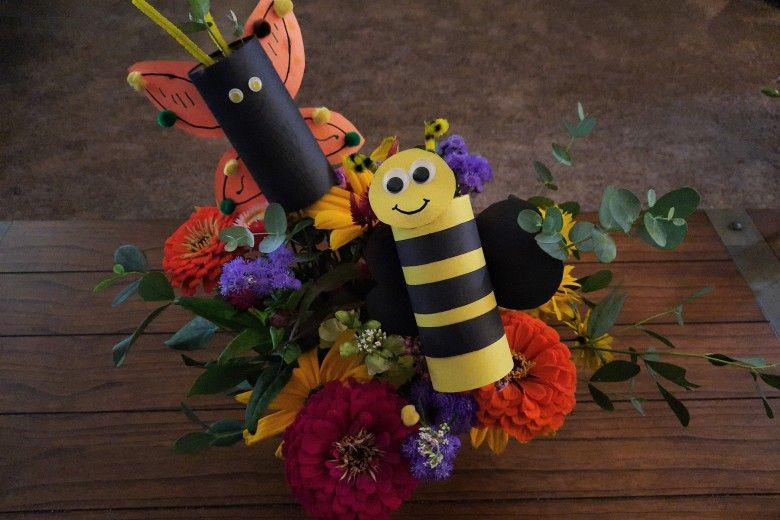
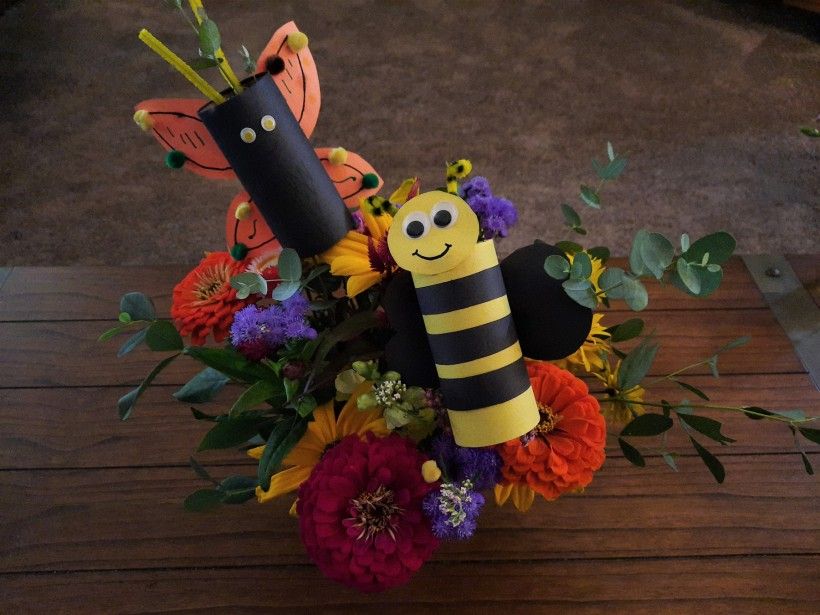
Toilet paper tubes can be repurposed for all sorts of crafts and hours of creativity. In this fun activity, take some inspiration from our summer pollinators and make your own DIY bees and butterflies using recycled toilet paper tubes.
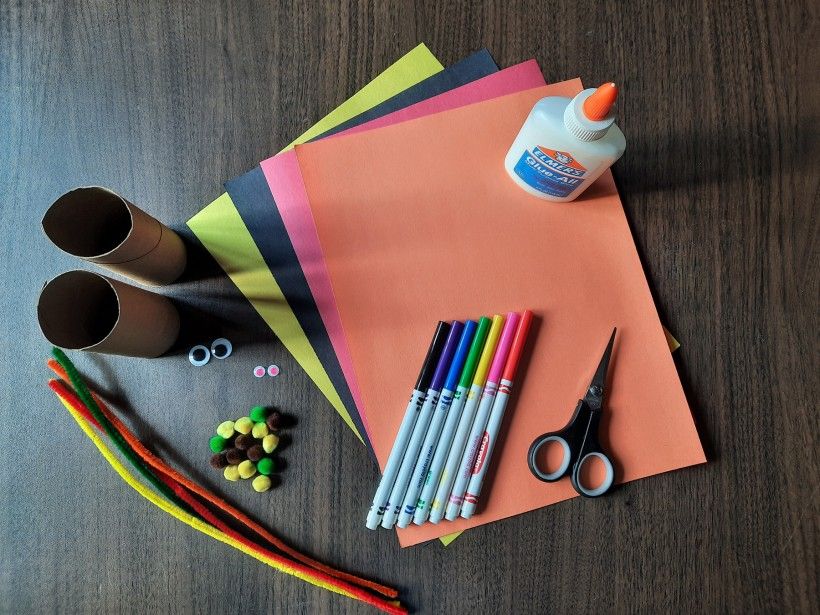
Gather Your Supplies:
Image
Toilet paper tube(s)
Construction paper or cardstock
Scissors
Markers
Pipe cleaners
Glue
Stapler (optional)
Googly eyes, pompoms, sequins, paint, etc., to decorate (optional)
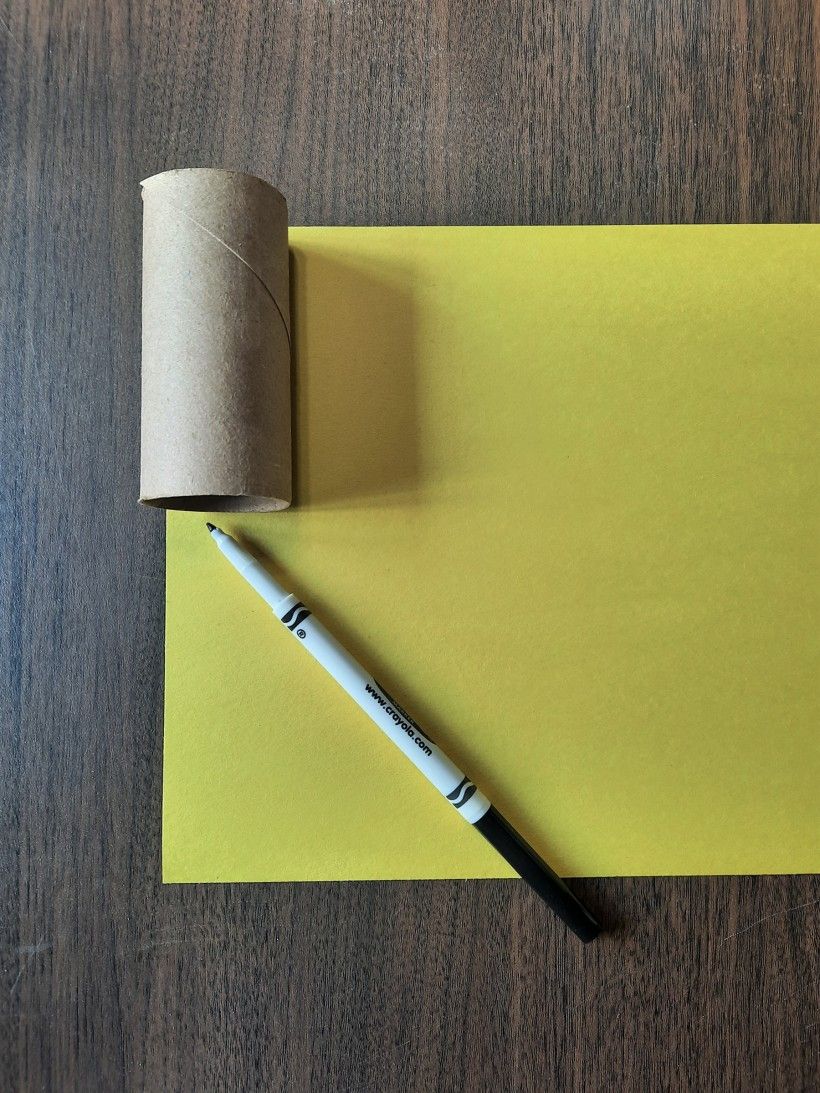
Step 1:
Image
Image
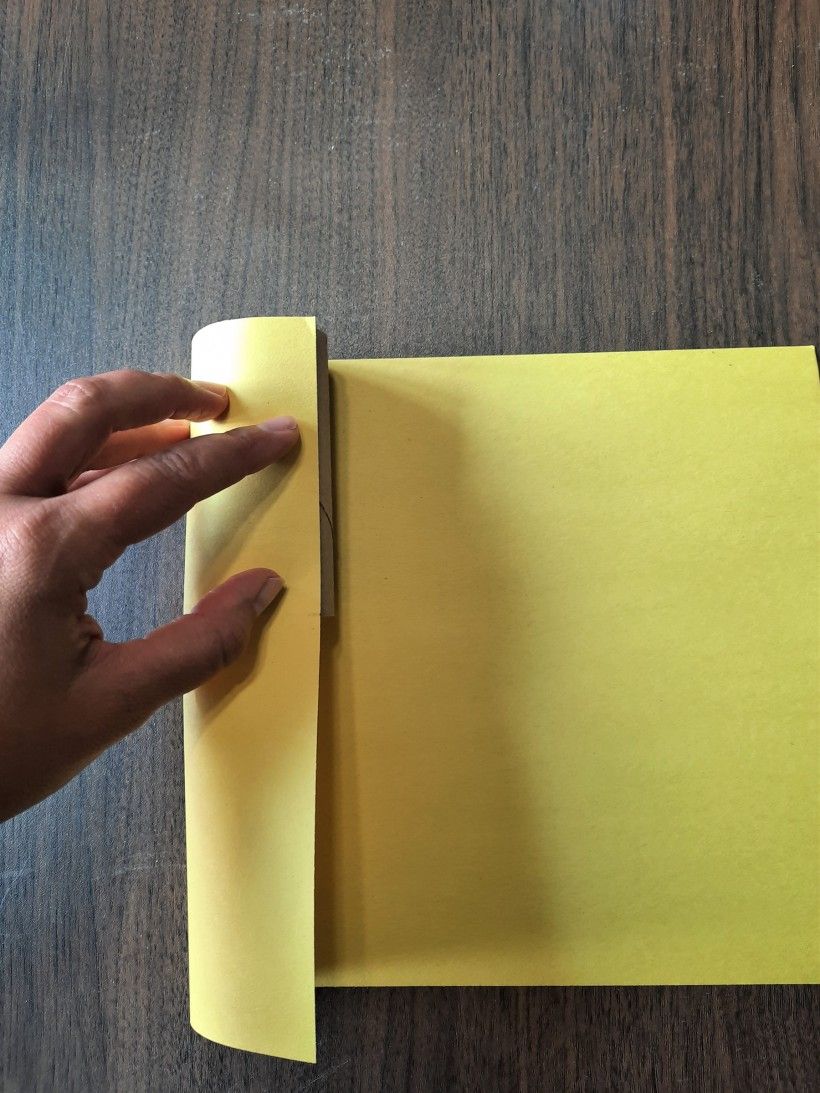
Lay the toilet paper tube at the corner of your paper and mark where it ends. Roll it and the paper until the tube is covered. You’ll want a little overlap. Mark that point and cut the rectangle out.
Step 2:
Image
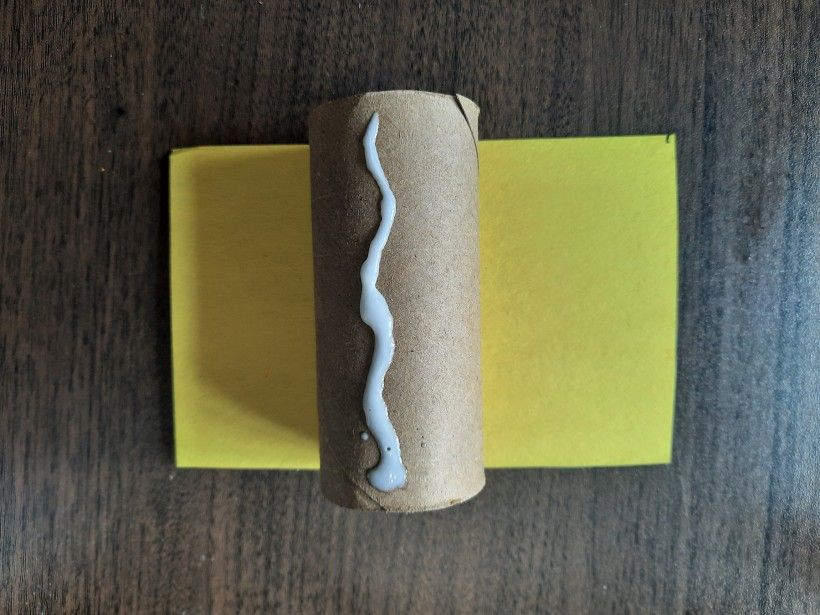
Put a line of glue along the tube and wrap the paper around it, adding another line of glue to secure the overlap.
Step 3:
Image
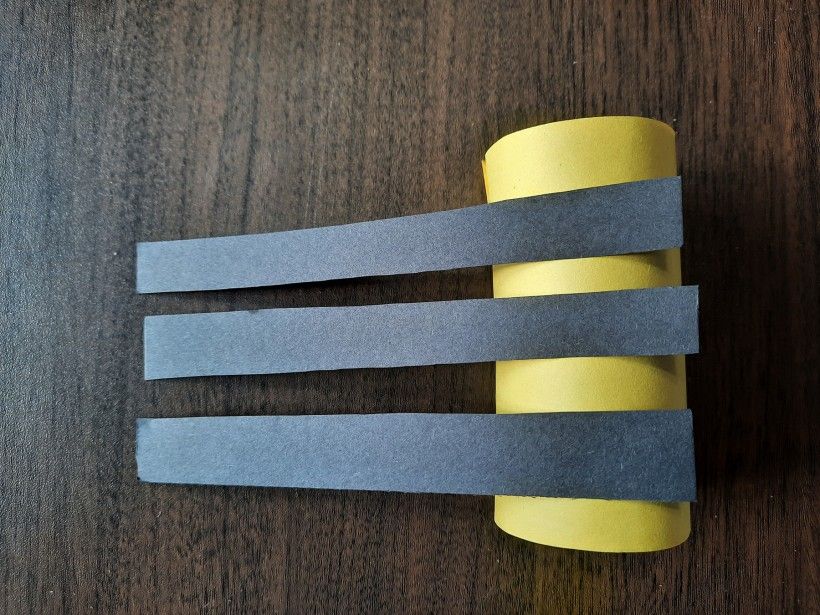
To make a bee, cut out strips of another color paper using the same technique as in Step 1 and secure as in Step 2. Use your imagination and decorate as you see fit!
Step 4:
Image
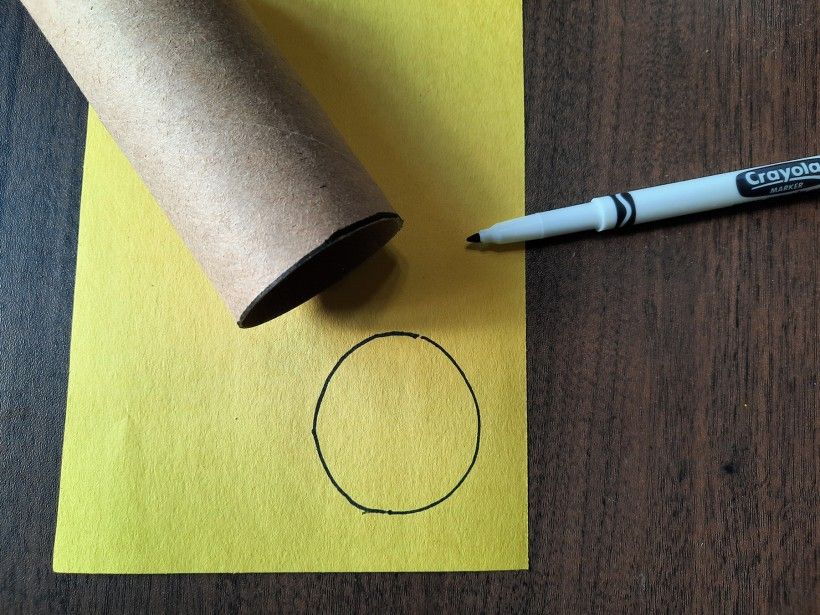
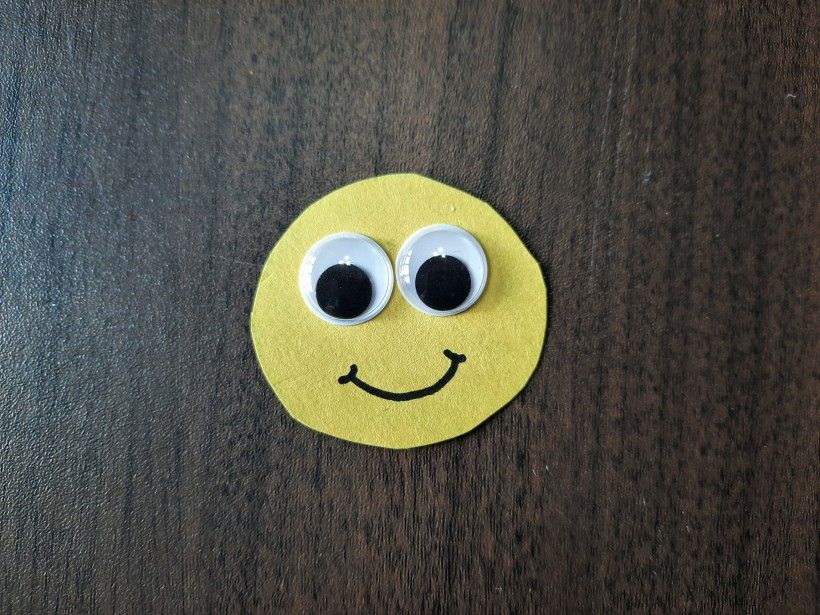
Trace the end of a tube onto a piece of paper that will serve as the head. Cut it out and decorate it! Glue it to the toilet paper tube.
Image
Step 5:
Image
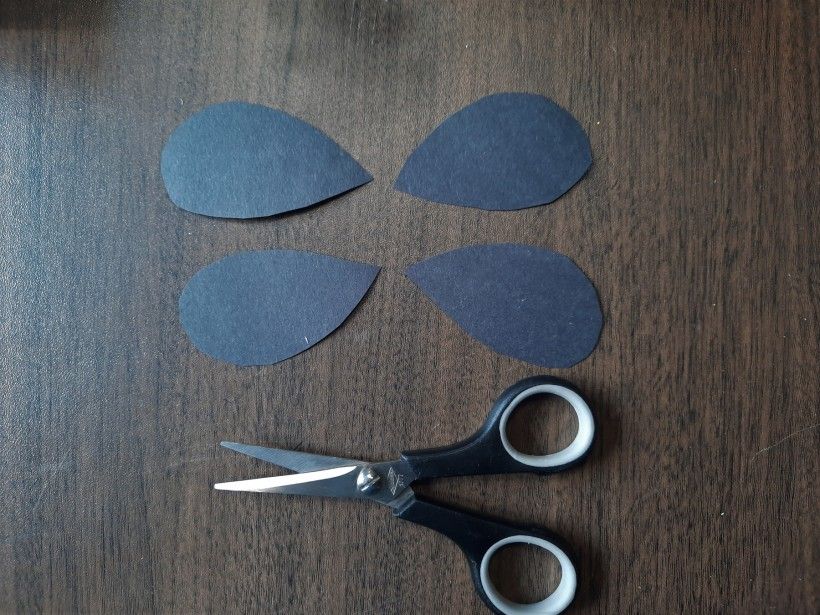
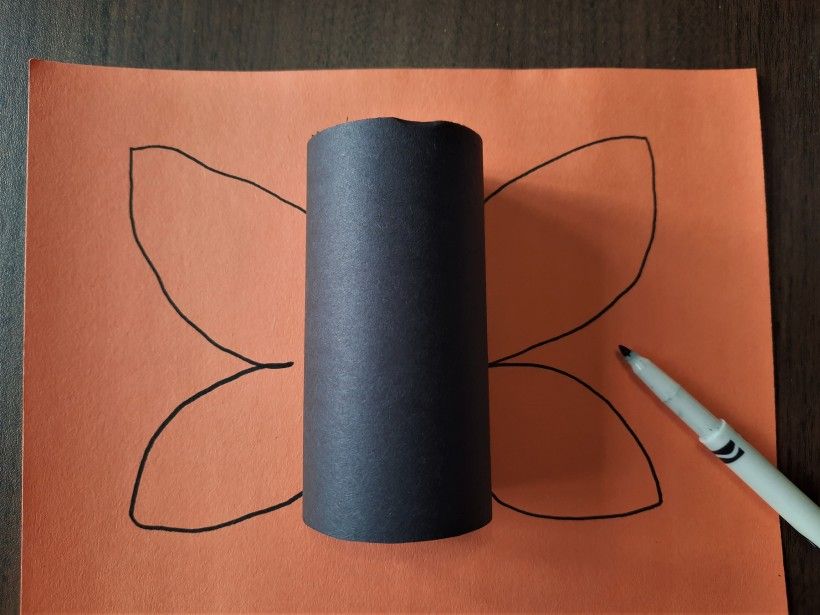
Cut out wings and decorate them. Consider adding legs or a stinger, too! Fun fact: Insects have three pairs of legs and usually two pairs of wings. Glue the wings onto the backside of your tube.
Image
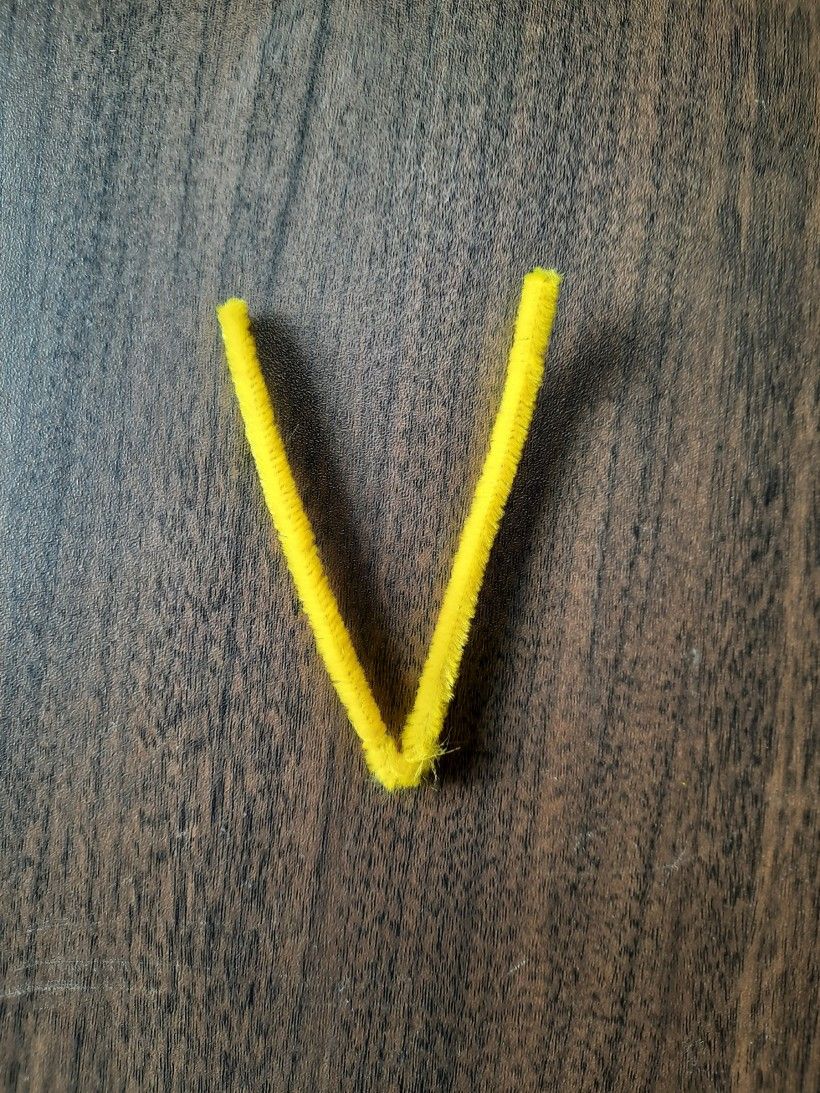
Step 6:
Snip a pipe cleaner to an appropriate length (about 4 inches), bend in half, decorate, and/or curl the tips down. Secure to your bee or butterfly. (A stapler works better than glue.)