By: Melissa Reckner, Penguin Court Program Manager
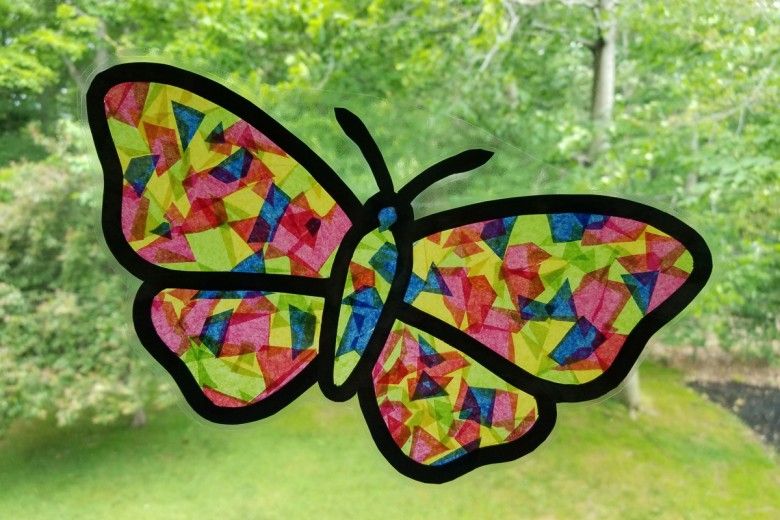
With summer in full swing, many more species of butterflies and moths are appearing in the landscape around us. Evoke those bold summertime colors and create your own prismatic butterfly with this fun activity!
Image
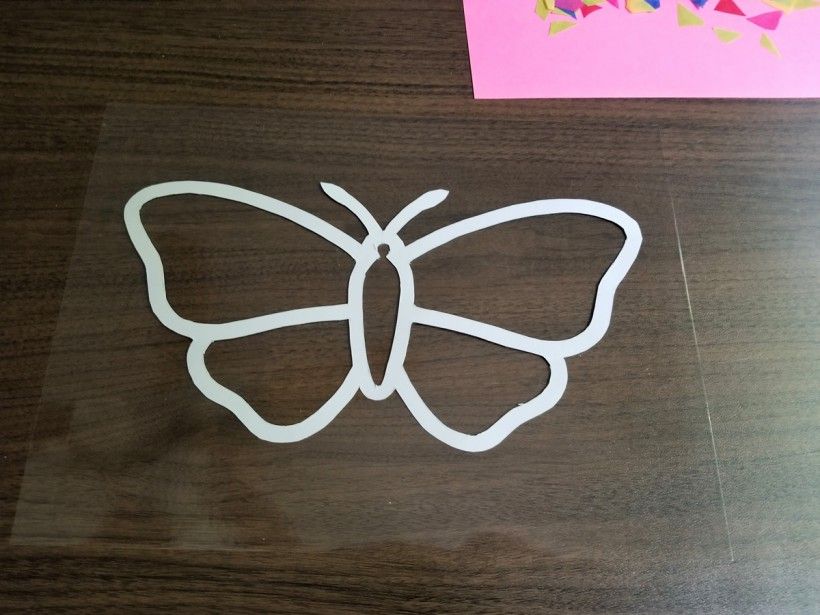
DIY Stained Glass Butterfly
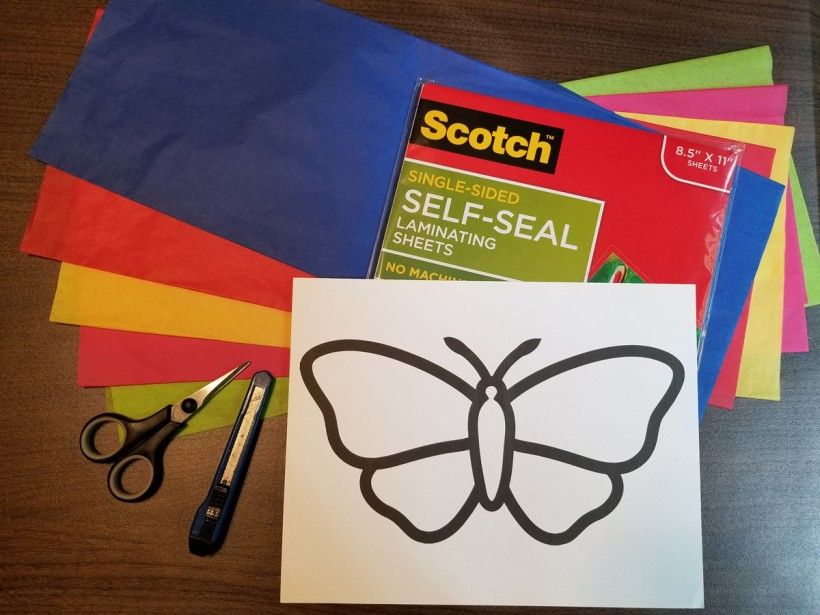
Gather Your Supplies:
Butterfly outline, preferably printed on cardstock:
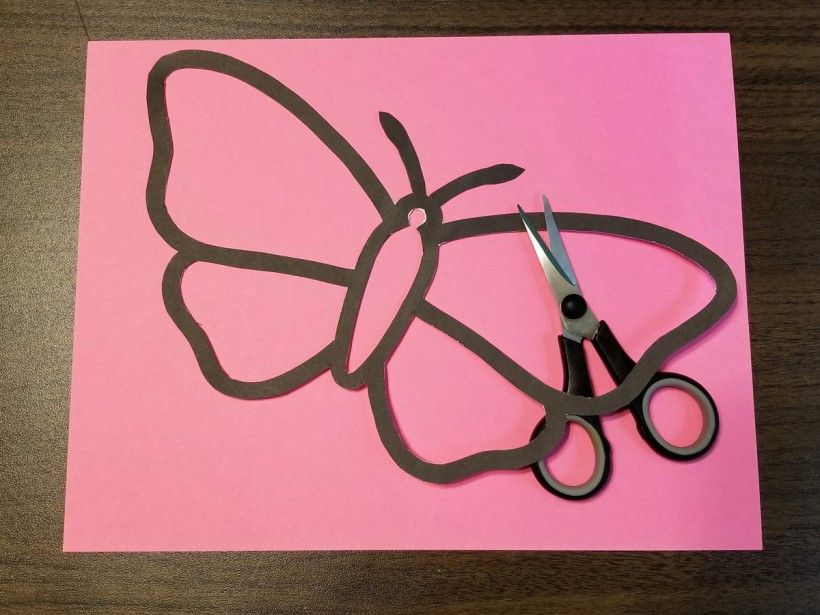
Cut out the butterfly outline. Hint: it’s easier to cut into the black line a bit than to go back and trim off any white edges.
Image
DIY Stained Glass Butterfly
Step 2:
Cut bits of tissue paper in random shapes, enough to fill the voids in the wings and body.
Image
DIY Stained Glass Butterfly
Step 3:
Expose the sticky side of the laminating sheet and press the butterfly outline onto it with the black print down.
Image
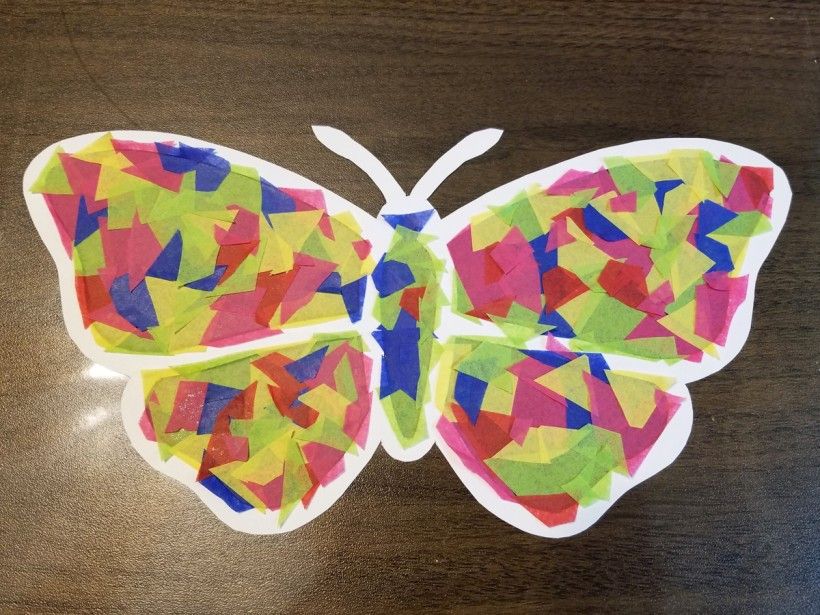
DIY Stained Glass Butterfly
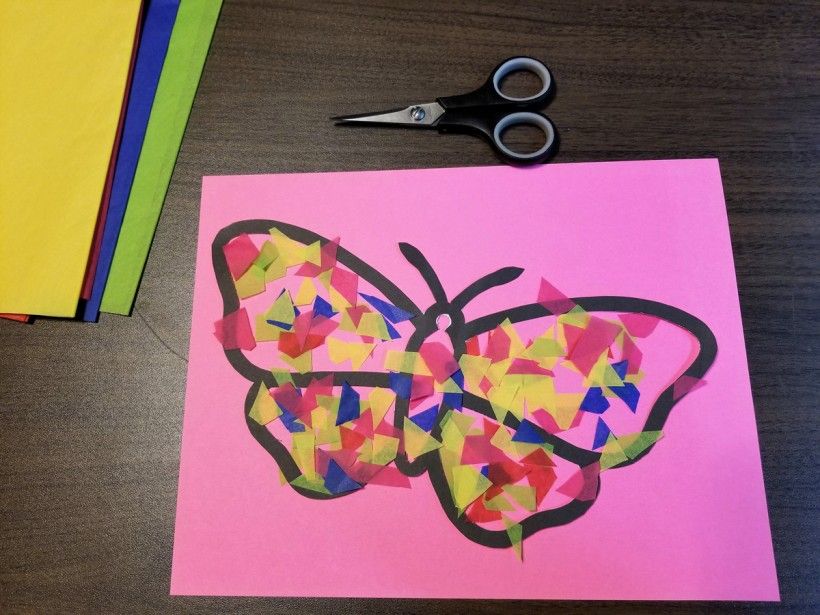
Step 4:
Fill the wings and body by pressing the tissue paper pieces onto the laminating sheet. Be sure not to leave any gaps!
Image
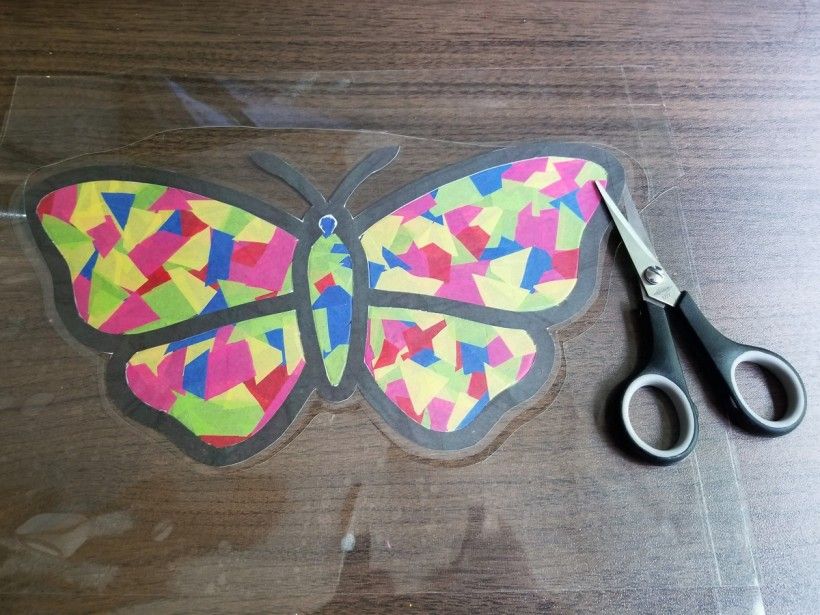
DIY Stained Glass Butterfly
Step 5:
Enclose your creation by placing another laminating sheet overtop of it. Cut out your butterfly and place it in the window! Make more than one and consider resizing the print to make different sized butterflies. Have fun!